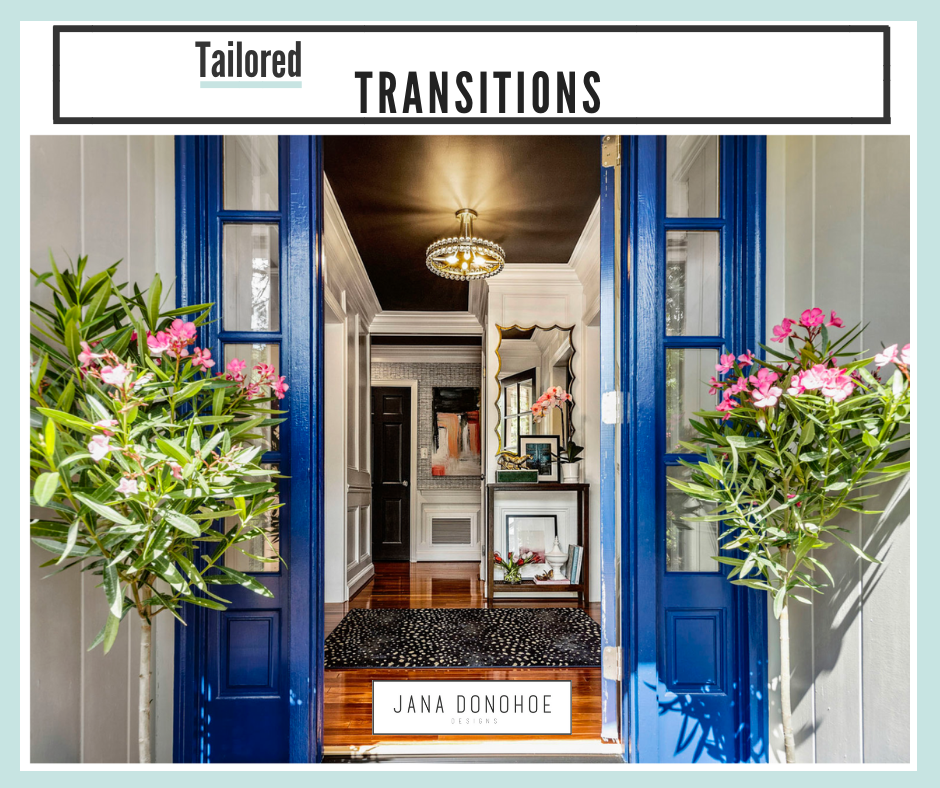
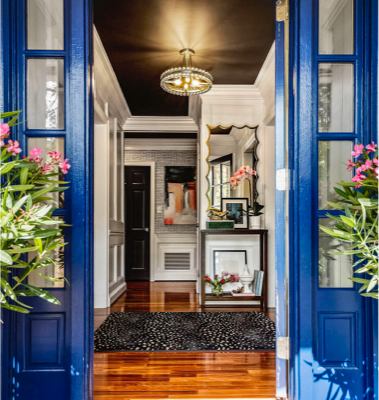
The entryway transition to my own home.
TRANSITIONS.
Hi Everyone! When I first started to write this post, I thought I would just write it about how to help you make tailored transitions from one area to another in your homes, which I still will (scroll down for a great resource about how to make flooring transitions seamless), but before I could finish it, another type of transition took over my life…a more serious one…
Hurricane Florence.
Hurricane Florence, as most of you probably know, came to visit Fayetteville where we live. And all of a sudden our lives, and everyone’s lives, got turned upside down. The schools were closed, the kids were home, and sadly many homes and businesses in our town were flooded.
I want to say thank you to all of you who reached out to me on social media or via text or email to ask me how my family and I were faring. It felt good to know so many of you cared.
Right now, our own home came out without any damage as it’s at a higher elevation, but much of Fayetteville is flooded, and people all around us are struggling.
As far as we know, there is no external damage to our little beach home over on Kure Beach, but we haven’t been able to get inside yet, so we don’t know what we’ll find when the roads are passable again.
I also am so thankful that none of my clients’ homes got flooded.
This image below from the New York Times shows you how bad it got in our area.
If you want to help out in any way, here’s an article from our local paper with links to local, state and regional resources.
I am currently working on a plan to help my community recover in a more impactful way, as people here begin to move forward in rebuilding…and I will share more about that in a future blog post.
I must move forward though, and and please know, if you’re a local family or business whose home has been flooded, my family’s thoughts and prayers are with you.
ONWARDS…
As many of you know, I’ve been doing the One Room Challenge for 3 years now, a fun online event that happens twice a year where interior designers and design bloggers around the country participate on the hashtag, #OneRoomChallenge, by re-doing one room in their own homes or in a client’s home in the space of 6 weeks and blog about the progress every week.
I was going to re-design my family room for this Fall’s One Room Challenge, but when Hurricane Florence hit, I didn’t want to tie up the sub contractors in our area I would need to hire do it right, as I knew they were needed much more urgently elsewhere, so I decided to tackle my dining room instead, where the work needed is cosmetic versus structural.
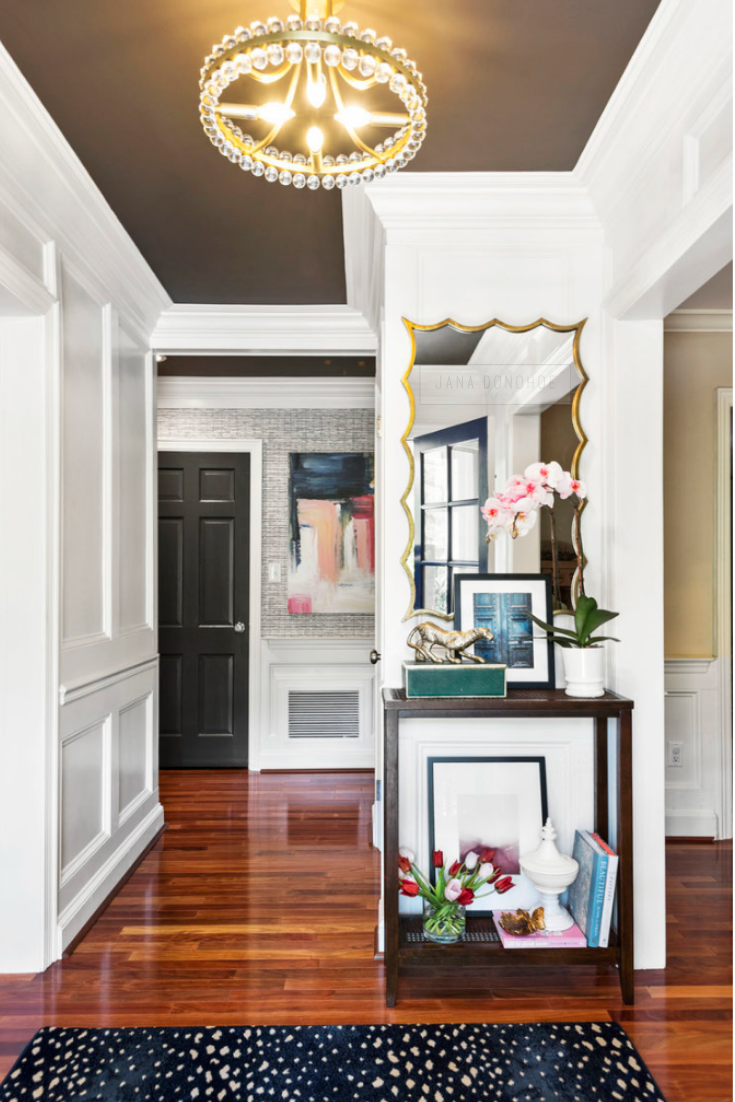
Our dining room (the opening is on the right) can be seen from almost everywhere you stand in our home, including the front hallway, shown below, that I completed for this Spring’s One Room Challenge.
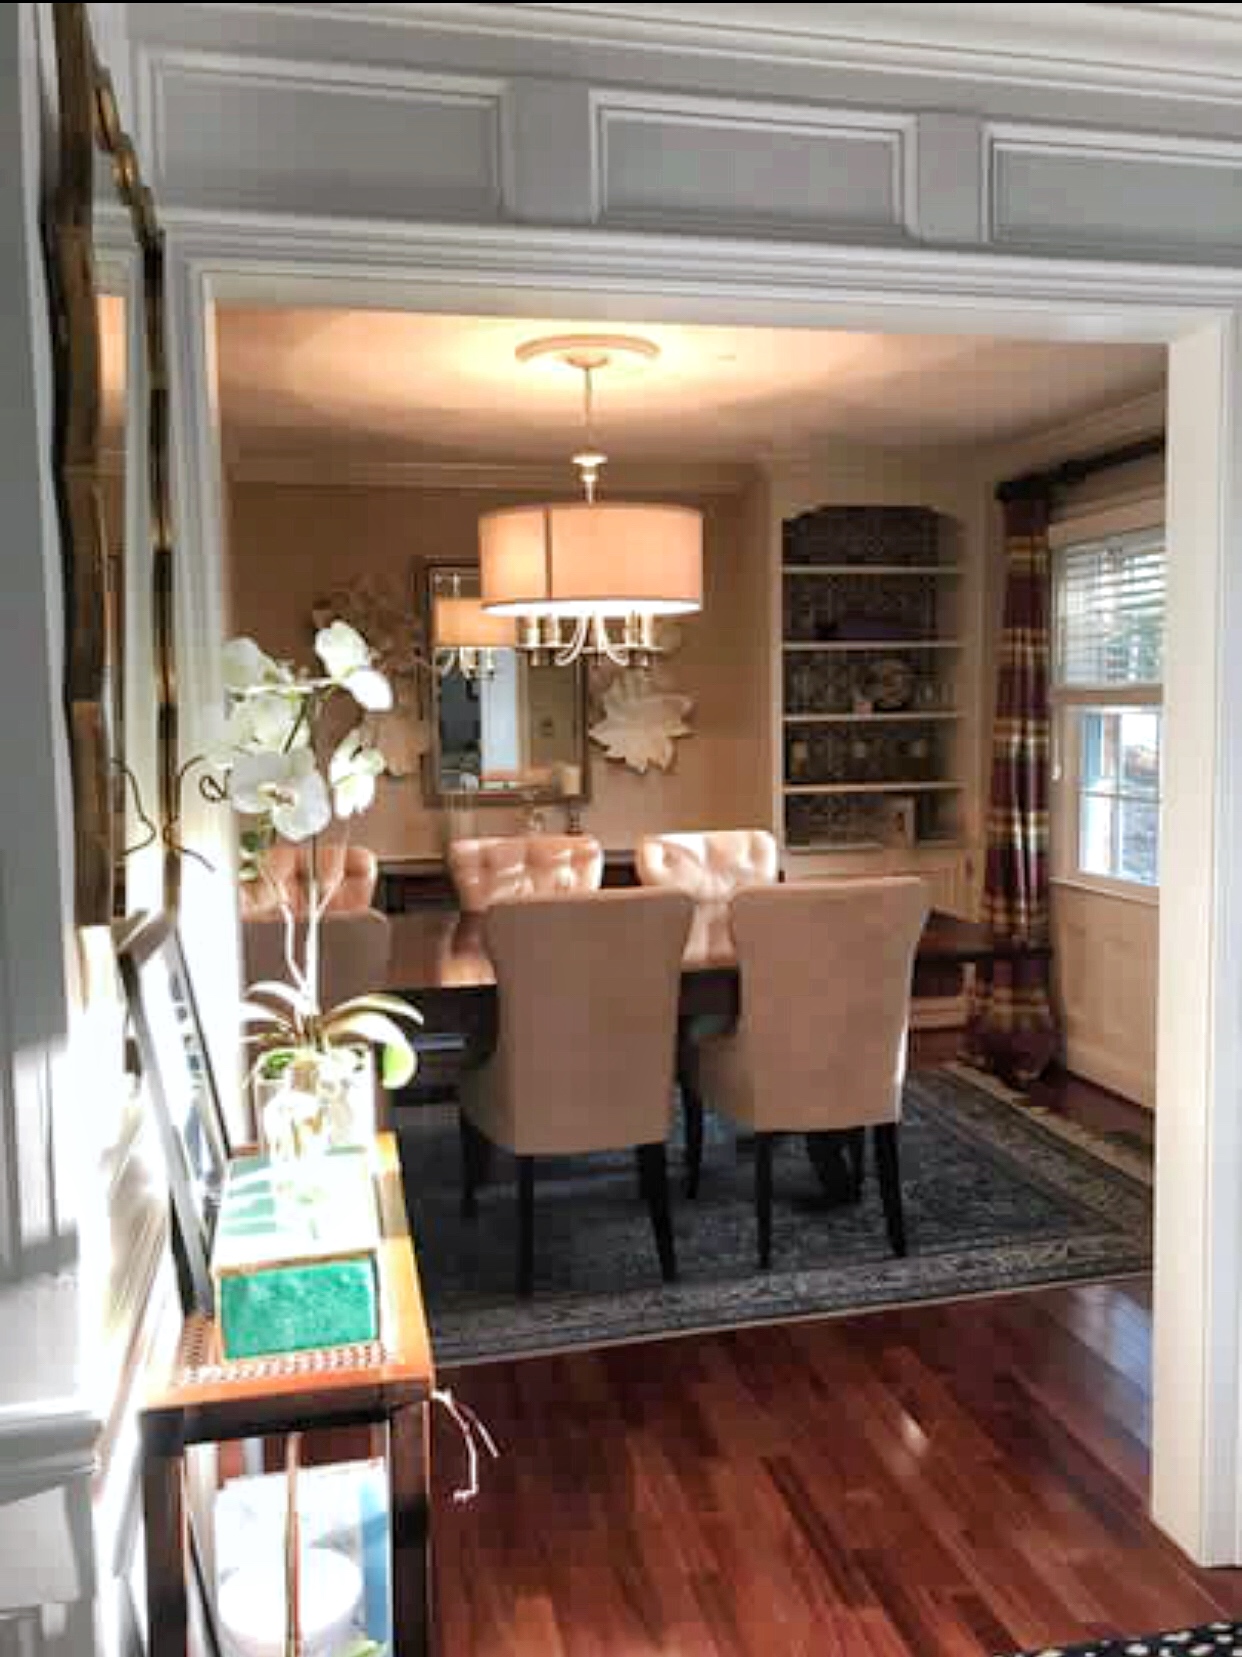
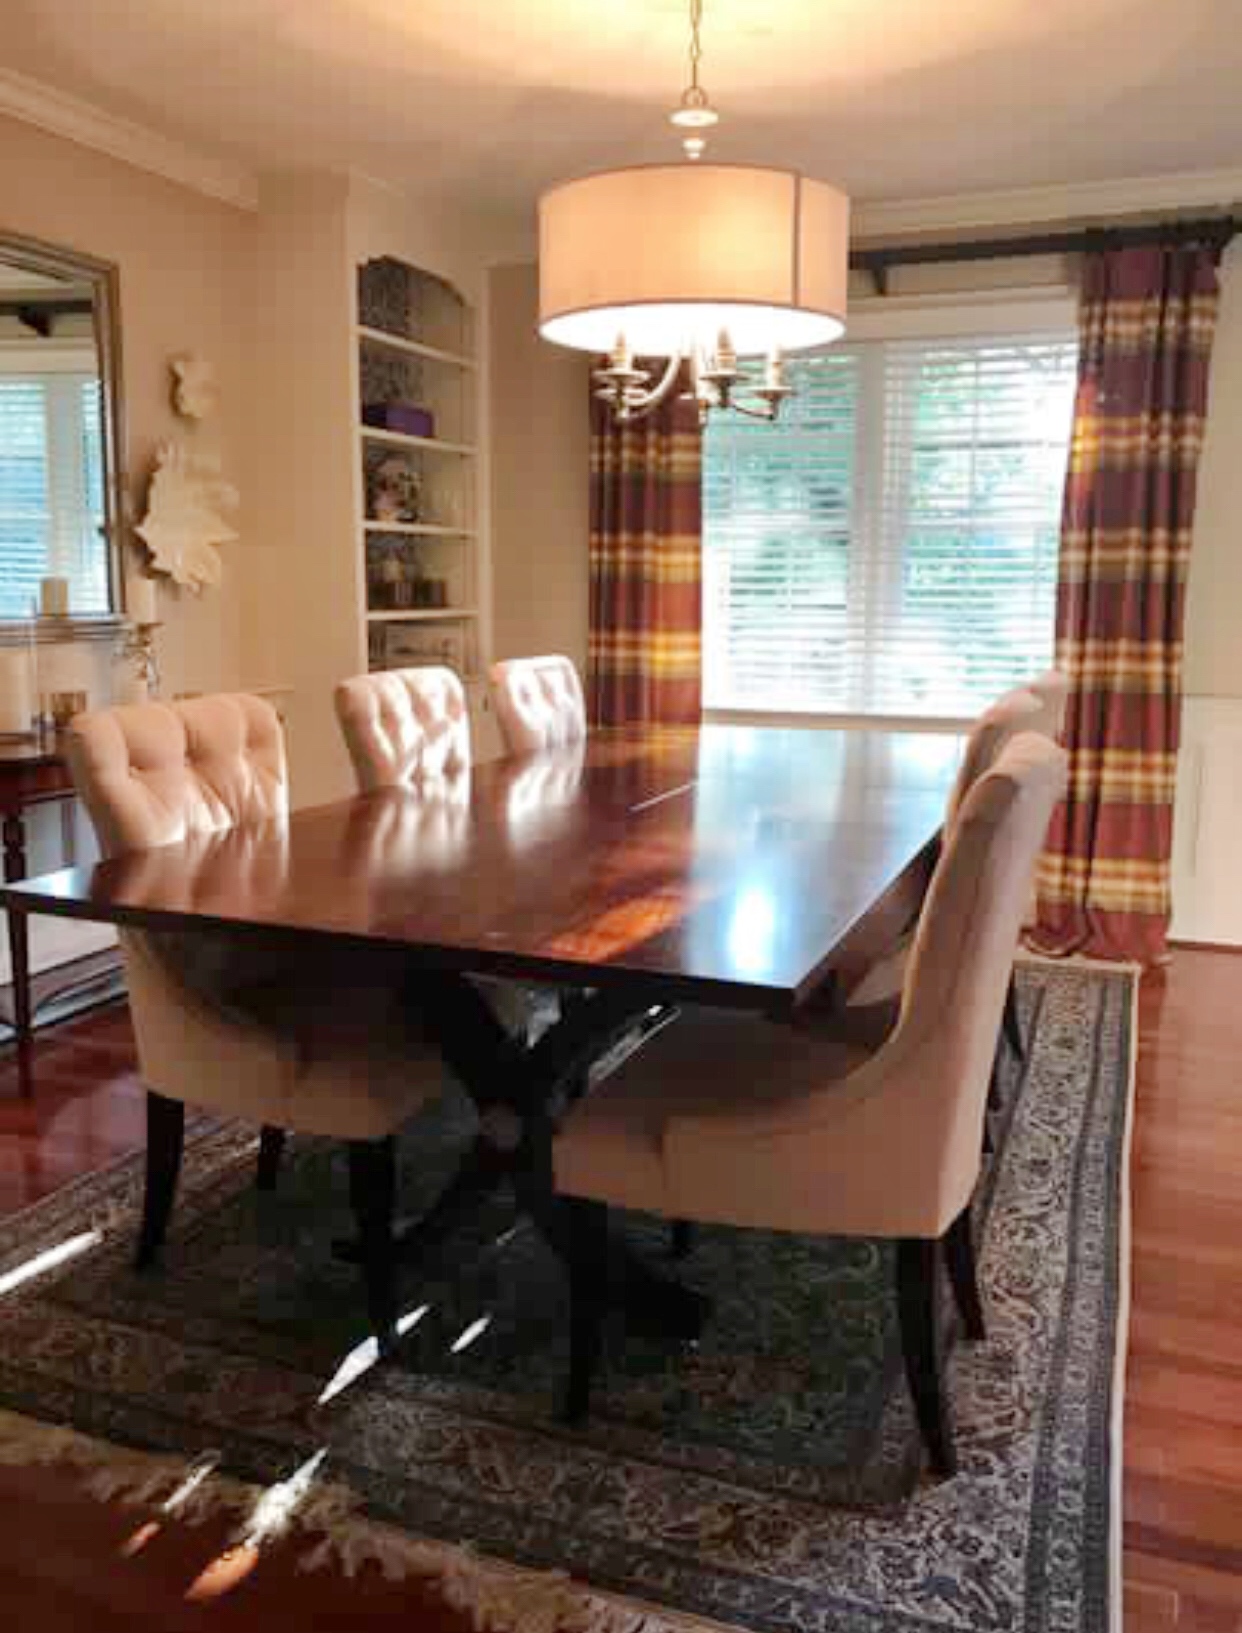
Here’s two BEFORES of our dining room as it looks now. As you can see, it opens off of the hallway, and it also opens off of our kitchen, so I will be thinking very carefully about how to transition colors, patterns, lighting, scale and textures to help them work seamlessly together.
I’m going to be painting and wallpapering, changing out the lighting, mirror, dining chairs and adding a new rug. The new area rug in my hallway and my current dining room rug definitely do not work together!
There might be some other small changes, too, but for now, that’s what I’m planning on so I can keep this project manageable amongst the work I have going on for my clients now and my children’s increasing amounts of homework and after school activities.
FLOORING TRANSITIONS
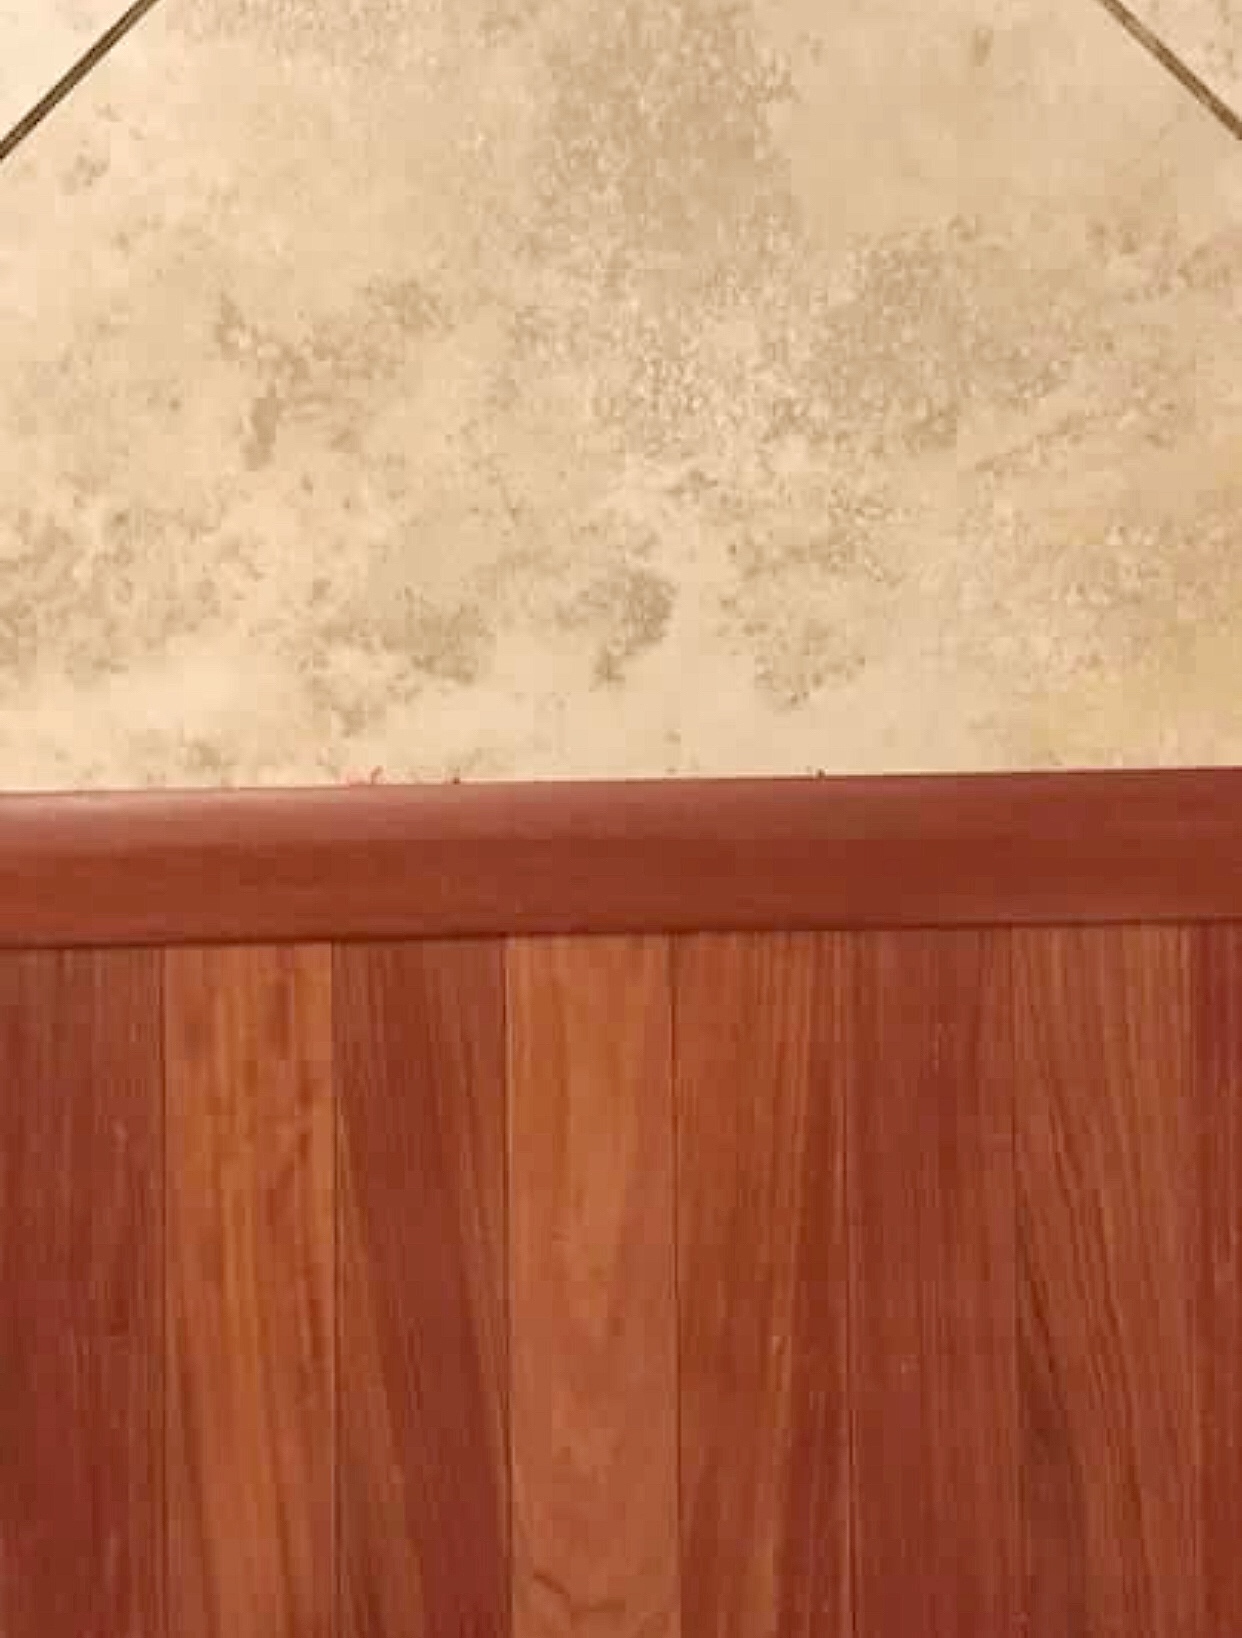
Now, I want to show you a mistake in flooring transitions I made in my own home, before I knew better as an interior designer. I had to figure out how to make a transition between my wood floors and the tile in my kitchen, as they were different heights and this wood strip is the solution I came up with, back then.
This issue of how to help my interior design clients make flooring transitions is a common challenge, and the solutions I now know are available for them are so much better than what I did here!!
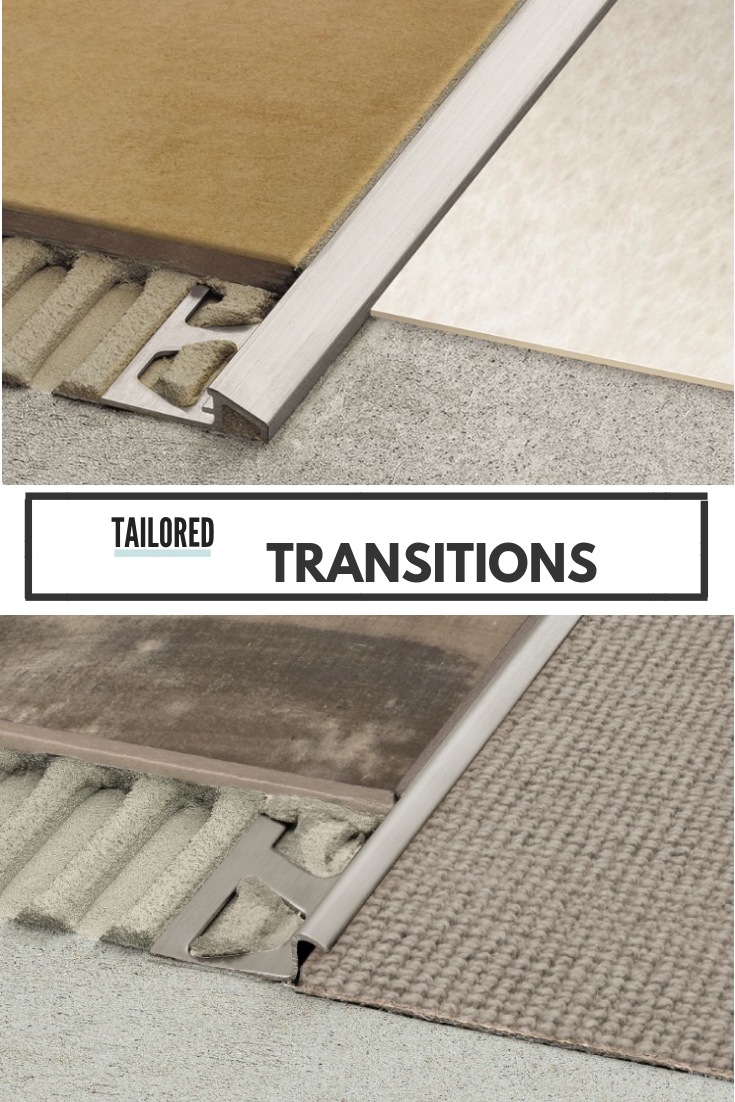
Here is one of the solutions I now offer my clients, depending on what the exact situation is. All four examples shown below are for instances where different heights of flooring have to be accommodated.
Each of the above two solutions offers different advantages. The top solution was designed with a moveable transition arm that is adjustable to reach the height of lower, adjacent floor coverings. It also prevents trip hazards and the tile edge from chipping.
The bottom solution is used to transition between a thinner tile and low pile carpet and it has a thinner reveal. It has a channel beneath the sloped edge that hides the carpet edge, and some of the models can be used where curves are present, too, which is really helpful in indoor outdoor spaces where there are often curves used. In addition, it’s ADA-compliant. A win for my clients with disabilities or for my commercial clients!
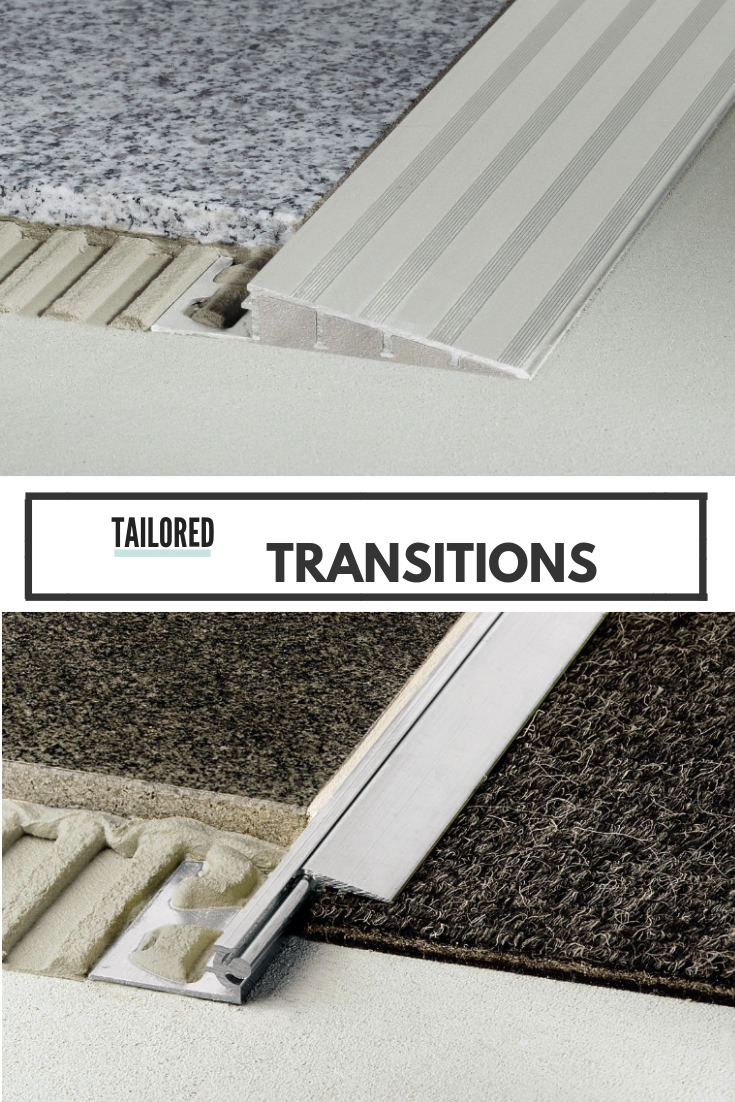
Here are two more solutions for both commercial and new construction applications.
In the first image, the transition element is designed for new construction and commercial applications, where wheelchairs or carts have to be accommodated and is bonded right to the tile, instead of being placed on top of it, as it would need to be in a remodel.
In the second image, once again, the transition element has a moveable transition arm, to accommodate different surface heights.
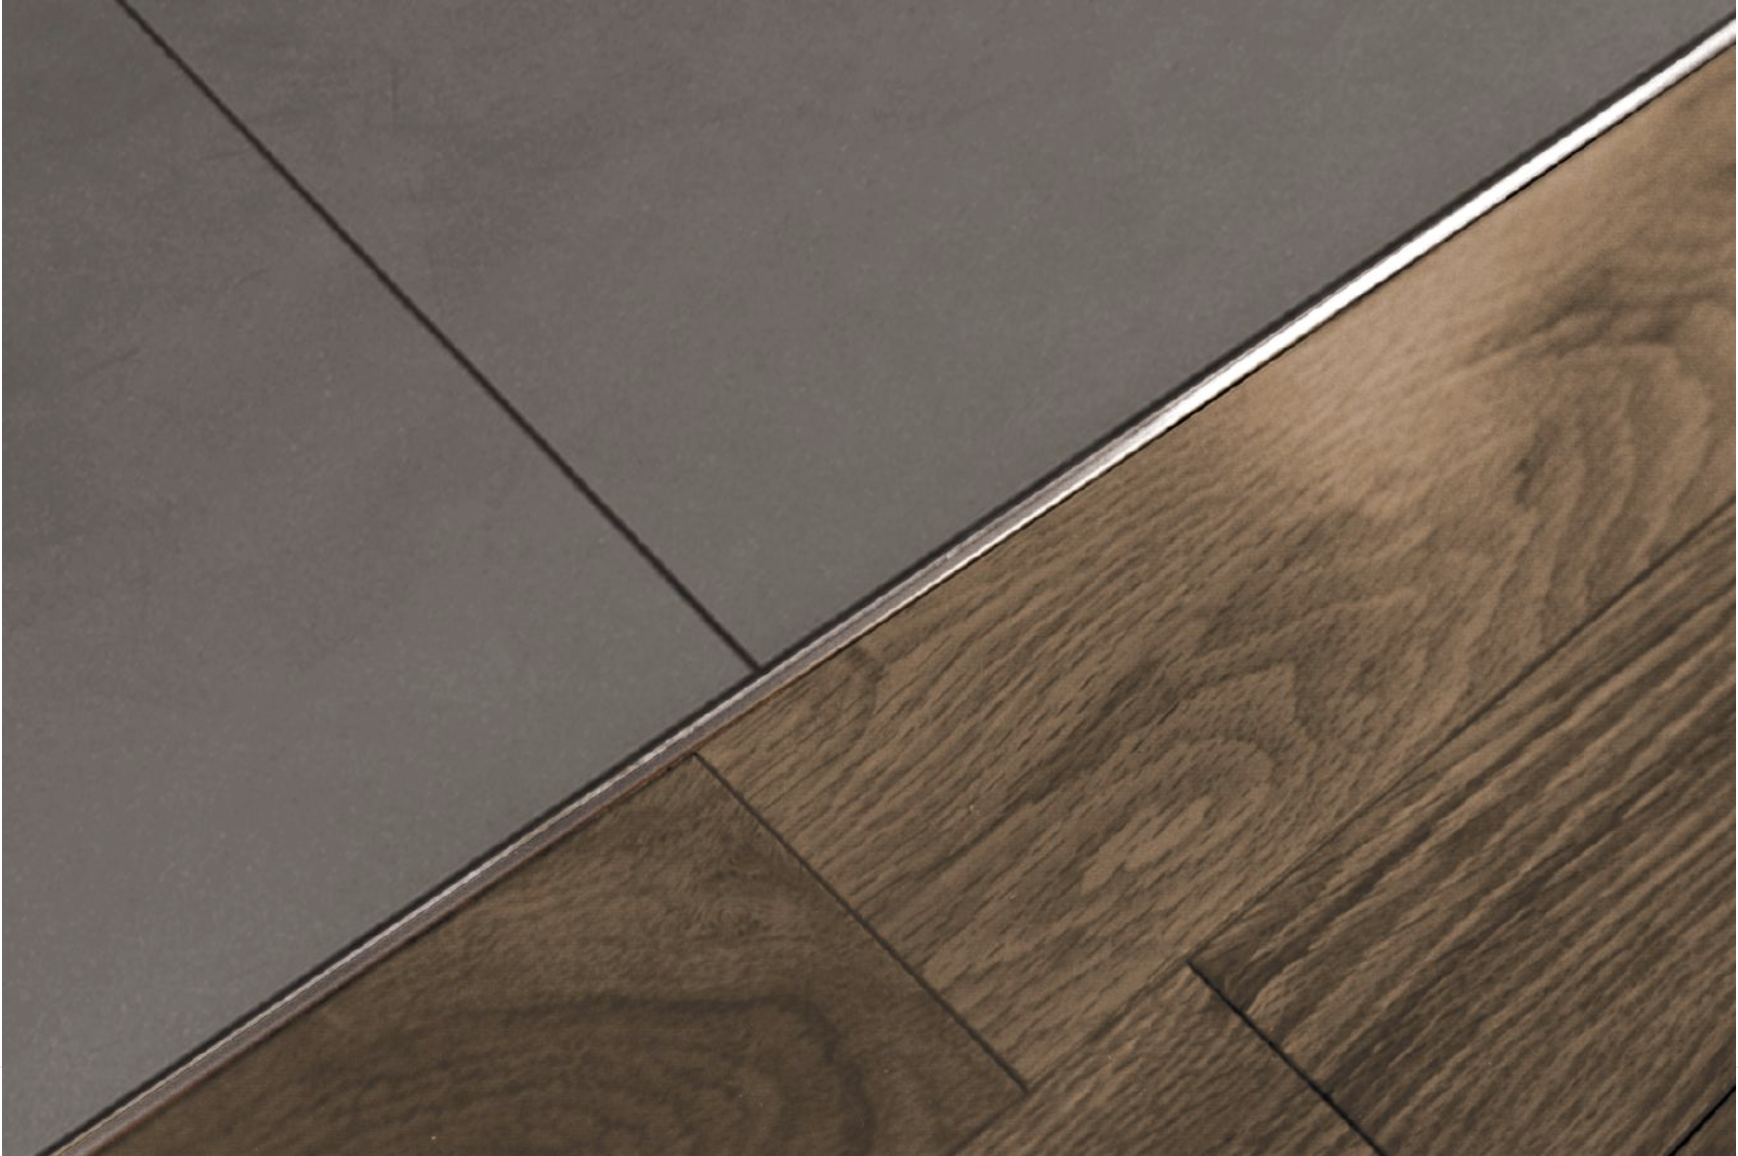
Lastly, if the two surfaces abutting each other are even heights to begin with, but need a spacer, this transition solution is a beautiful one.
FURNITURE FOR TRANSITIONS IN OPEN FLOOR PLANS
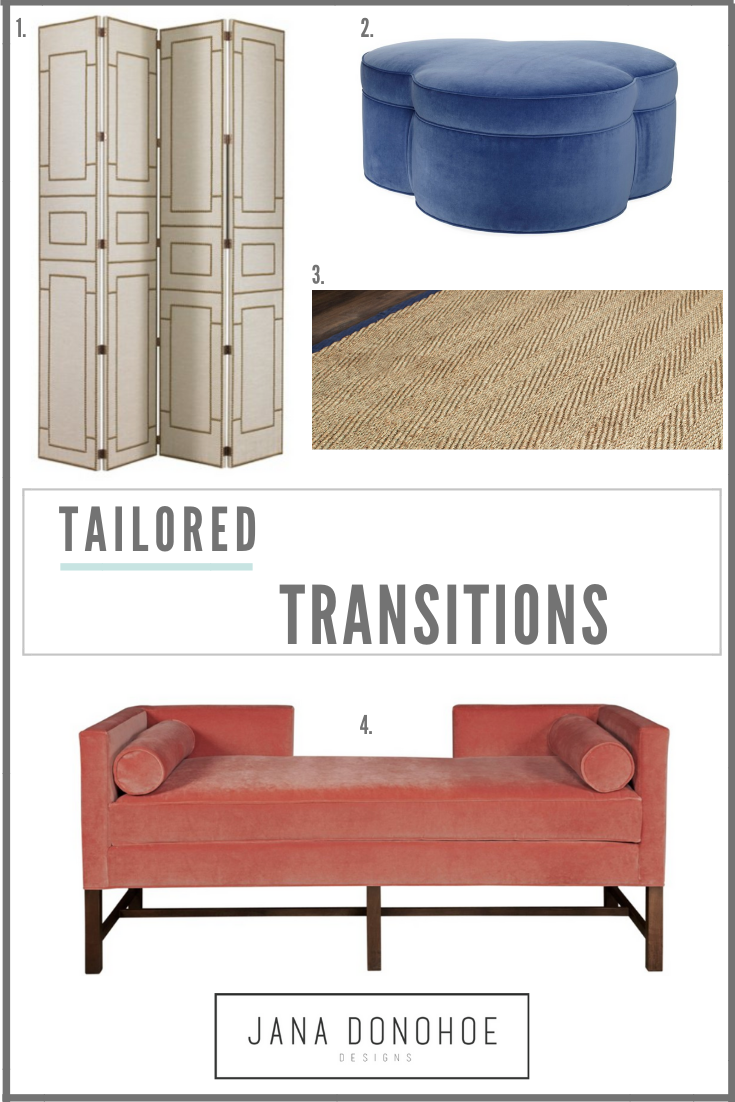
Lastly, I want to show you four furniture pieces that can be used to make beautiful transitions in any open floor plan in your own homes. All of these pieces can be purchased directly by you by clicking on the corresponding numbers underneath this image and please note that if you do purchase, I will make a small commission.
One of the pieces below, the ANDREW daybed bench, is manufactured by Kristin Drohan here in North Carolina. Kristin’s upholstery is made from recycled materials and to the highest standards of overall upholstery construction.
Watch this video of hers to learn how it’s made and the benefits to you in investing in this level of quality. Thanks, Kristin!
All of these pieces: the two sided upholstered room screen with decorative nailheads, the three sided ottoman, the low bench and the bound area rug will help you create beautifully tailored transitions in any open floor plan room in your own homes.
If you’d like to buy any of these items, please click the name of the item next to the number: 1. Room Screen 2. Ottoman 3. Bound Seagrass Rug 4. Bench
And one last piece that I really love for creating a casually tailored transition in an open floor plan is this gold etagere from Mrs. Howard. You can purchase it on this link if you love it as much as I do!
I know I’ve covered a lot of different types of transitions in this post, and if you all have any questions, or if one of you reading this would like to work with me on helping you figure out how to make effective transitions from one room to another in your own homes, please leave me a comment or contact me here.
I look forward to seeing you back here as I begin the #OneRoomChallenge or #ORCFall18, as it’s sometimes shortened, and if you’d like to see my previous #ORC rooms please click here, here, here . To read more about what the One Room Challenge is all about and/or to participate yourself, click here.
The final reveal for my dining room and all of the other participants rooms will be on Thursday, November 8th!
And, again, thank you for your concern for my family’s well being during Florence. I sincerely appreciate it and look forward to seeing all my North Carolina vendors and friends at this Fall’s #HPMKT in just a few weeks.
Jana Donohoe, ASID
www.janadonohedesigns.com
Instagram | Facebook | Pinterest | Twitter






The Furnshop
| 1 November 2018This is nice. I liked these ideas to make transitions. Many thanks for sharing this post.
Jana Donohoe
| 1 November 2018Thank you so much!