
- June 2, 2020
- Jana Donohoe
Welcome to week six friends!
You may be wondering what happened to the week five update? Linda the creator of the One Room Challenge cancelled week 5 to honor and respect the victims of racial injustice. I fully supported her decision and took the time to really listen and learn about racism in our country. This is an on-going problem and my hope is that we can all be diligent in doing the work going forward to help solve this problem. Let’s do better, let’s be better!

Week Six

If you are new to my blog, Welcome! I’m so happy you’ve stopped by I’m Jana Donohoe, an interior designer in Fayetteville, North Carolina, mom of 3 busy kiddos and Peloton addict! I’m making over my walk out basement into a proper home gym and an inspiring basement patio area for this challenge.
Not Familiar with the One Room Challenge
The One Room Challenge is a bi-annual event where interior designers, bloggers and design enthusiasts participate in transforming a space of their choice and blog about it every week. So be sure to watch for those weekly updates.
Catch up on week one, two, three and four , five (cancelled)
We have made great strides the last two weeks, but will it be enough to reach the finish line in 2 short weeks. The answer is I don’t know! I can tell you that if we don’t finish, it won’t be for a lack of not trying. Let’s review what we did get done. Starting with the outside. Get comfy, this is going to be a long post!
Last weeks weather was mostly great. Which allowed us to get lots done. 🙂
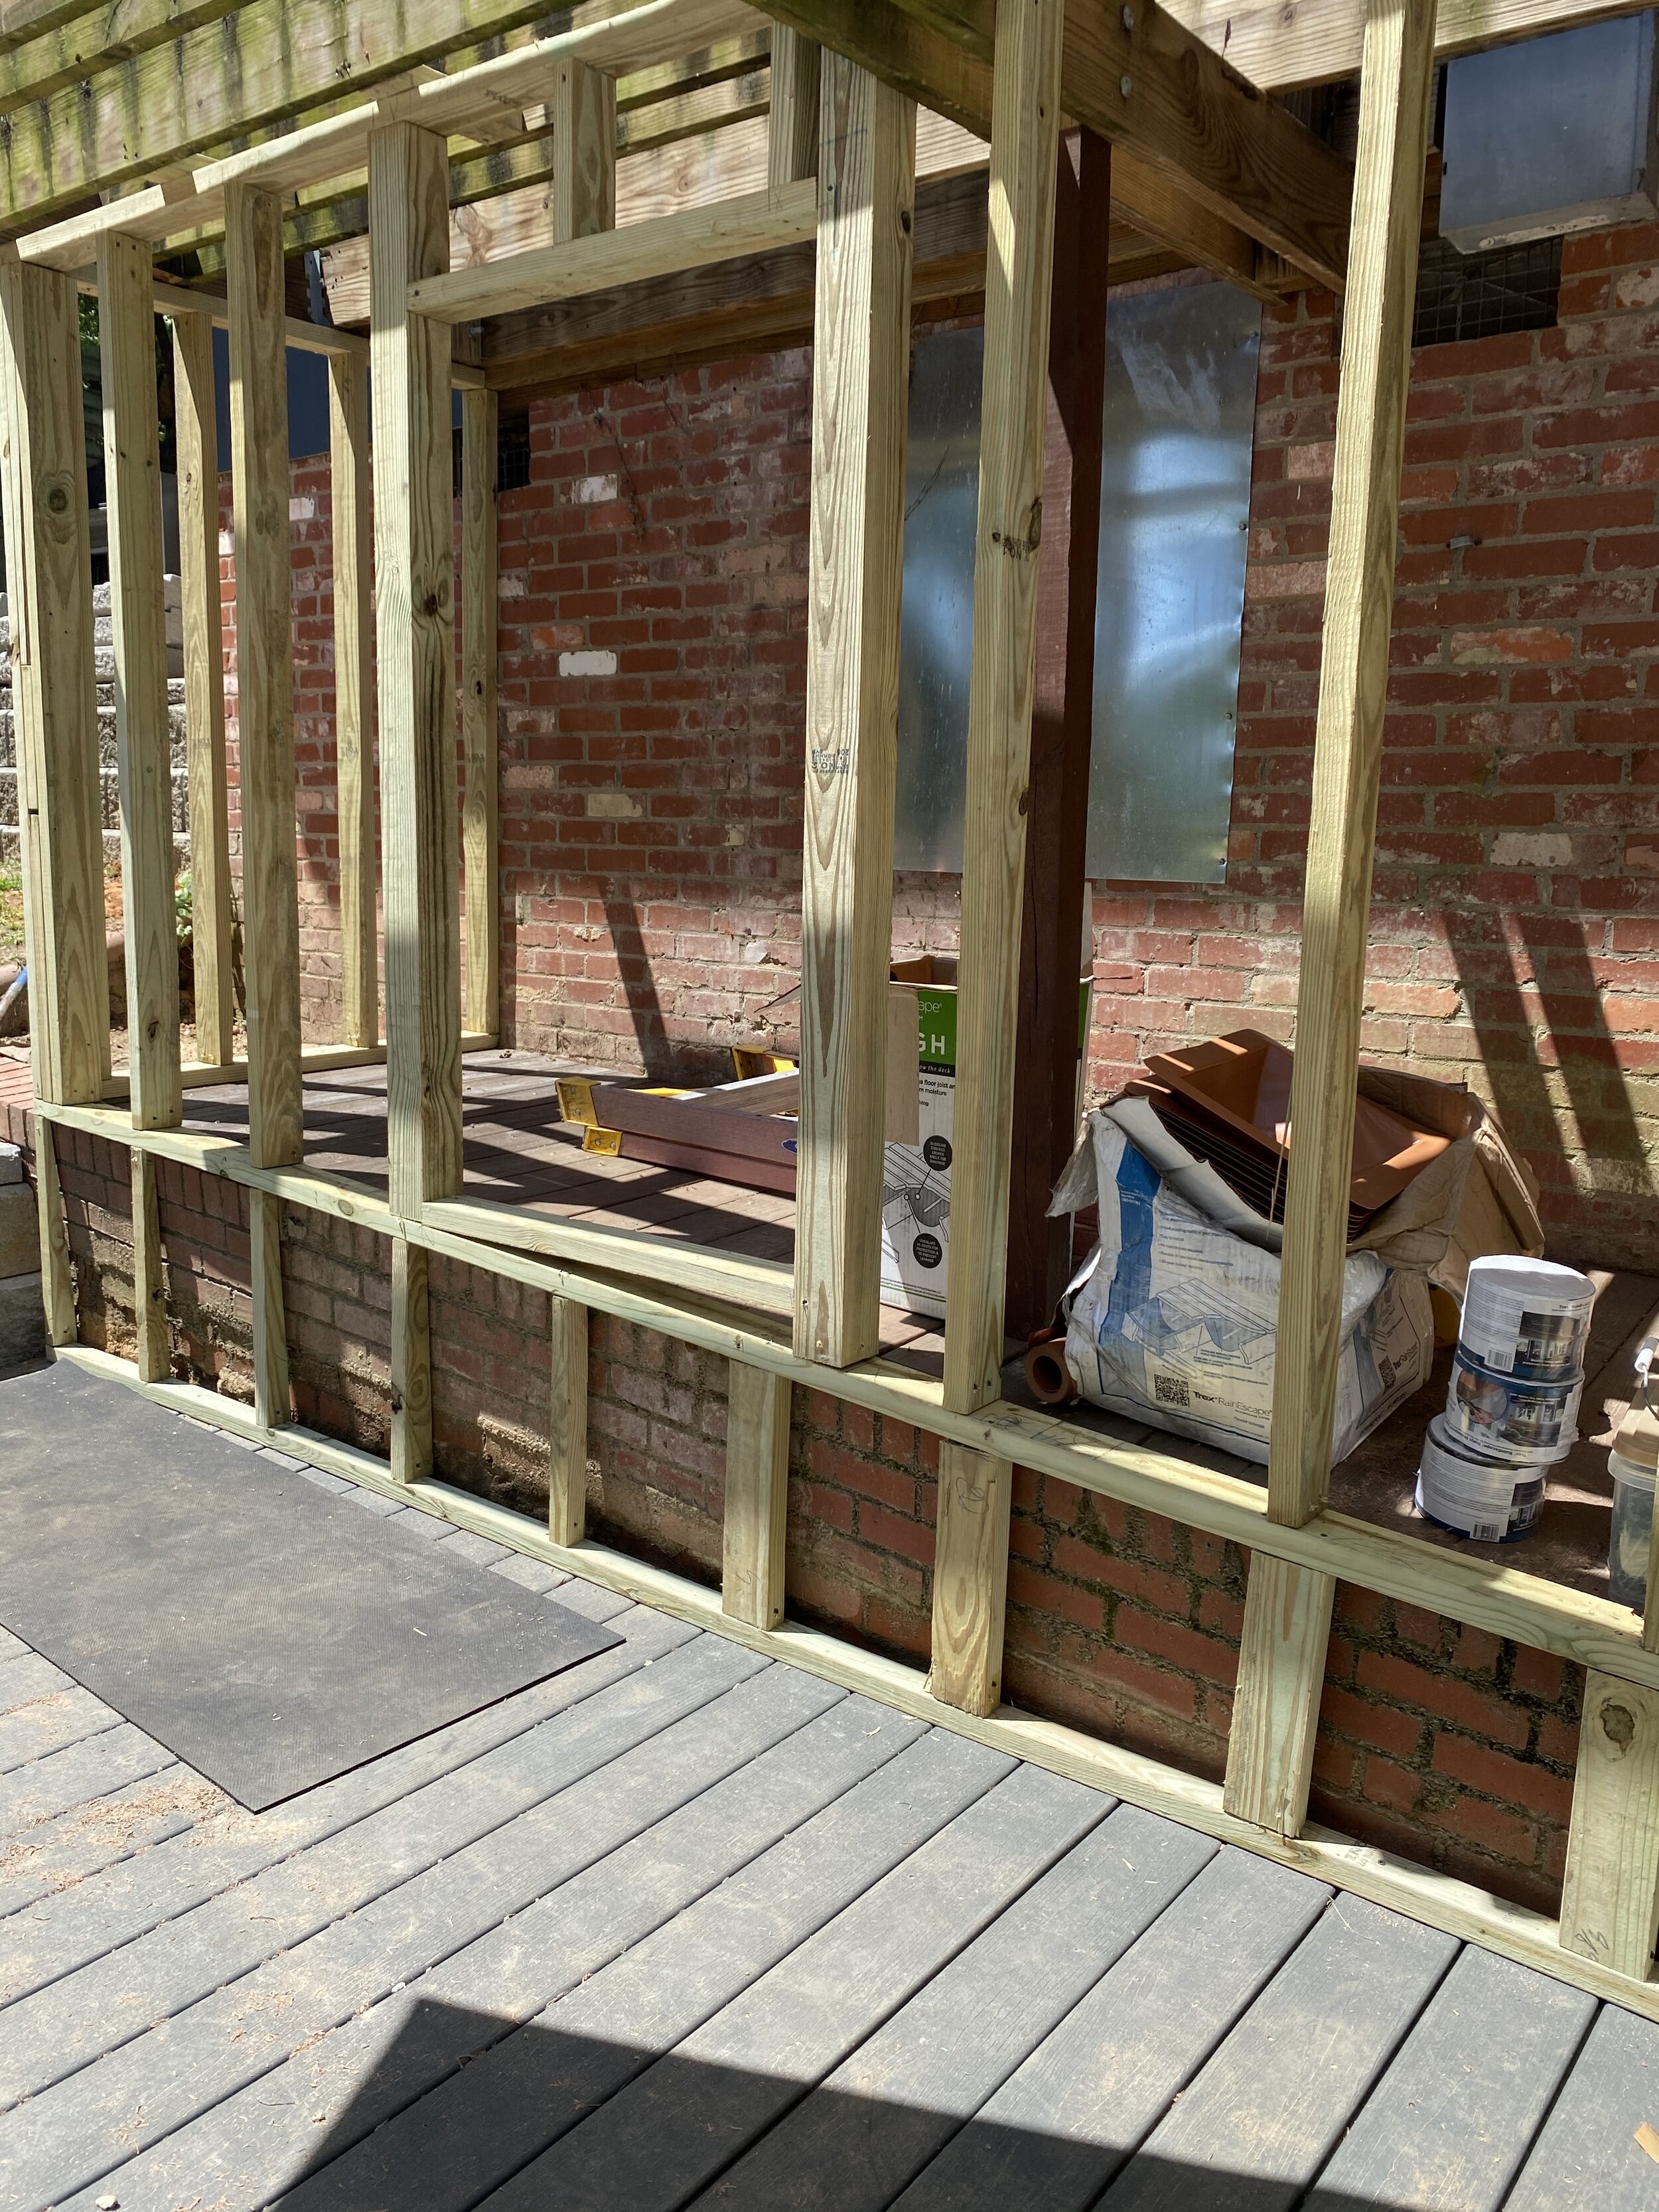
The framing for the new under deck storage went up. Do you see how we framed over the brick? I was originally going to run the cedar slats on top of the brick. But after carefully looking at the uneven bricks and the major slope of the bricks, I felt it would make a much cleaner site line to run the cedar slats even with the deck….which is perfectly level. 🙂
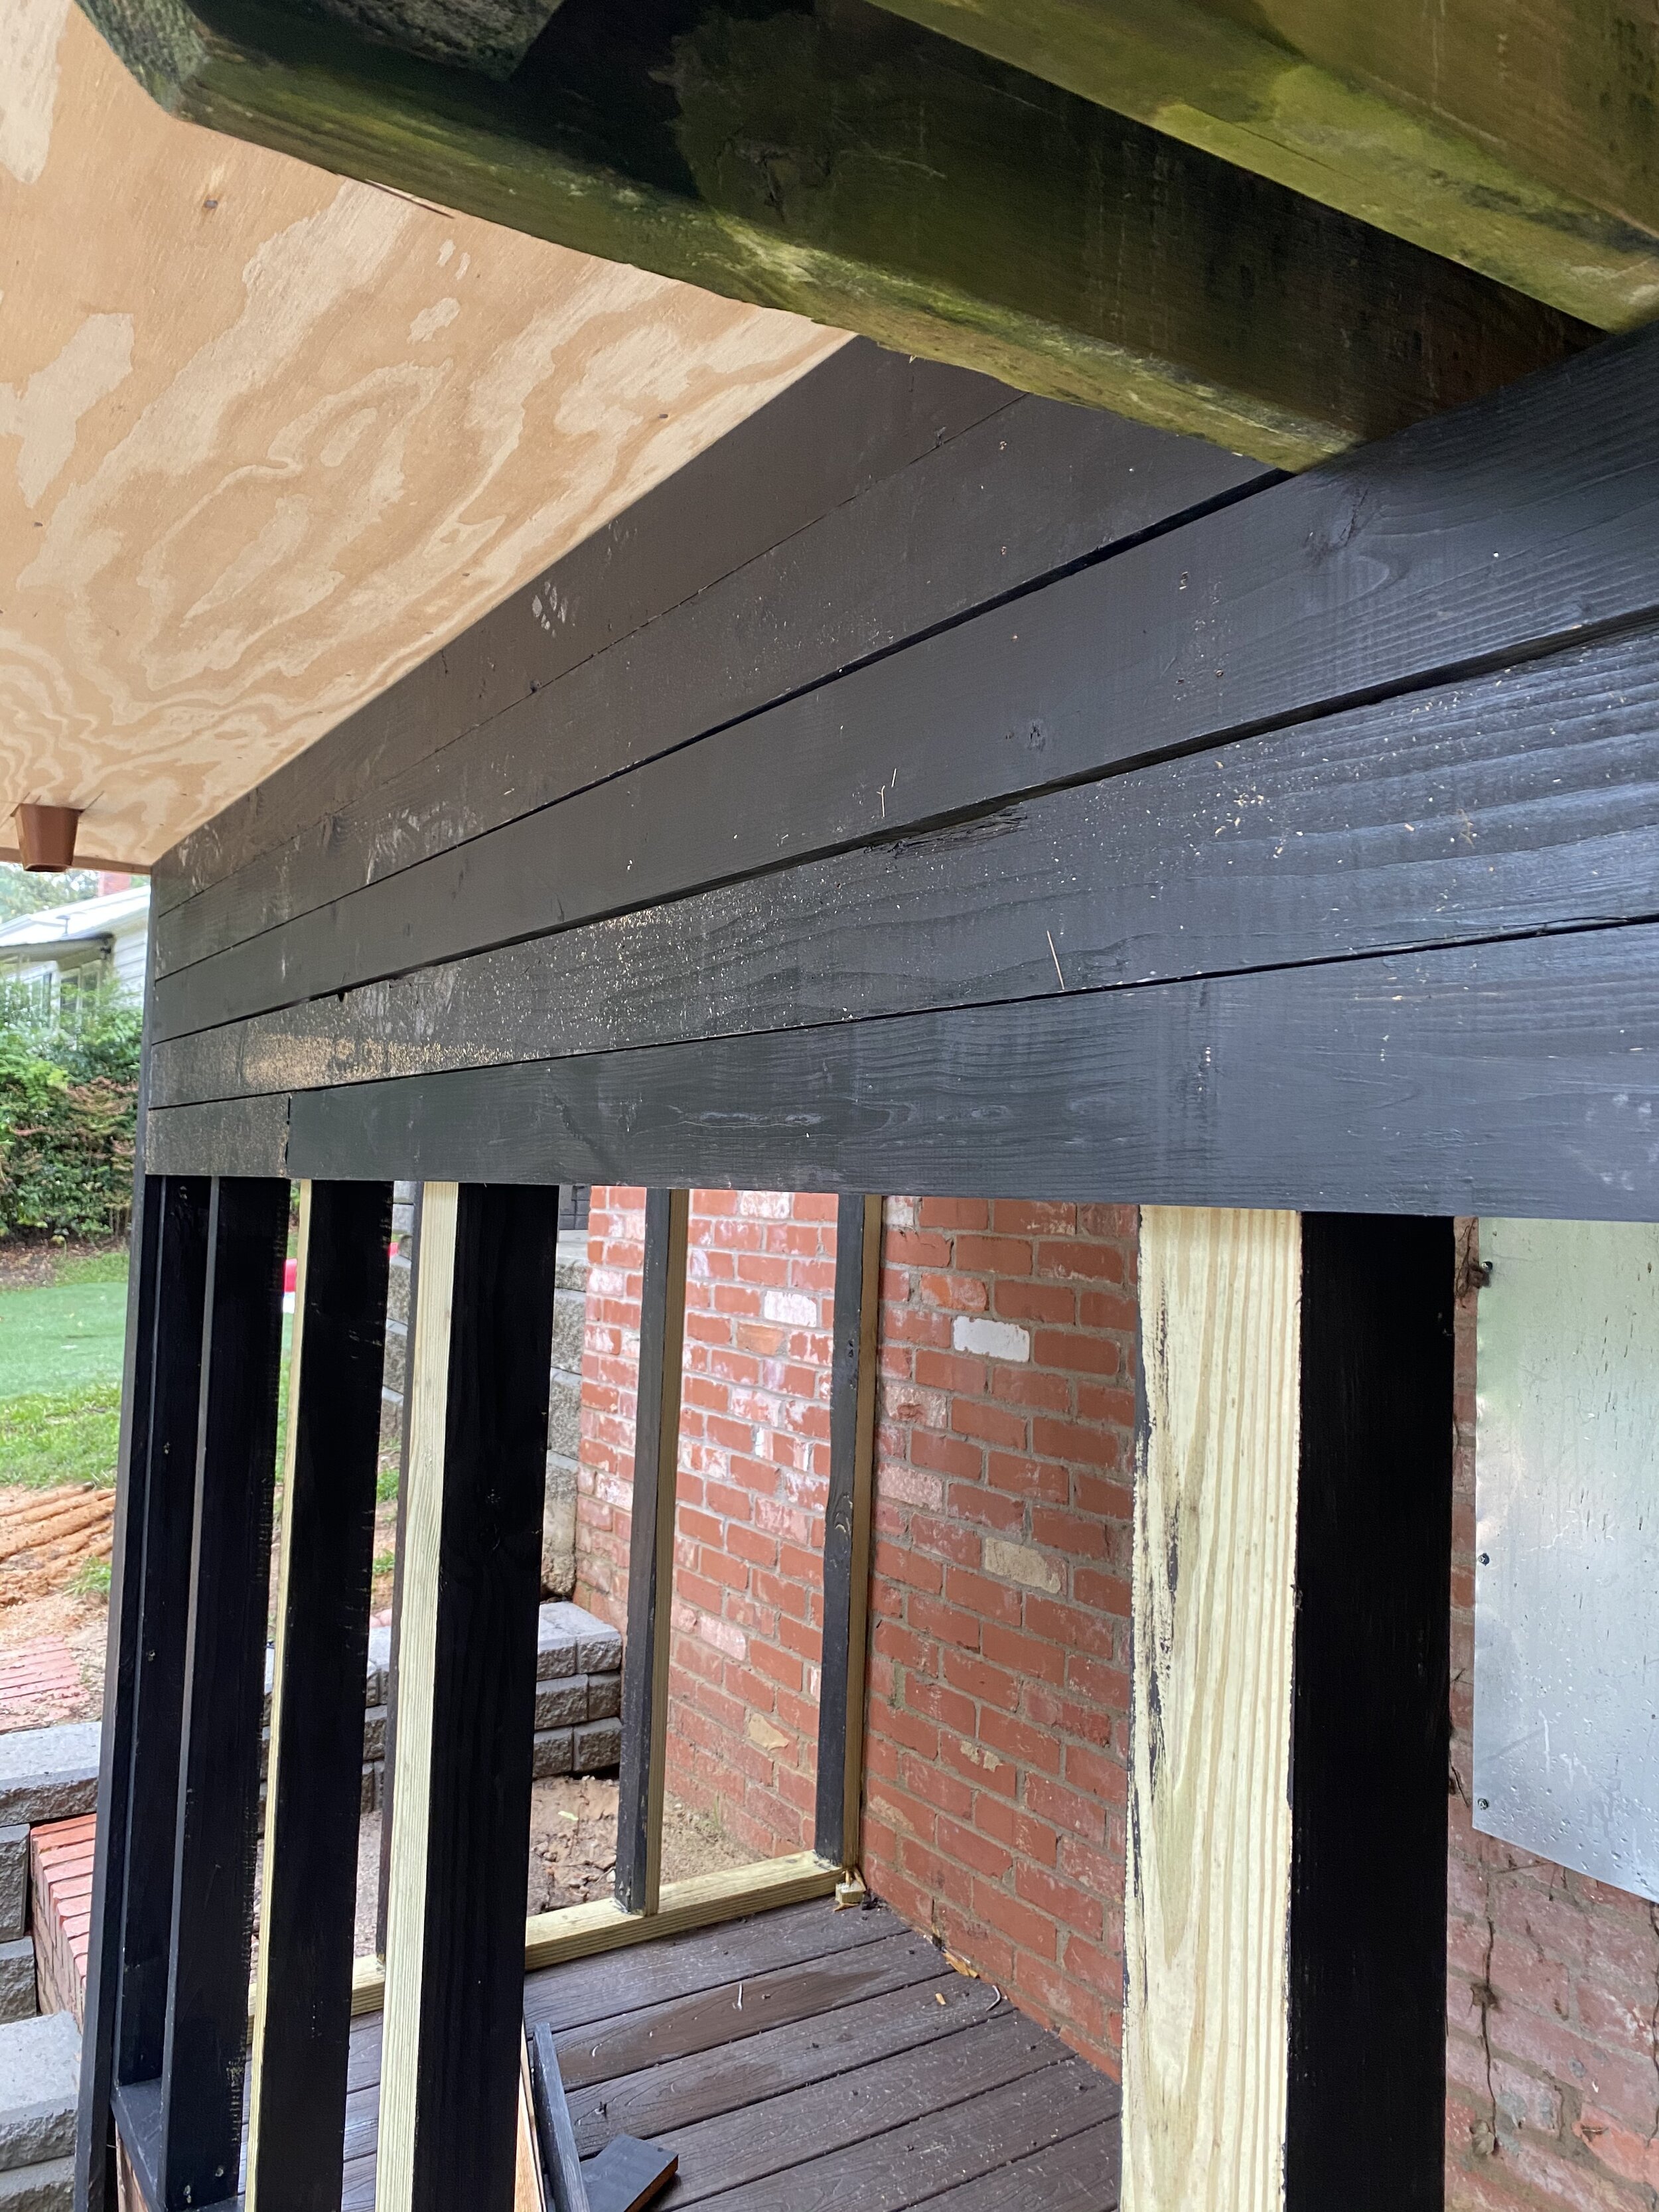
We recycled our old deck to use for the floor in the storage area. Which worked out pretty nicely! Now, we are currently working on getting the cedar slats up to enclose the storage. Unfortunately, the rain interrupted us…again. I decided to paint the slats prior to going up and then plan on touching them up once they are all up. Was that a time saver? Verdict is still out.
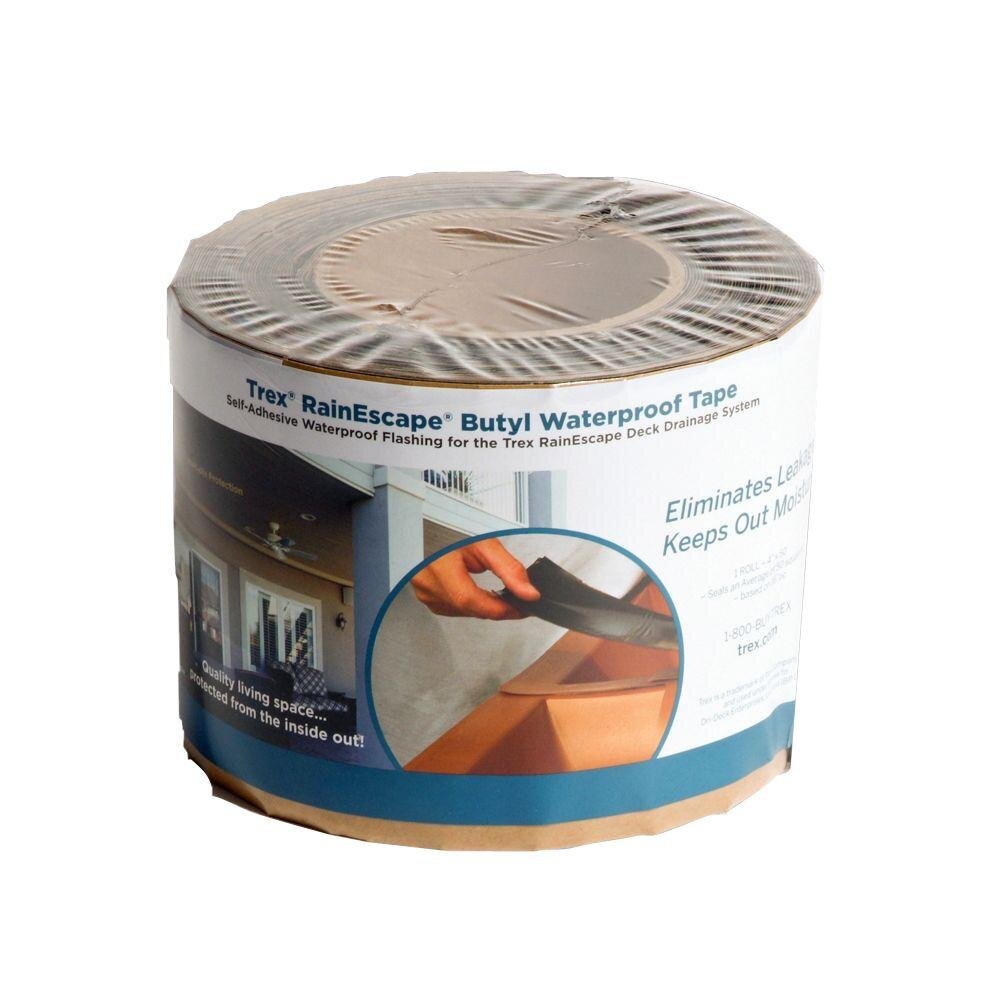
Next up, was the deck waterproofing. We received all the supplies we needed to waterproof our deck. The system we used is called Rain Escape by Trex, which is basically an under deck drainage system. Here are some of the highlights and reasons why I choose this system.
-
Uses a network of troughs and gutters to divert water from the deck
-
Shields the area below the deck from rain, snow, sun and other elements
-
Provides 100% protection of the deck substructure from moisture
-
Holds screws in place longer
-
Is easy to install
-
Comes with a 20-year warranty
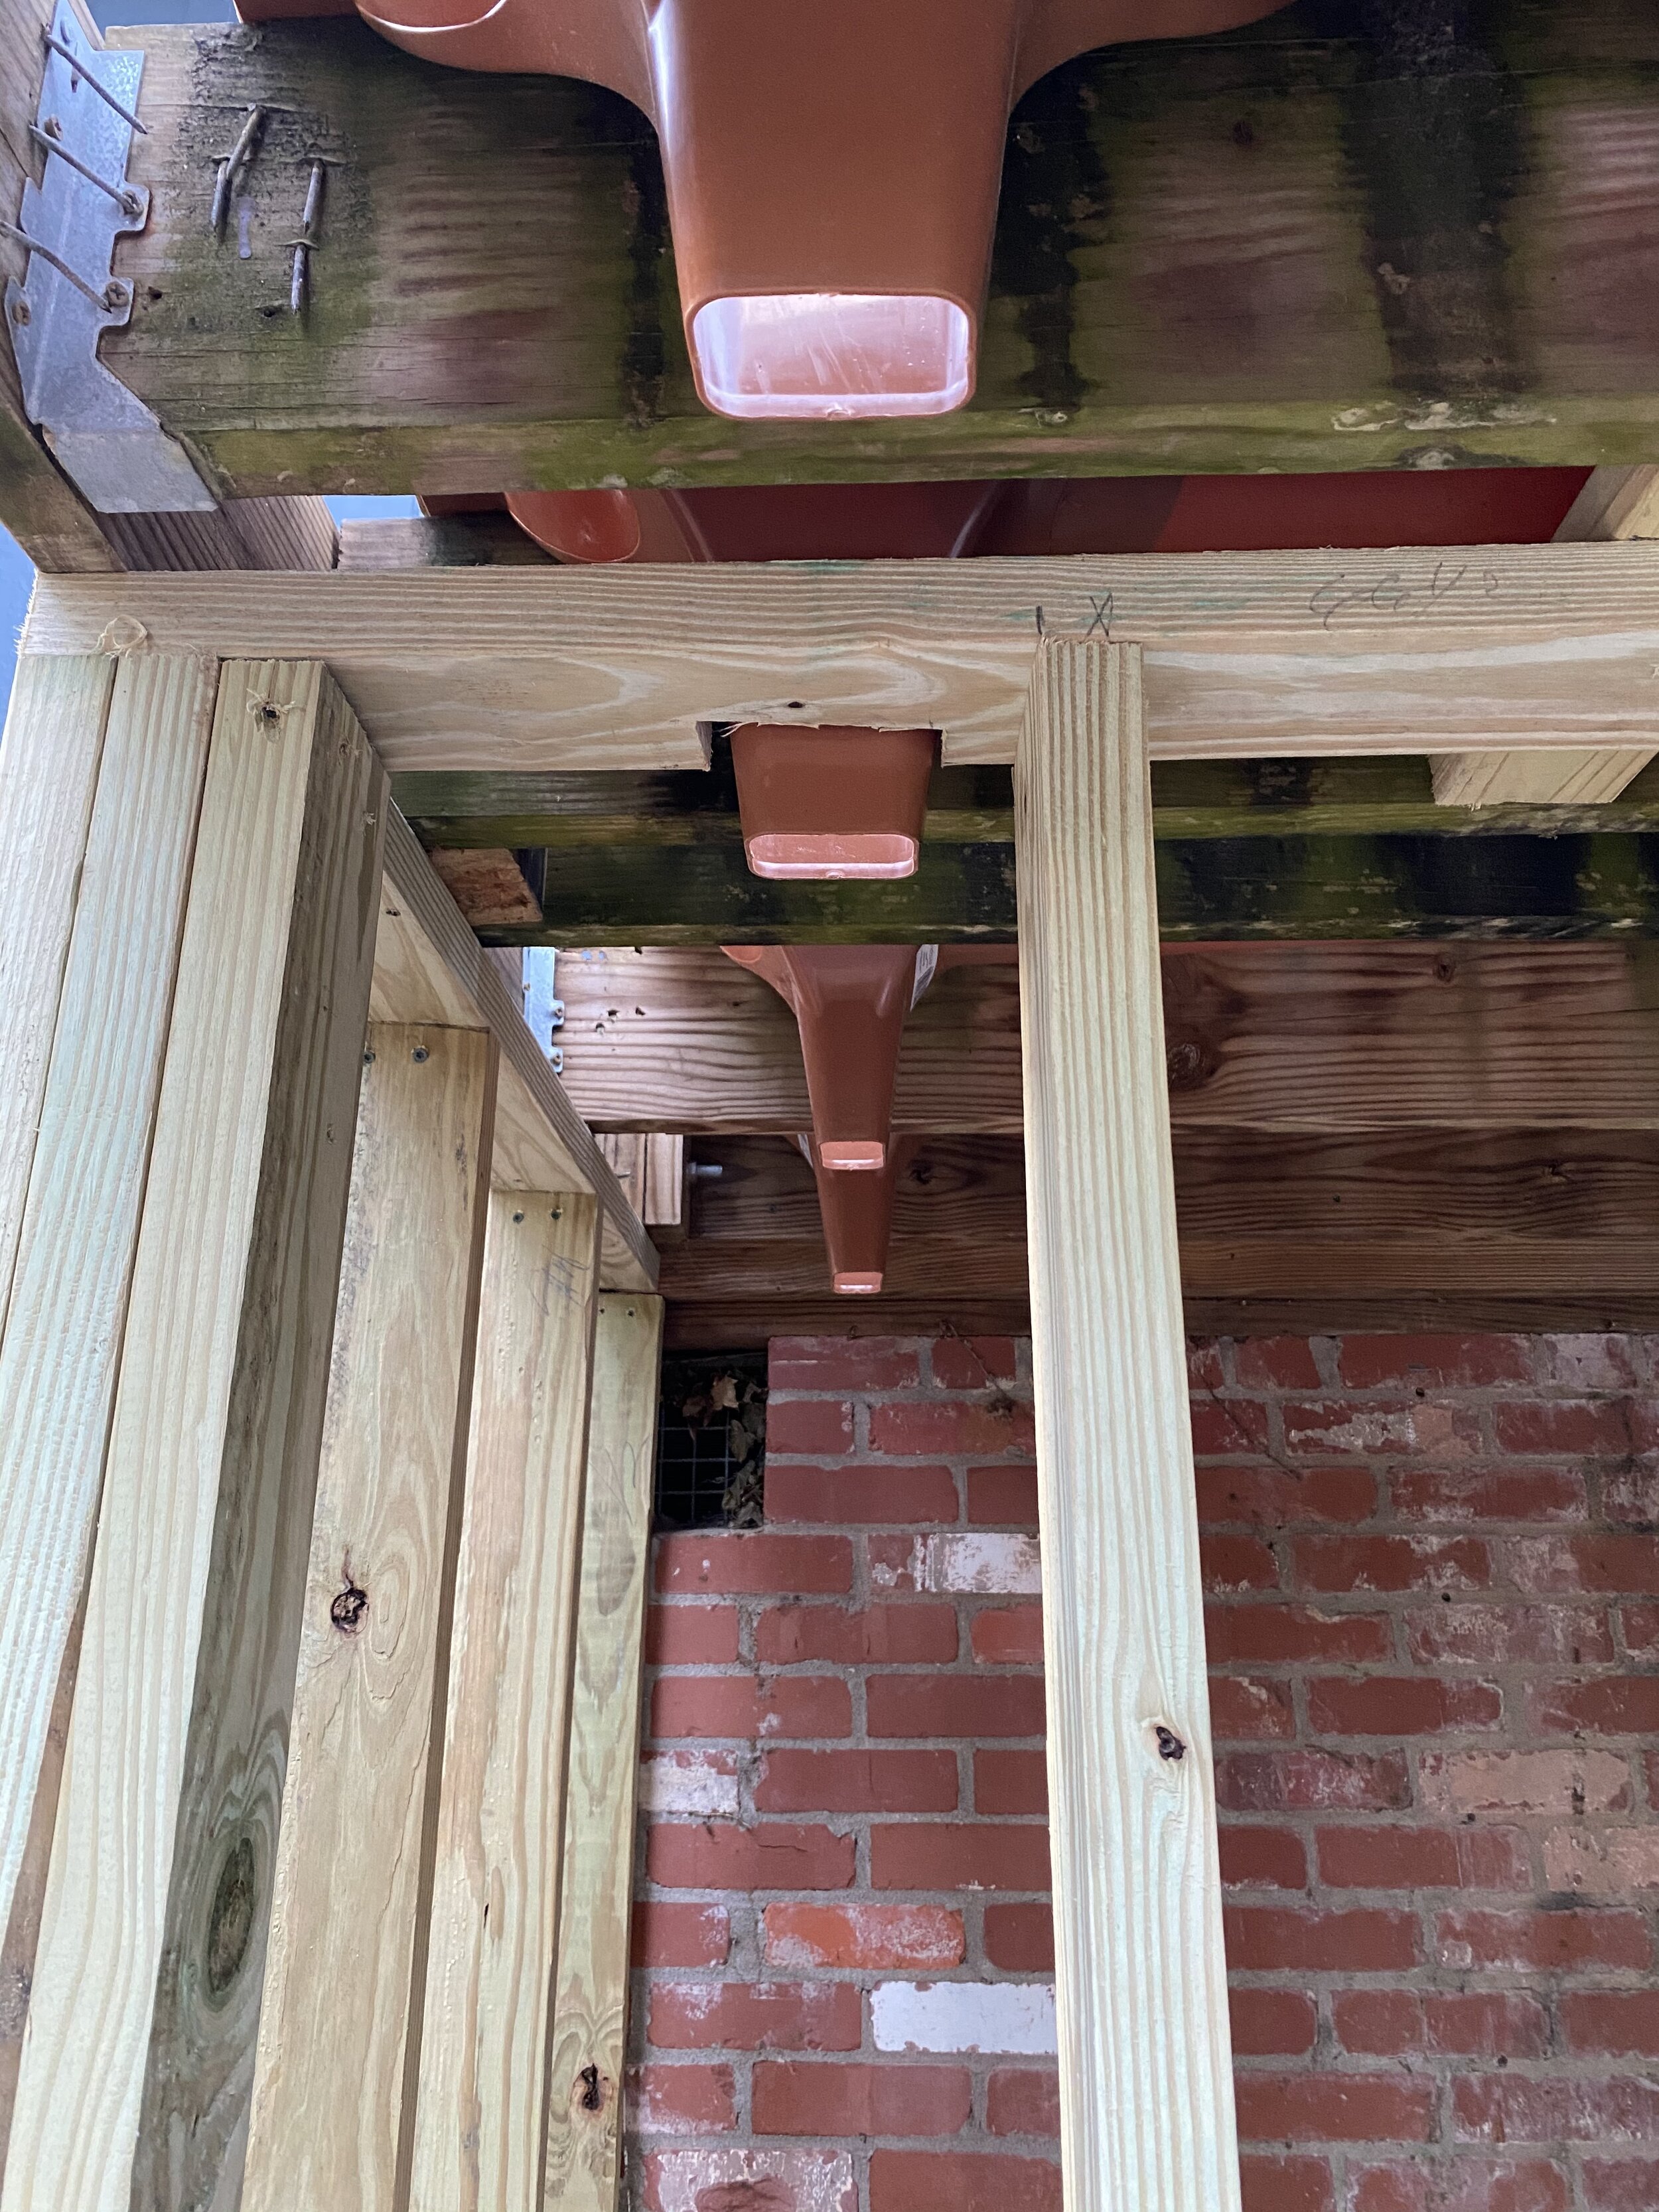
Trex Rain Escape was super easy right from the start. You can go to their website, plug in the size of your deck and they will figure out the amount of materials you will need. We took the materials lists to our local hardware store and ordered the product there. Shown below are the troughs and the gutters installed. Once everything else is finished we will add another gutter that the deck gutters will pour into and move water away from house.
Since we are still getting a fair amount of rain here, we have gotten to see how these really work and to make sure we don’t have any leaks before we seal up the bottom of the deck into a finished ceiling.
So far, so good!
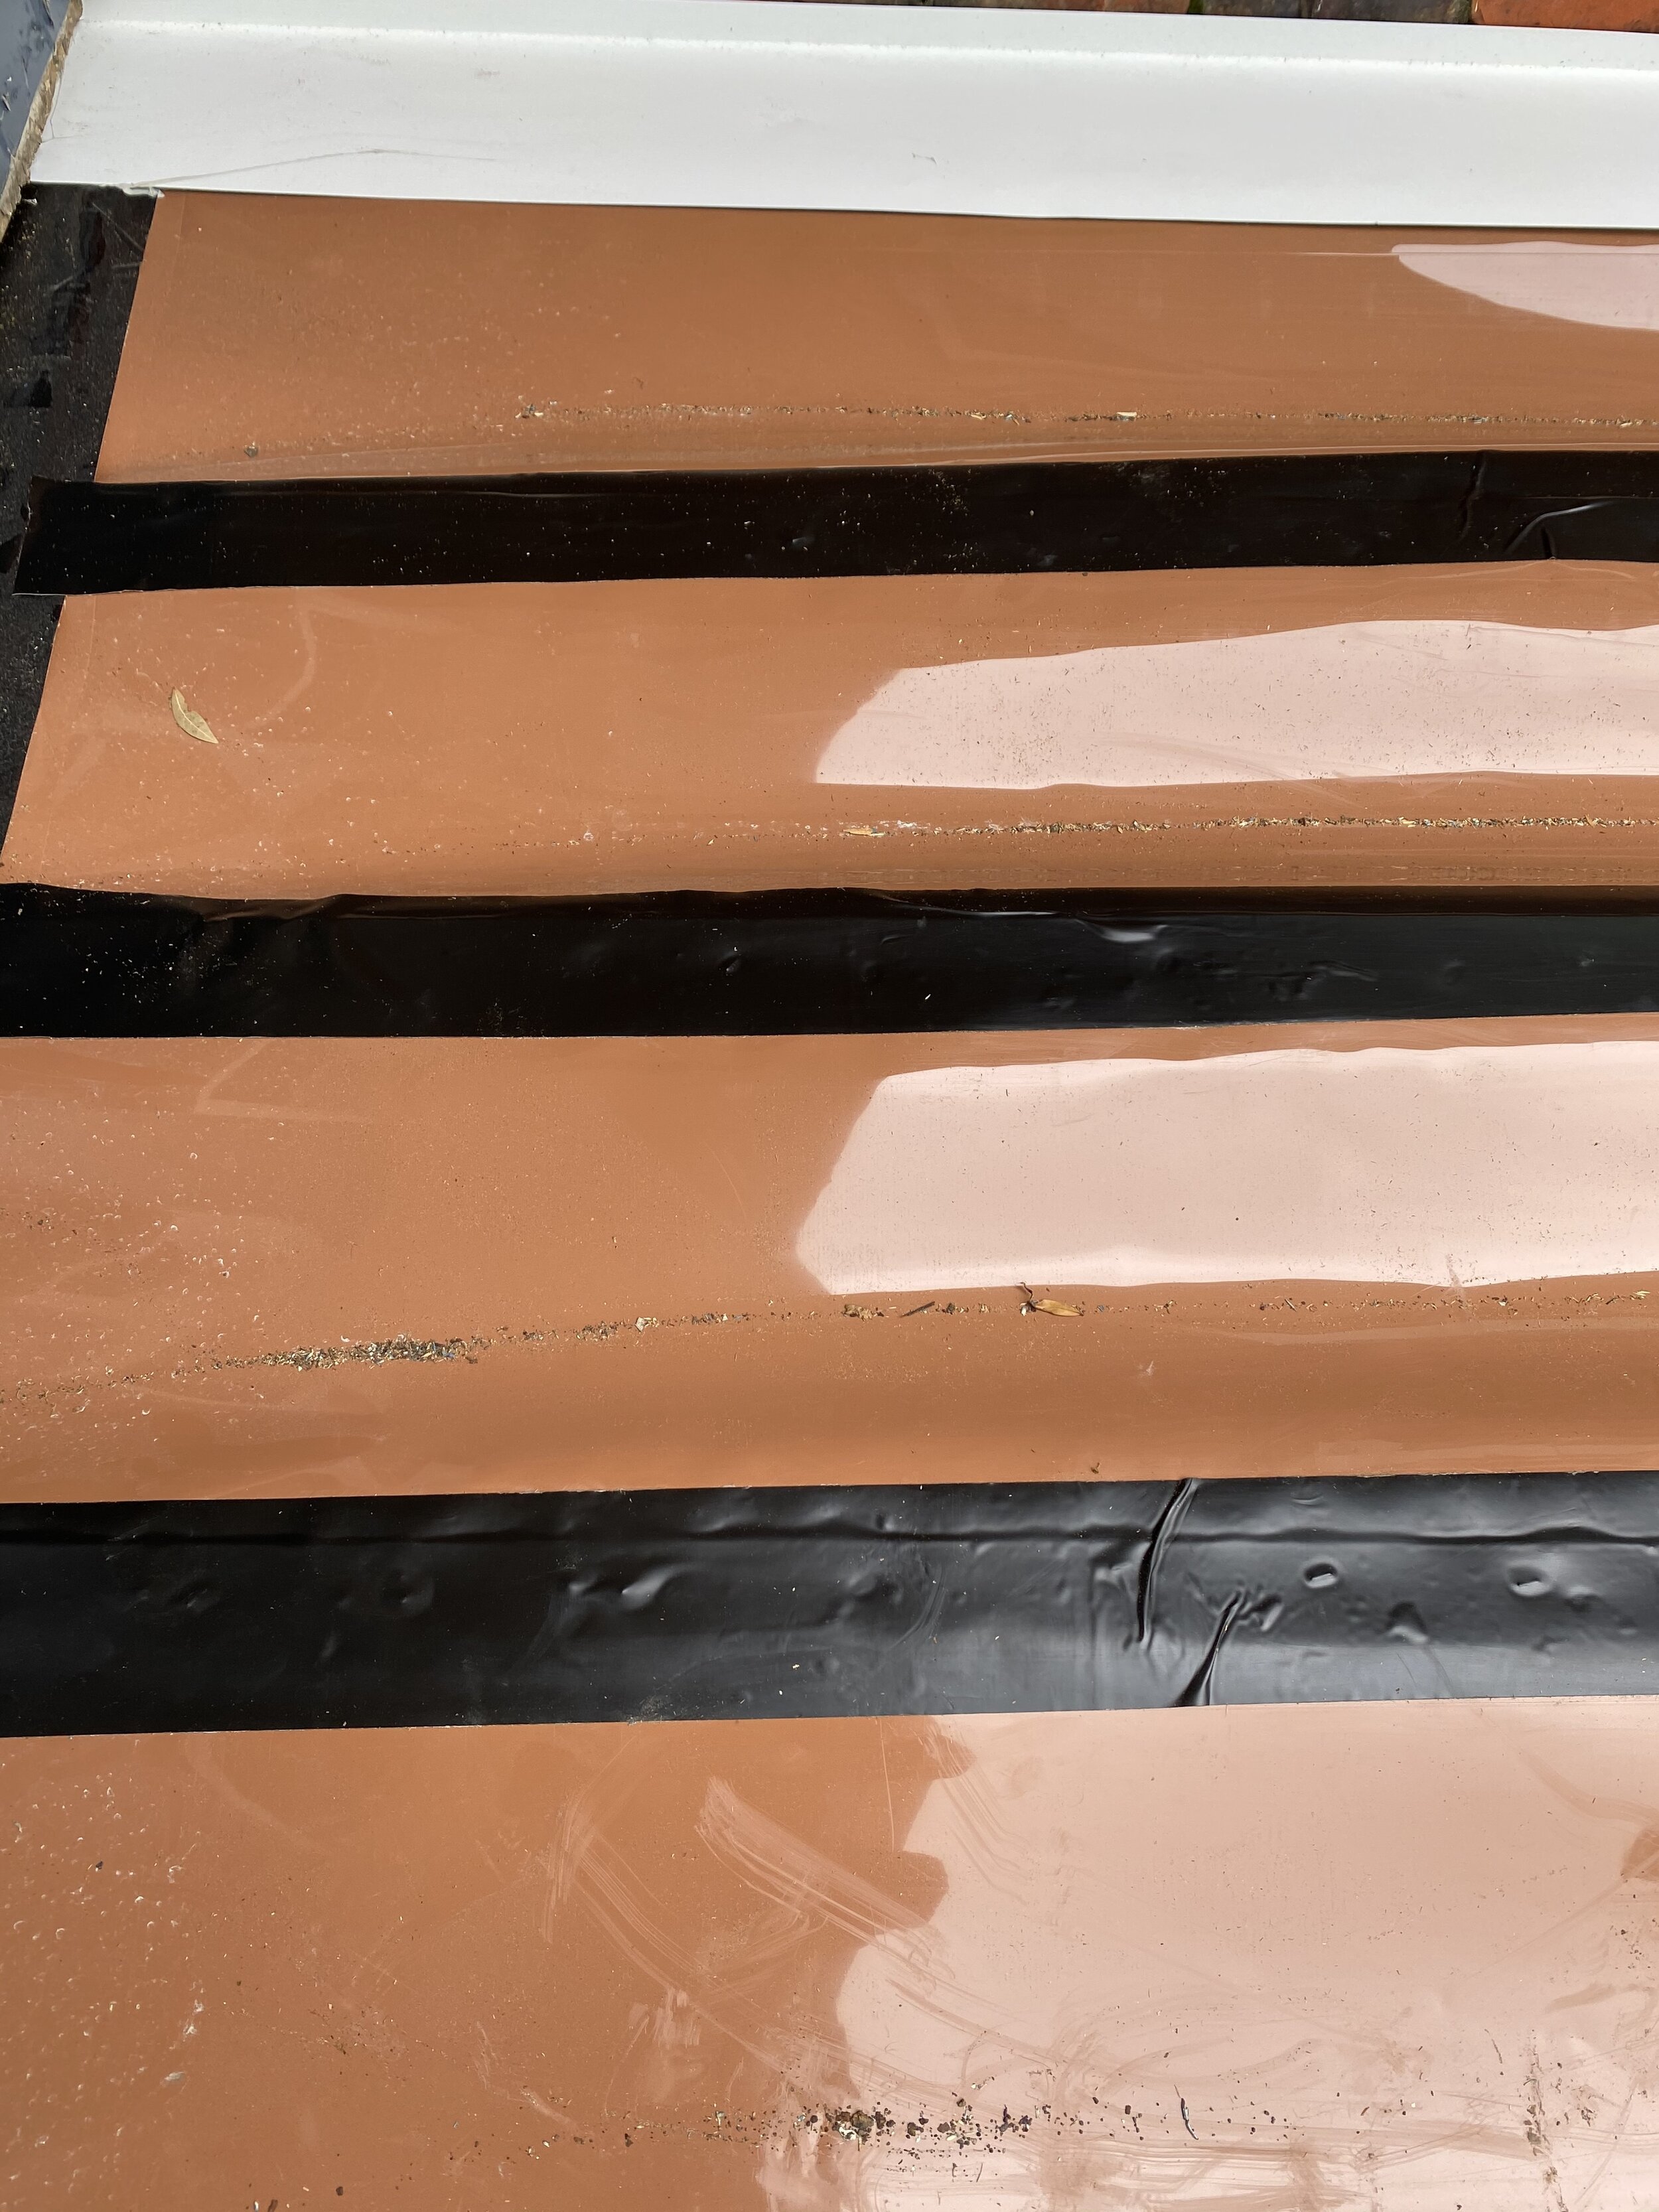
Here are all the materials we used to waterproof our deck.


After all the waterproofing was completed, the top deck was ready to be put back together. We used the same Trex deck boards as the ground deck. We will never have to worry about rotting boards up here again!
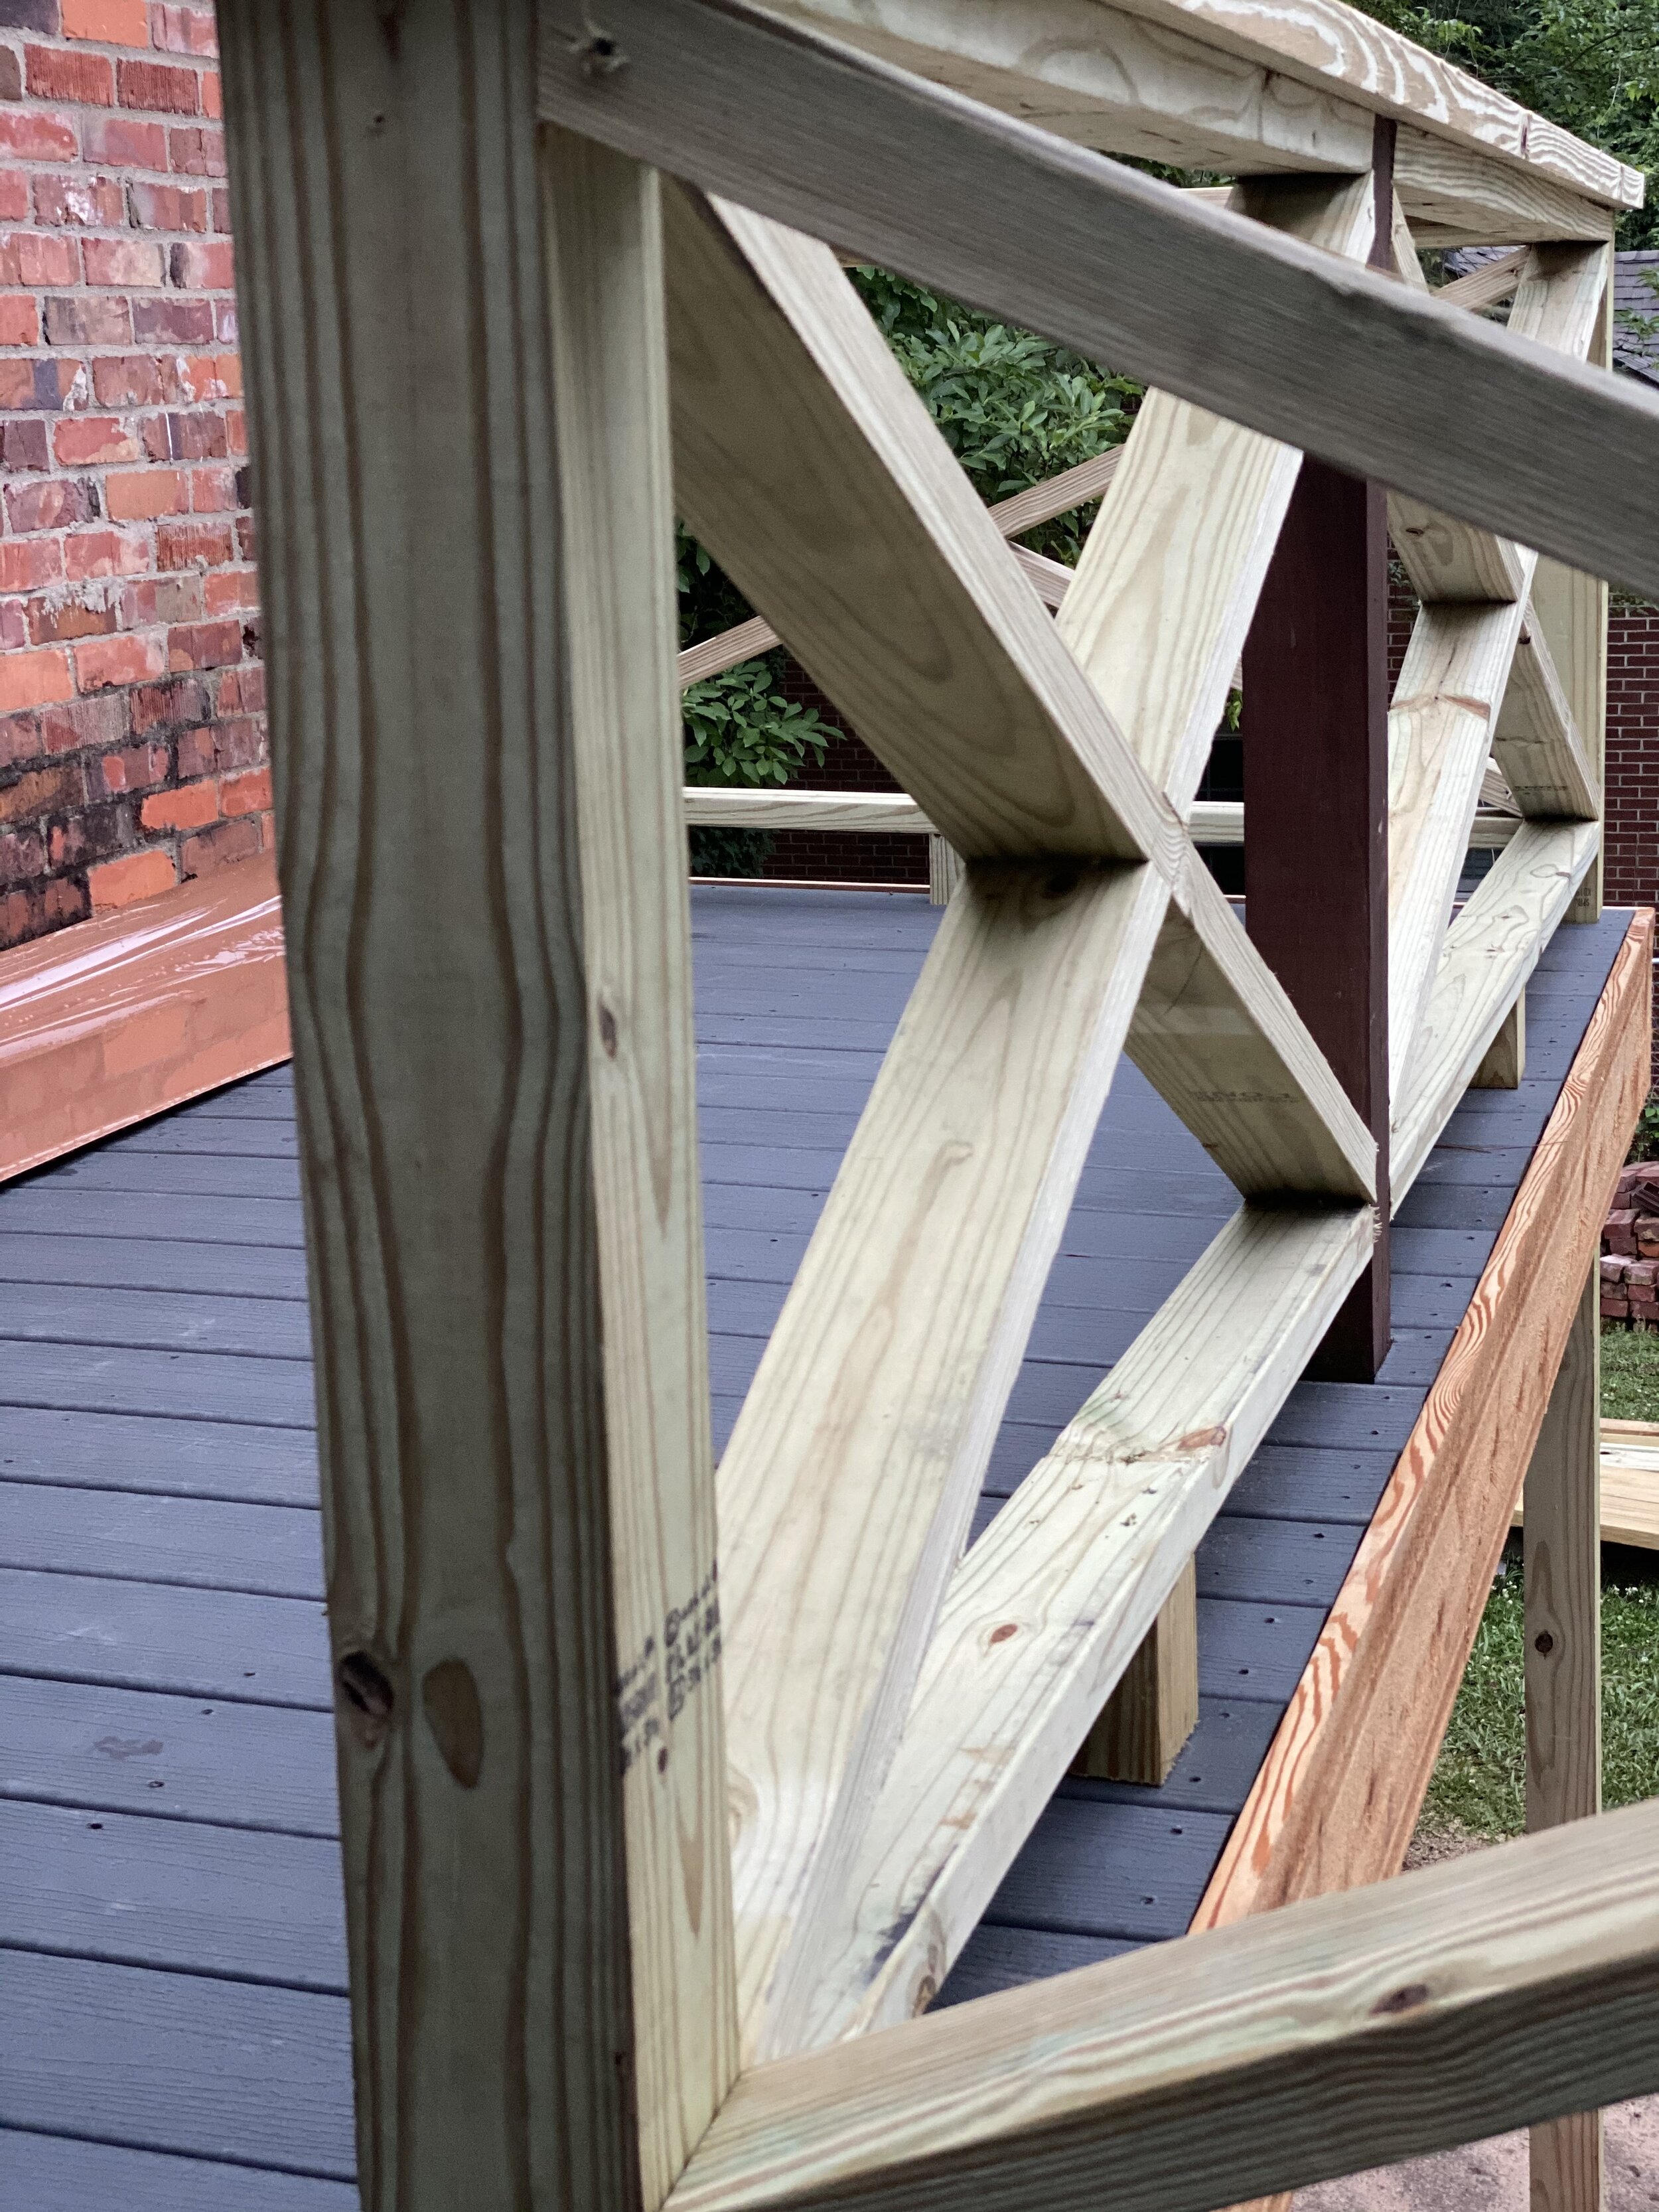
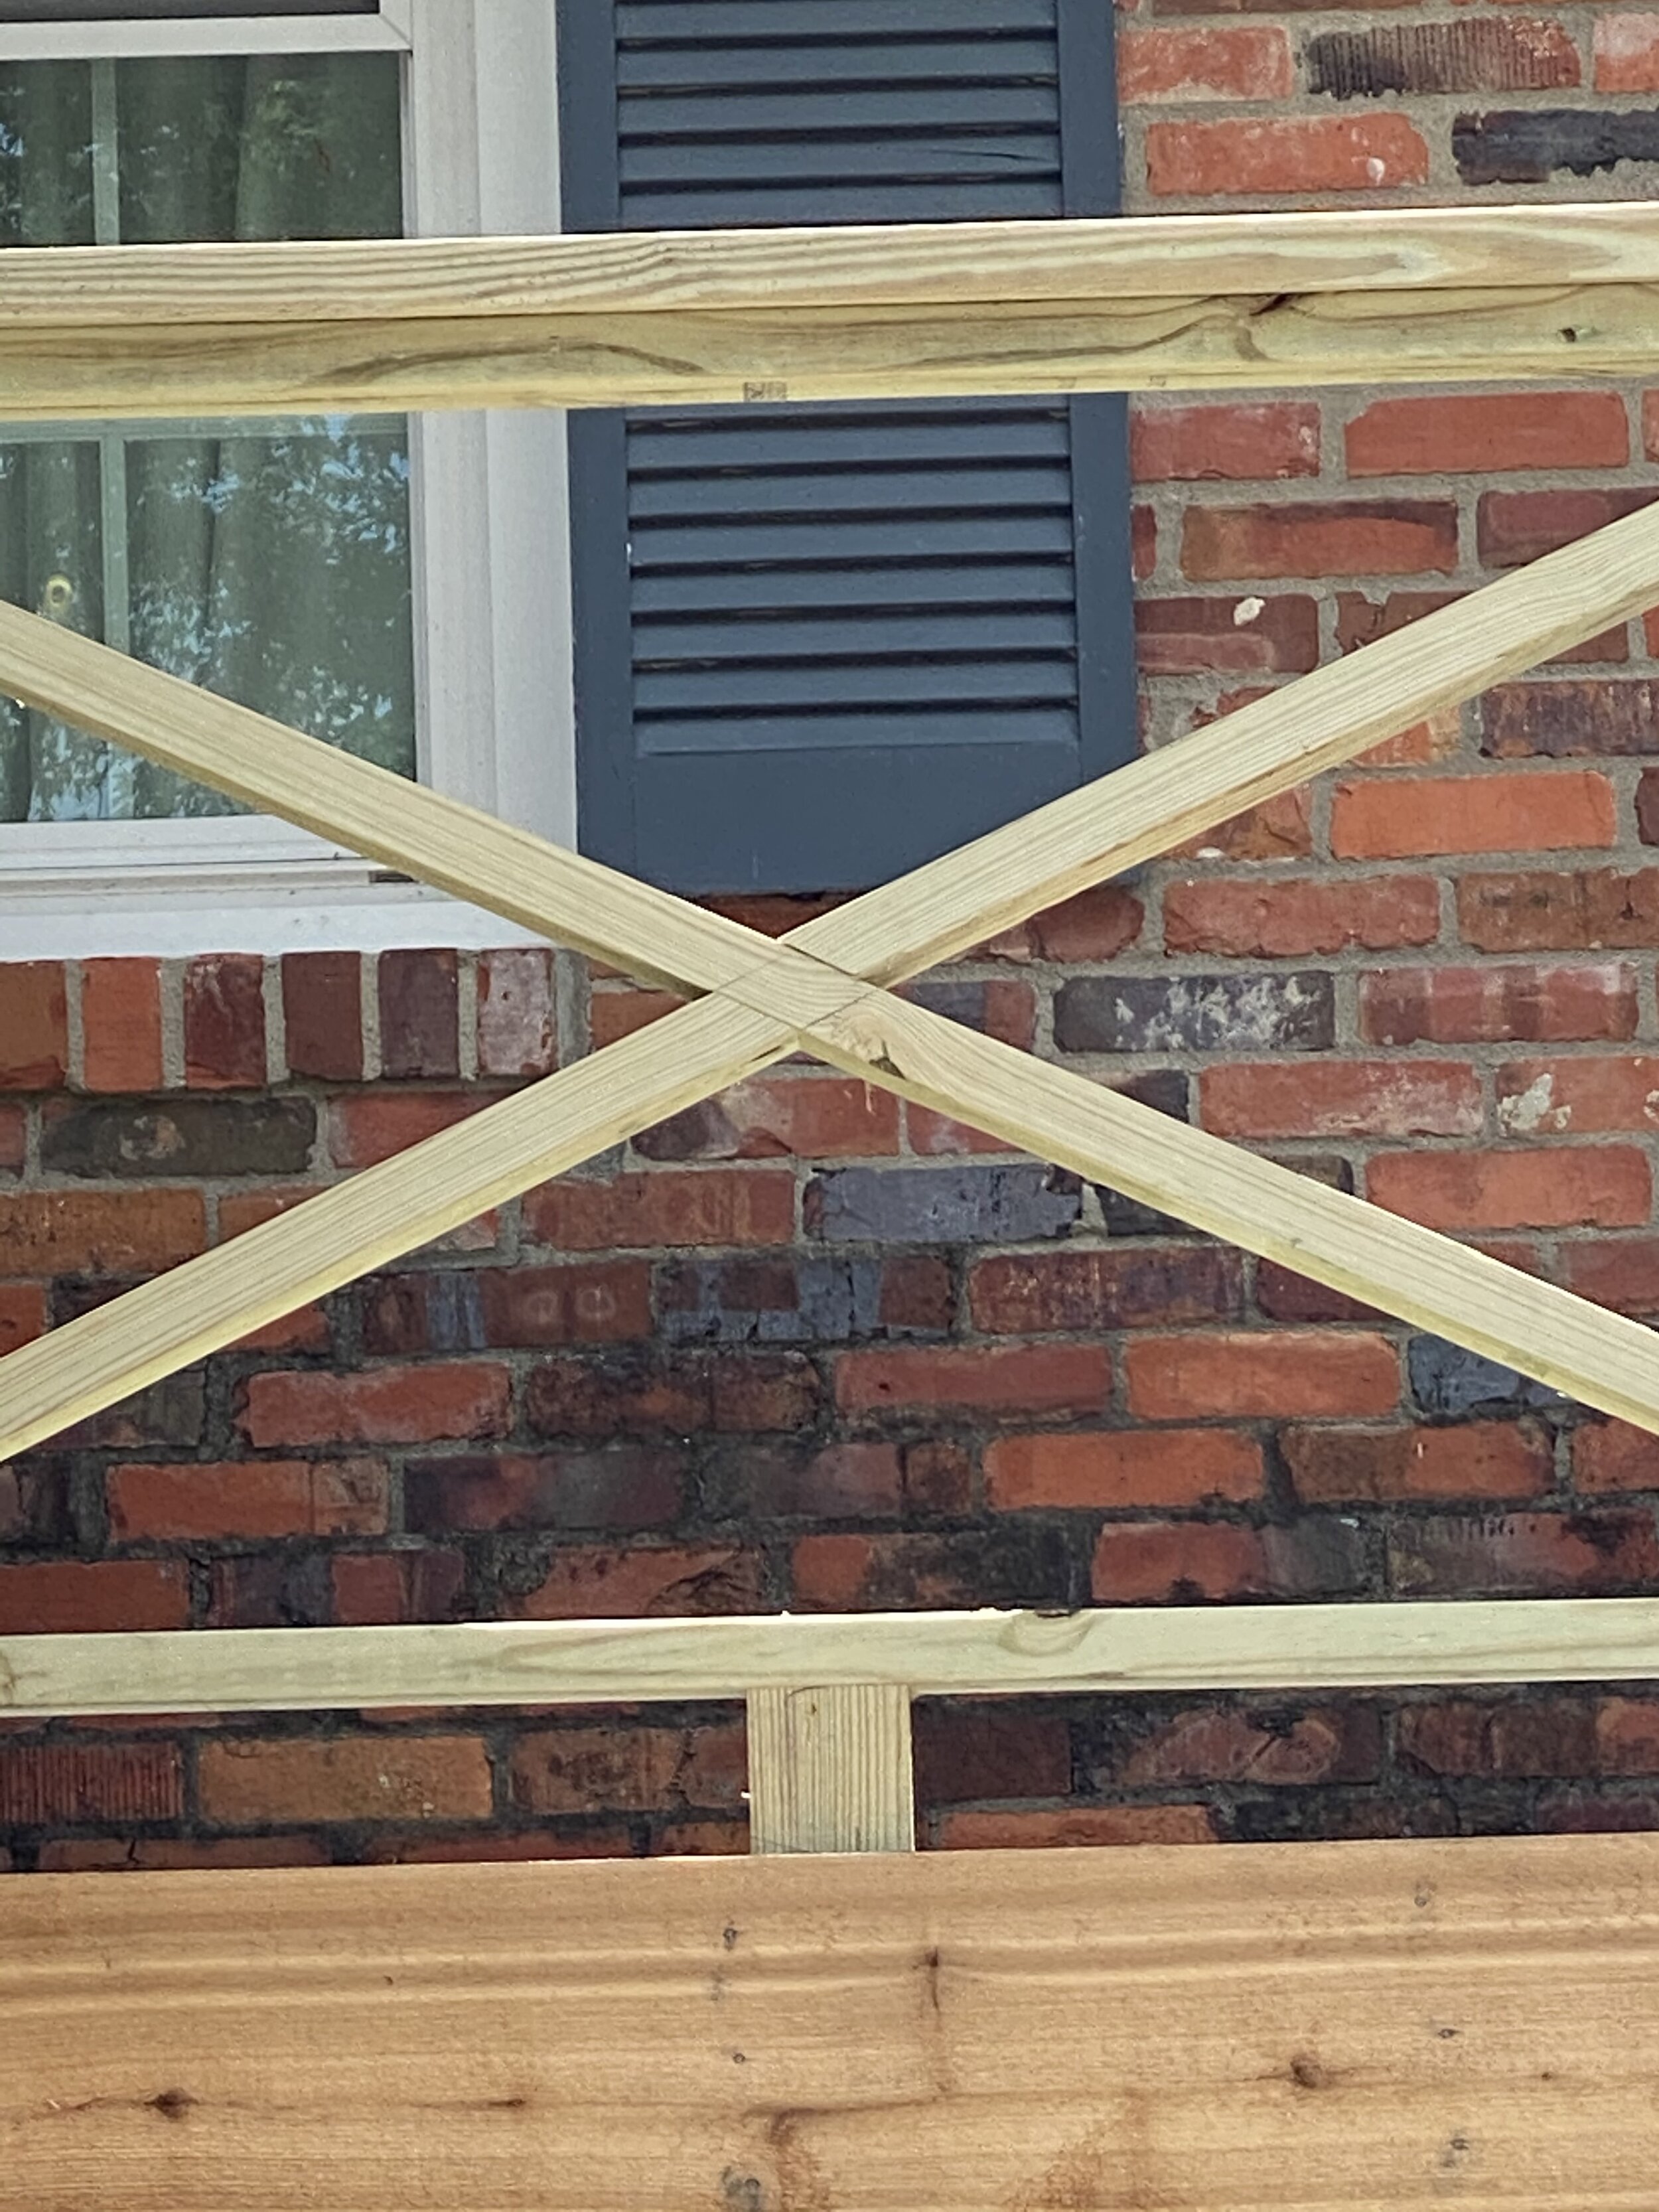
Time for some new railings.
Our house is a pretty traditional 1950’s brick ranch with a walkout basement. I wanted a style the was classic, yet modern but still flowed well with the rest of the house. I decided on this very clean, classic, yet modern X style. Once it’s all painted black, I think it is going to look very sharp.
I love it but still deciding if I want to add a couple more pieces to make more of a starburst or frame around the X with a square. I am concerned with some of the gaps being too big.
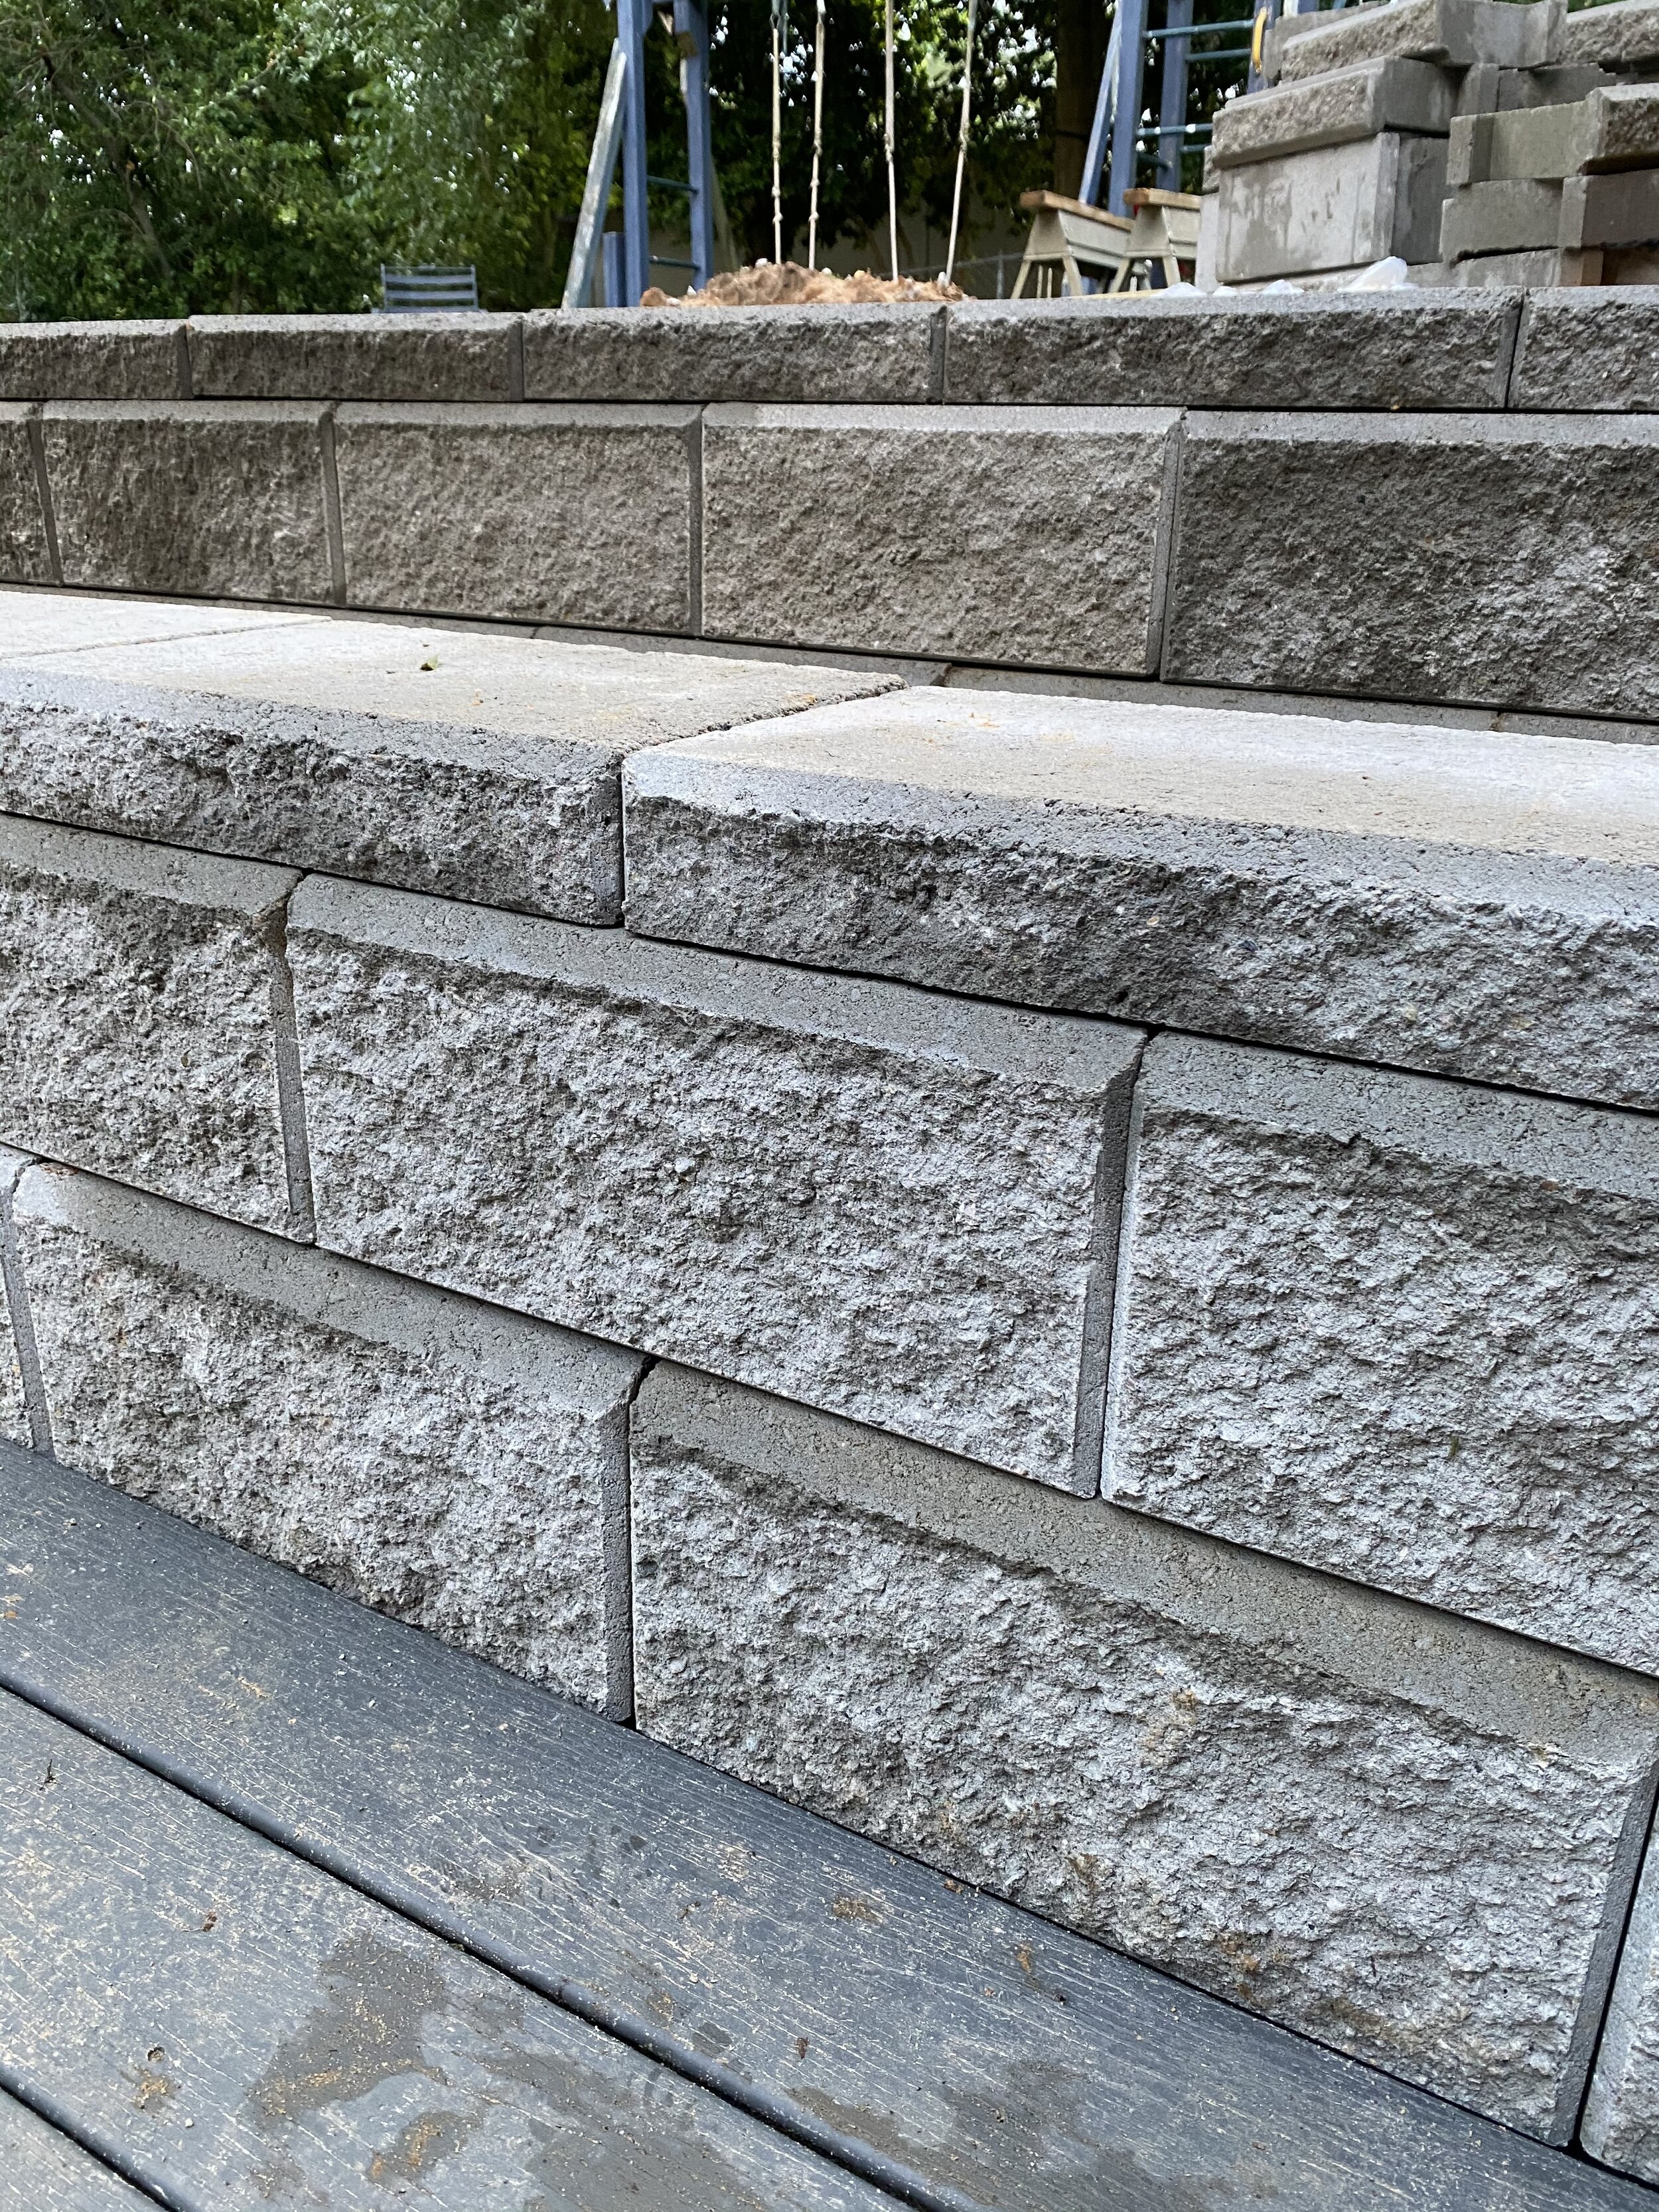
The retaining wall is finally done! We had to figure out turning a corner for the planter portion and had several cuts we had to make to complete the whole thing. It took a couple DIY errors to get it right. Literally blood, lots of sweat, tears and some few choice words over getting that wall completed. Definitely not something I will ever consider tackling myself again!
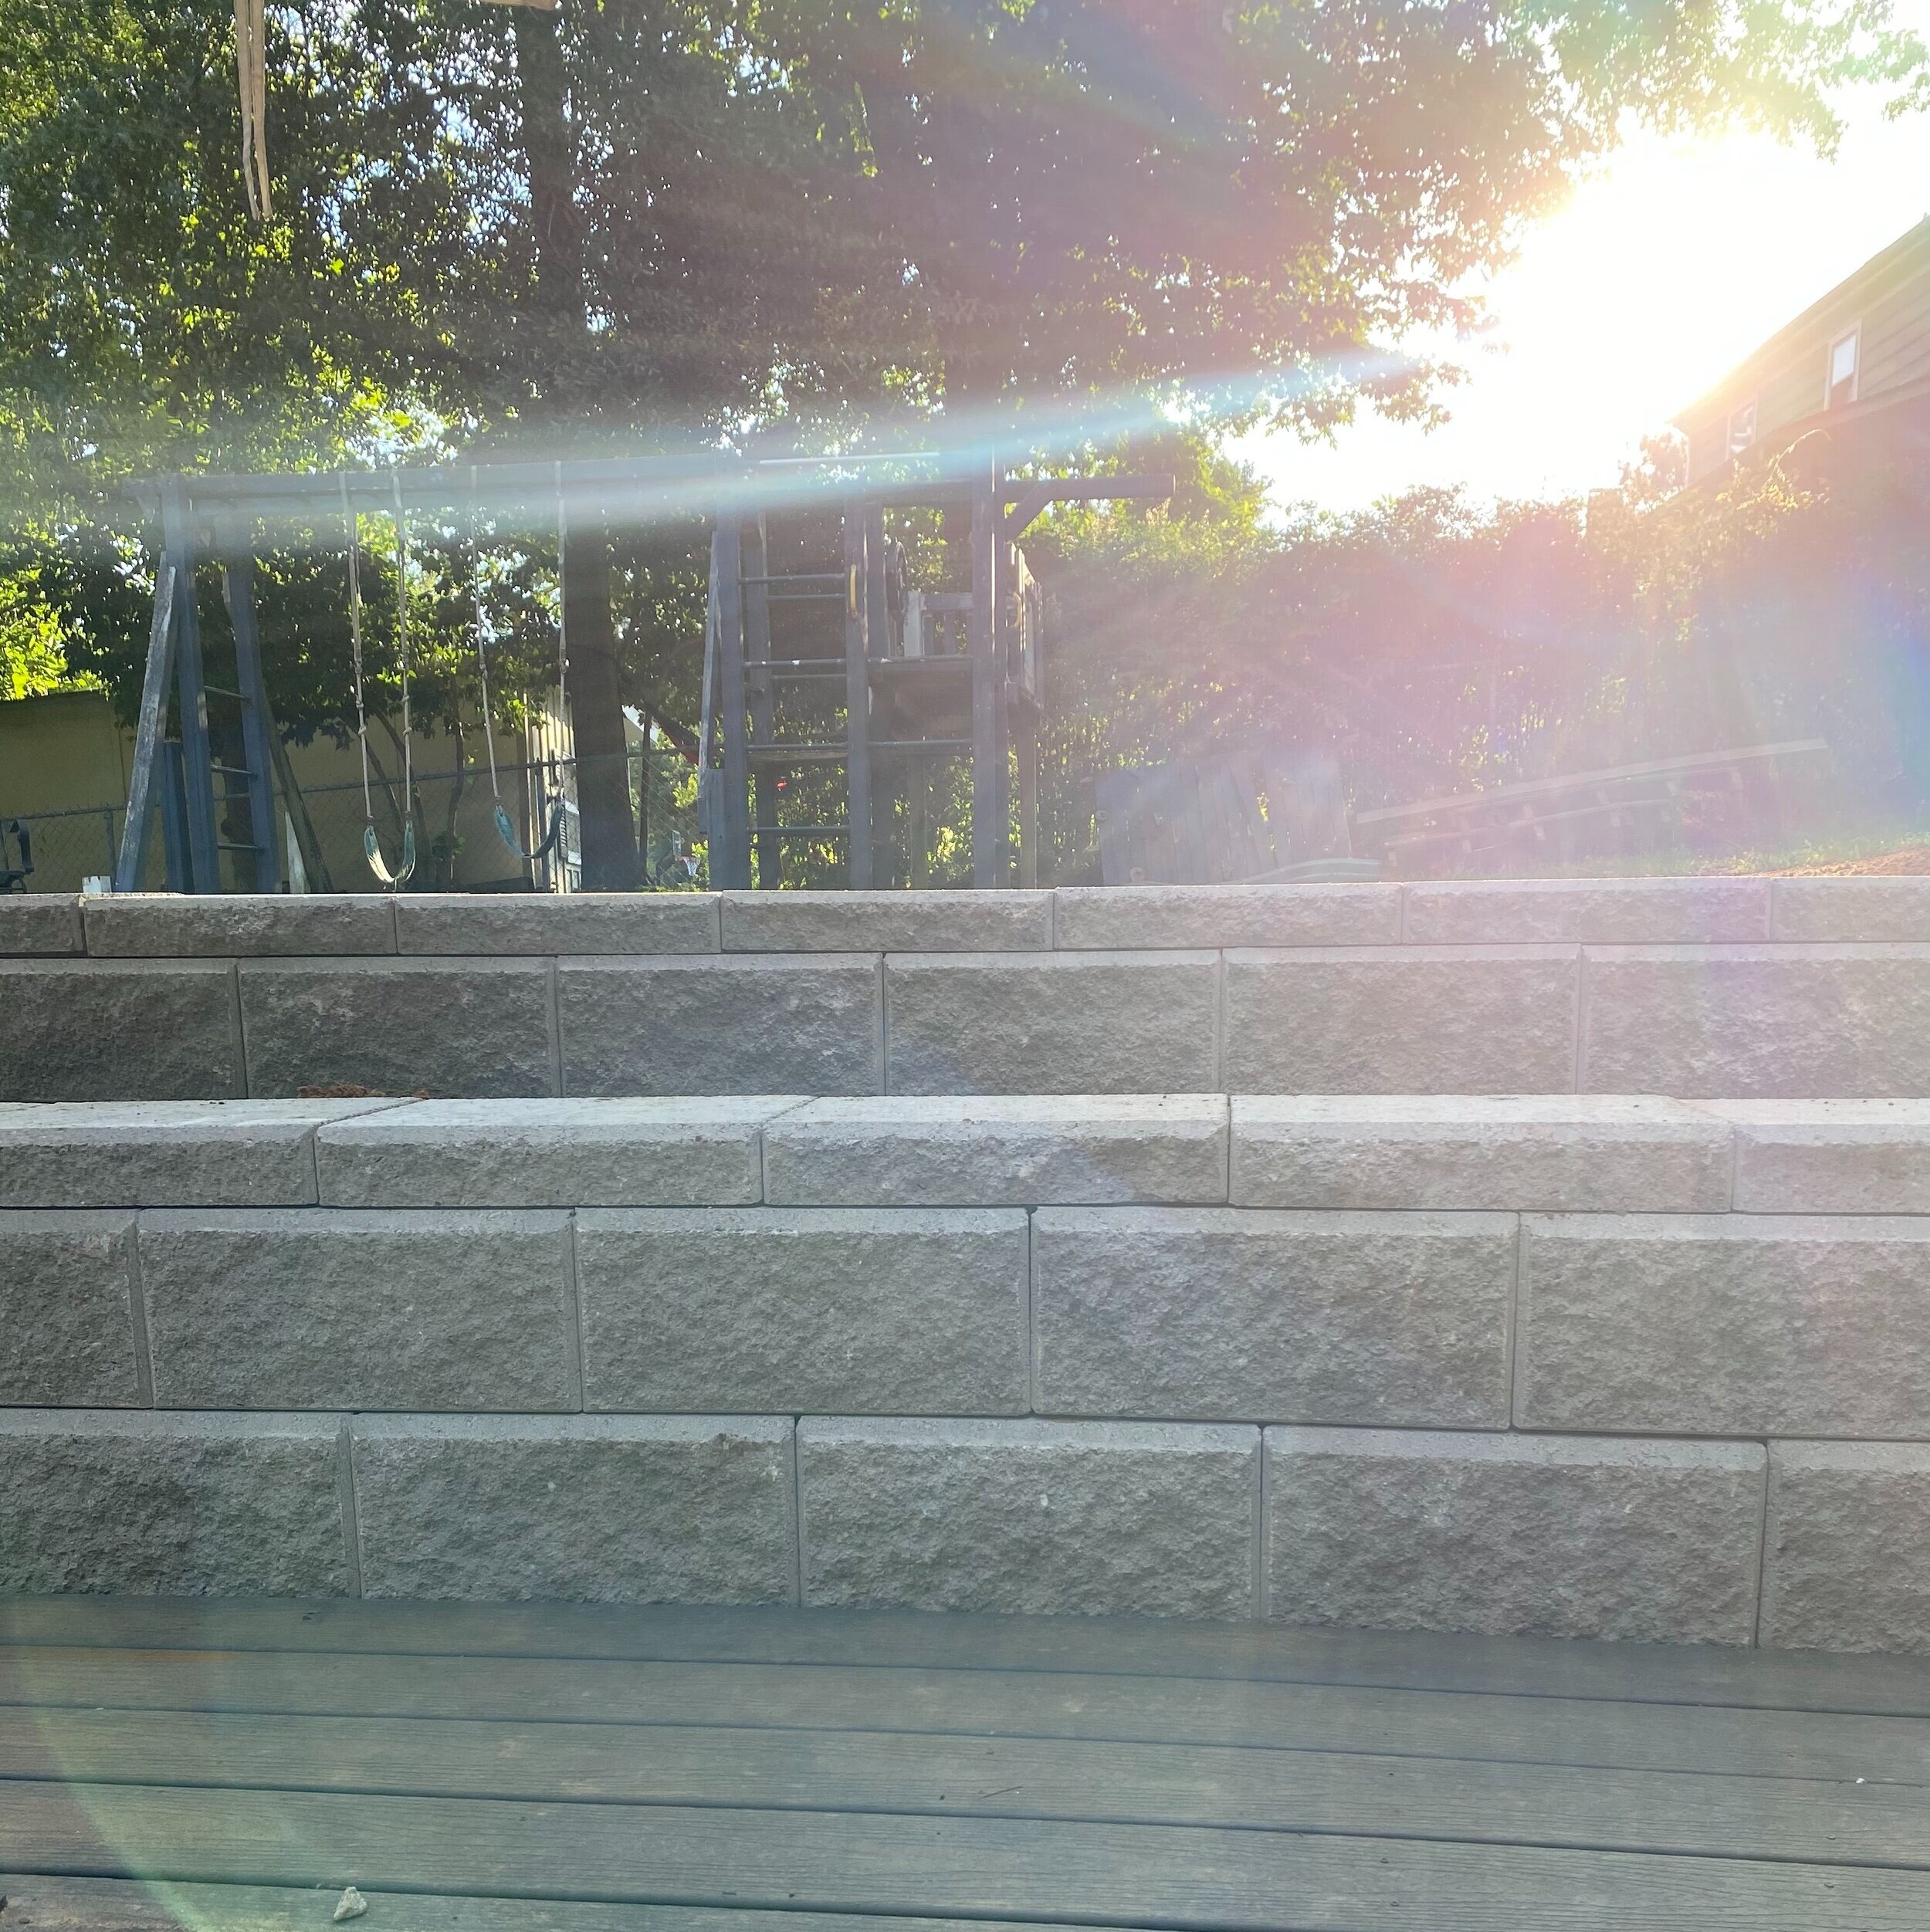
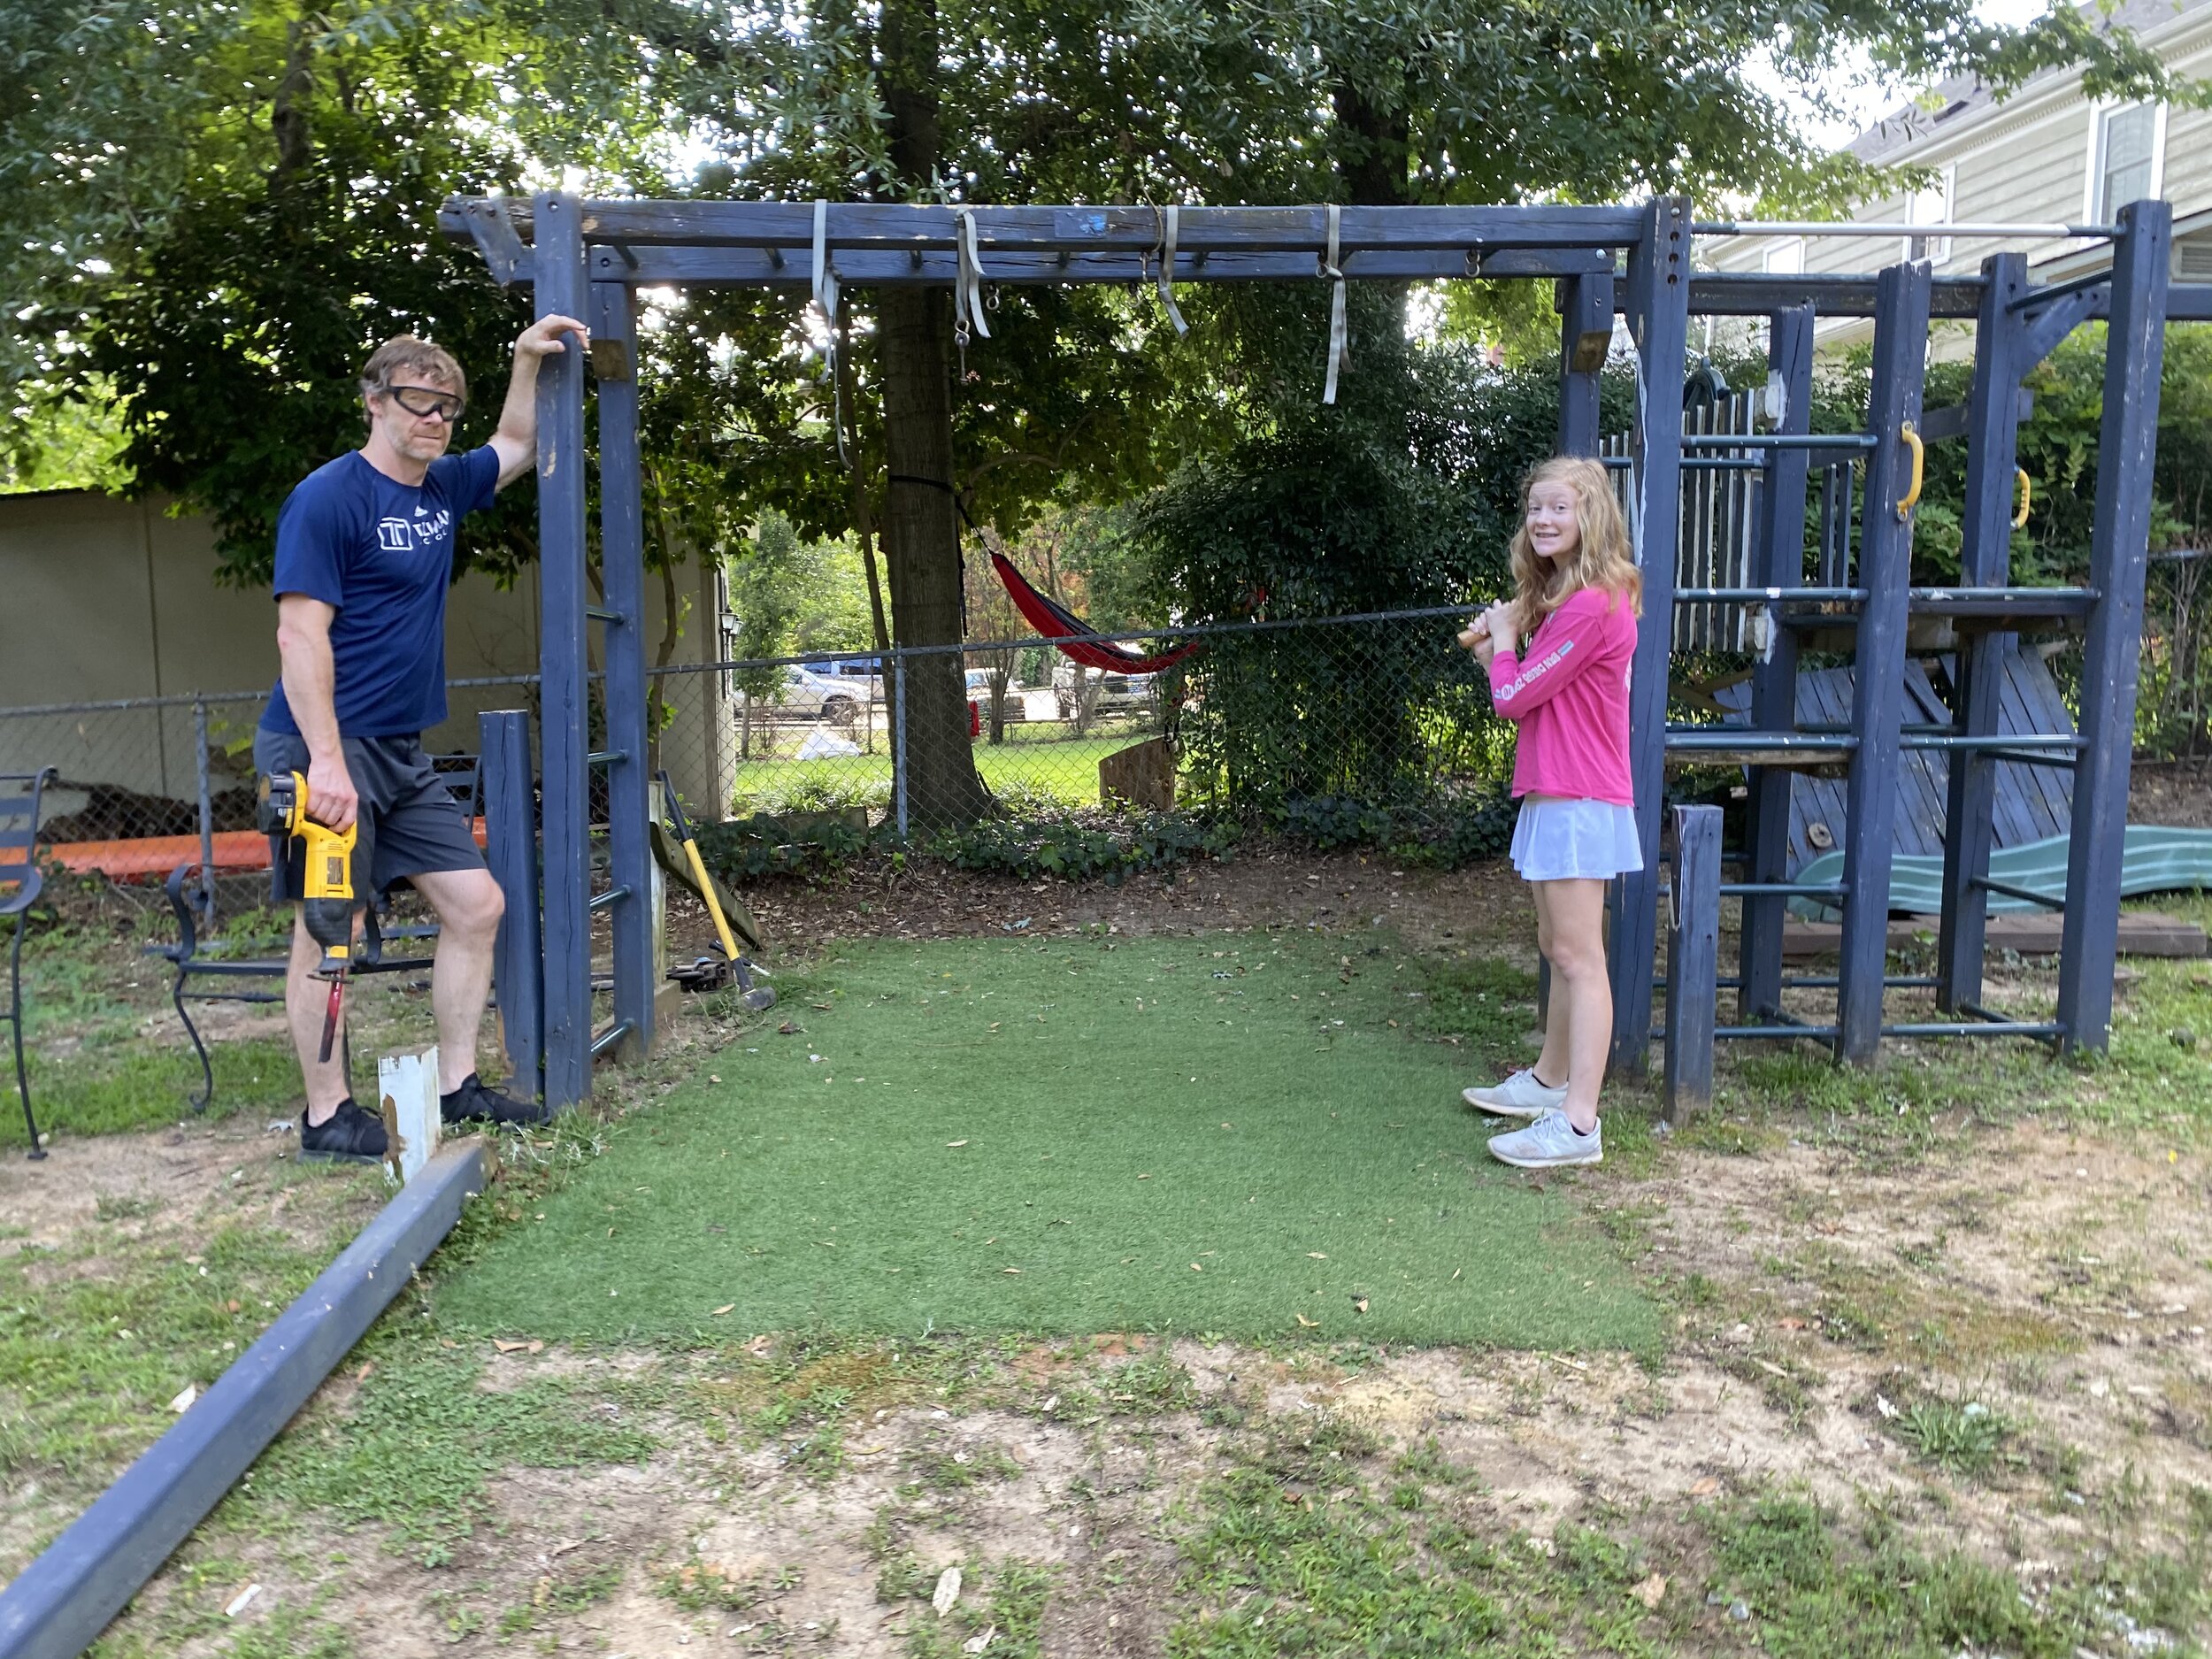
Last on the outside construction project checklist is the kids play ground. My husband and the kids took part in knocking down the old set. I think they had fun kicking and knocking it down with the hammer!
We have started rebuilding a new swing set, that all 3 kids can swing on at the same time. That was part of the problem with the old one, only two at a time and of course a constant fight who got to go first. Now they will be able to all swing together. Let’s hope no fighting!….. Who am I kidding they are still going to fight over something. (sigh)
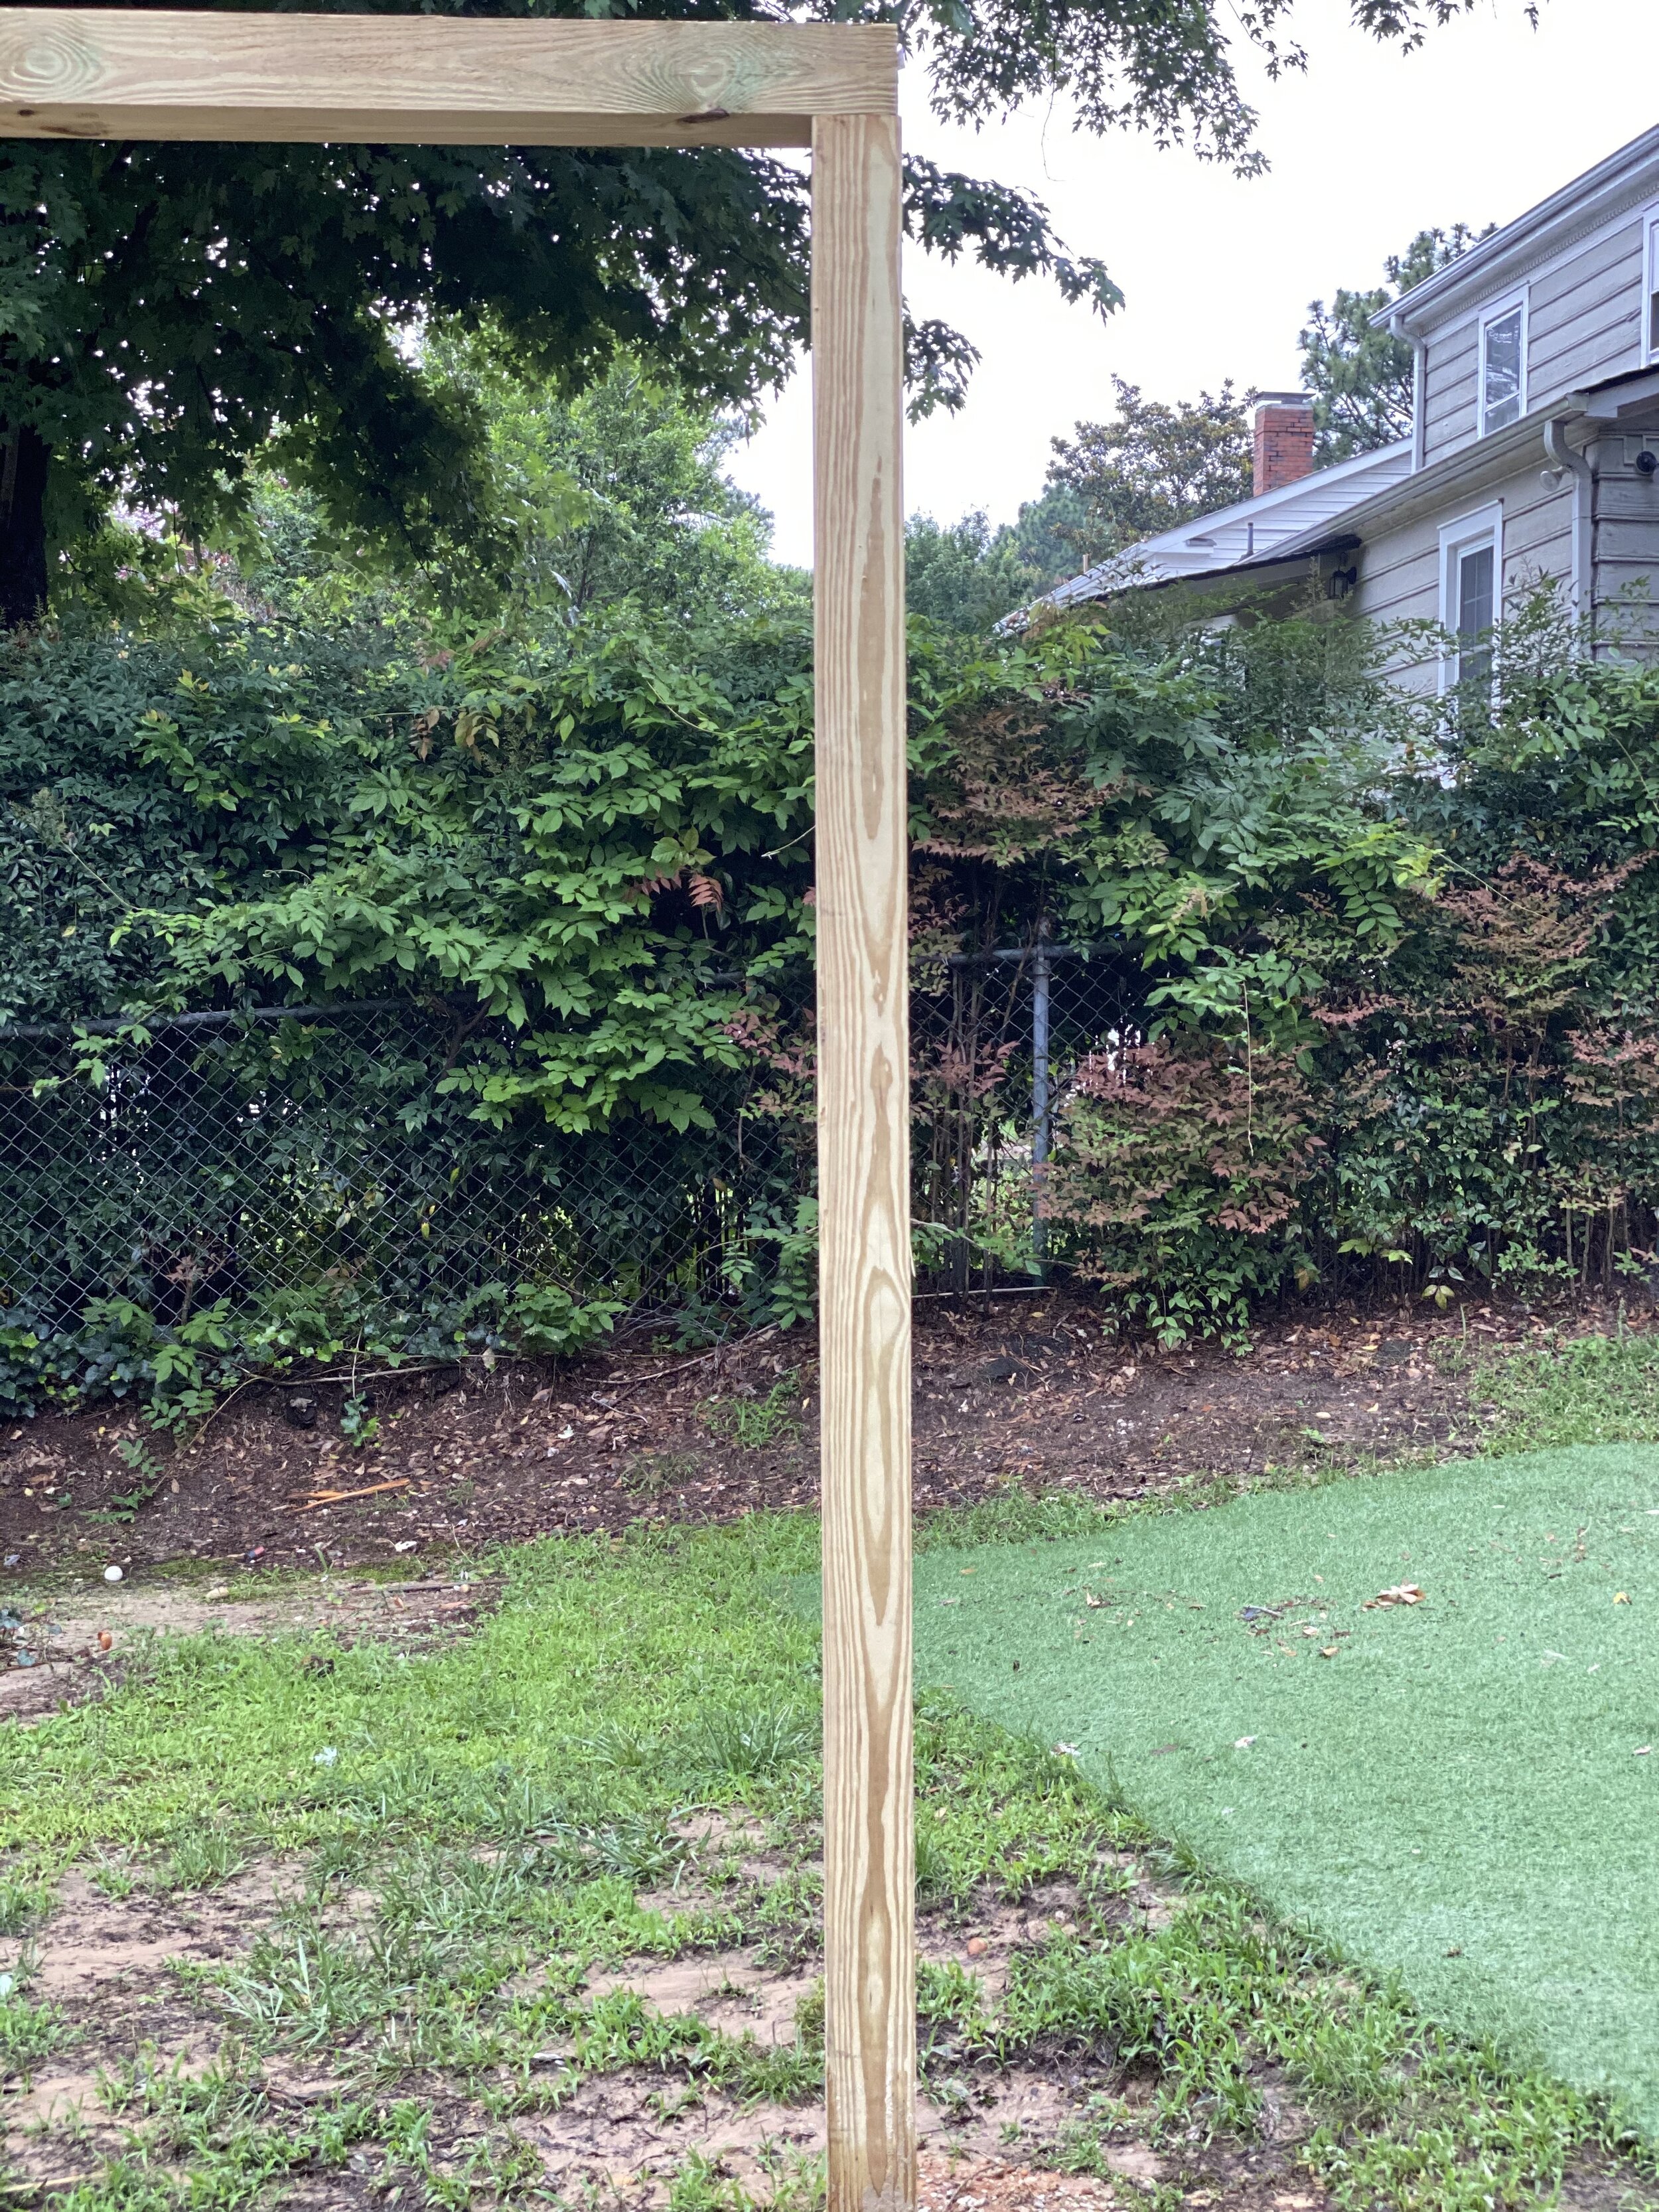
We set the new posts last weekend and now need to go back and add all the hardware and the new swings.
We are so close to being over the construction hump!
So, now I am starting to think about all the pretty things I get to add. I went to a local garden center the other day to look at plants and decide what to add in the planter and the surrounding patio area. Much like interior design, I was attracted to these plants for their varying textures, sizes and colors.
Any garden tips for an amateur?


While we did make some very good progress these last two weeks, I still have so much to get done. Here is what I still have left to do outside.
Basement Patio Checklist
-
Level ground for deck and retaining wall✔
-
Install new french doors to gym ✔
-
Build retaining wall ✔
-
Build ground level deck with Trex ✔
-
Install recessed lights in deck ceiling ✔
-
Install Deck Ceiling system✔
-
Build storage under deck ✔
-
Pressure Wash
-
Paint deck posts, storage slats, railings and door
-
Build New Swing set for kiddos – Working on it
-
Refinish existing outdoor sofa frame
-
Reupholster existing outdoor sofa ✔
-
New outdoor lounge chairs ✔
-
Plant new bushes and flowers in ground and in pots
-
Install solar lights
And now for the basement progress.
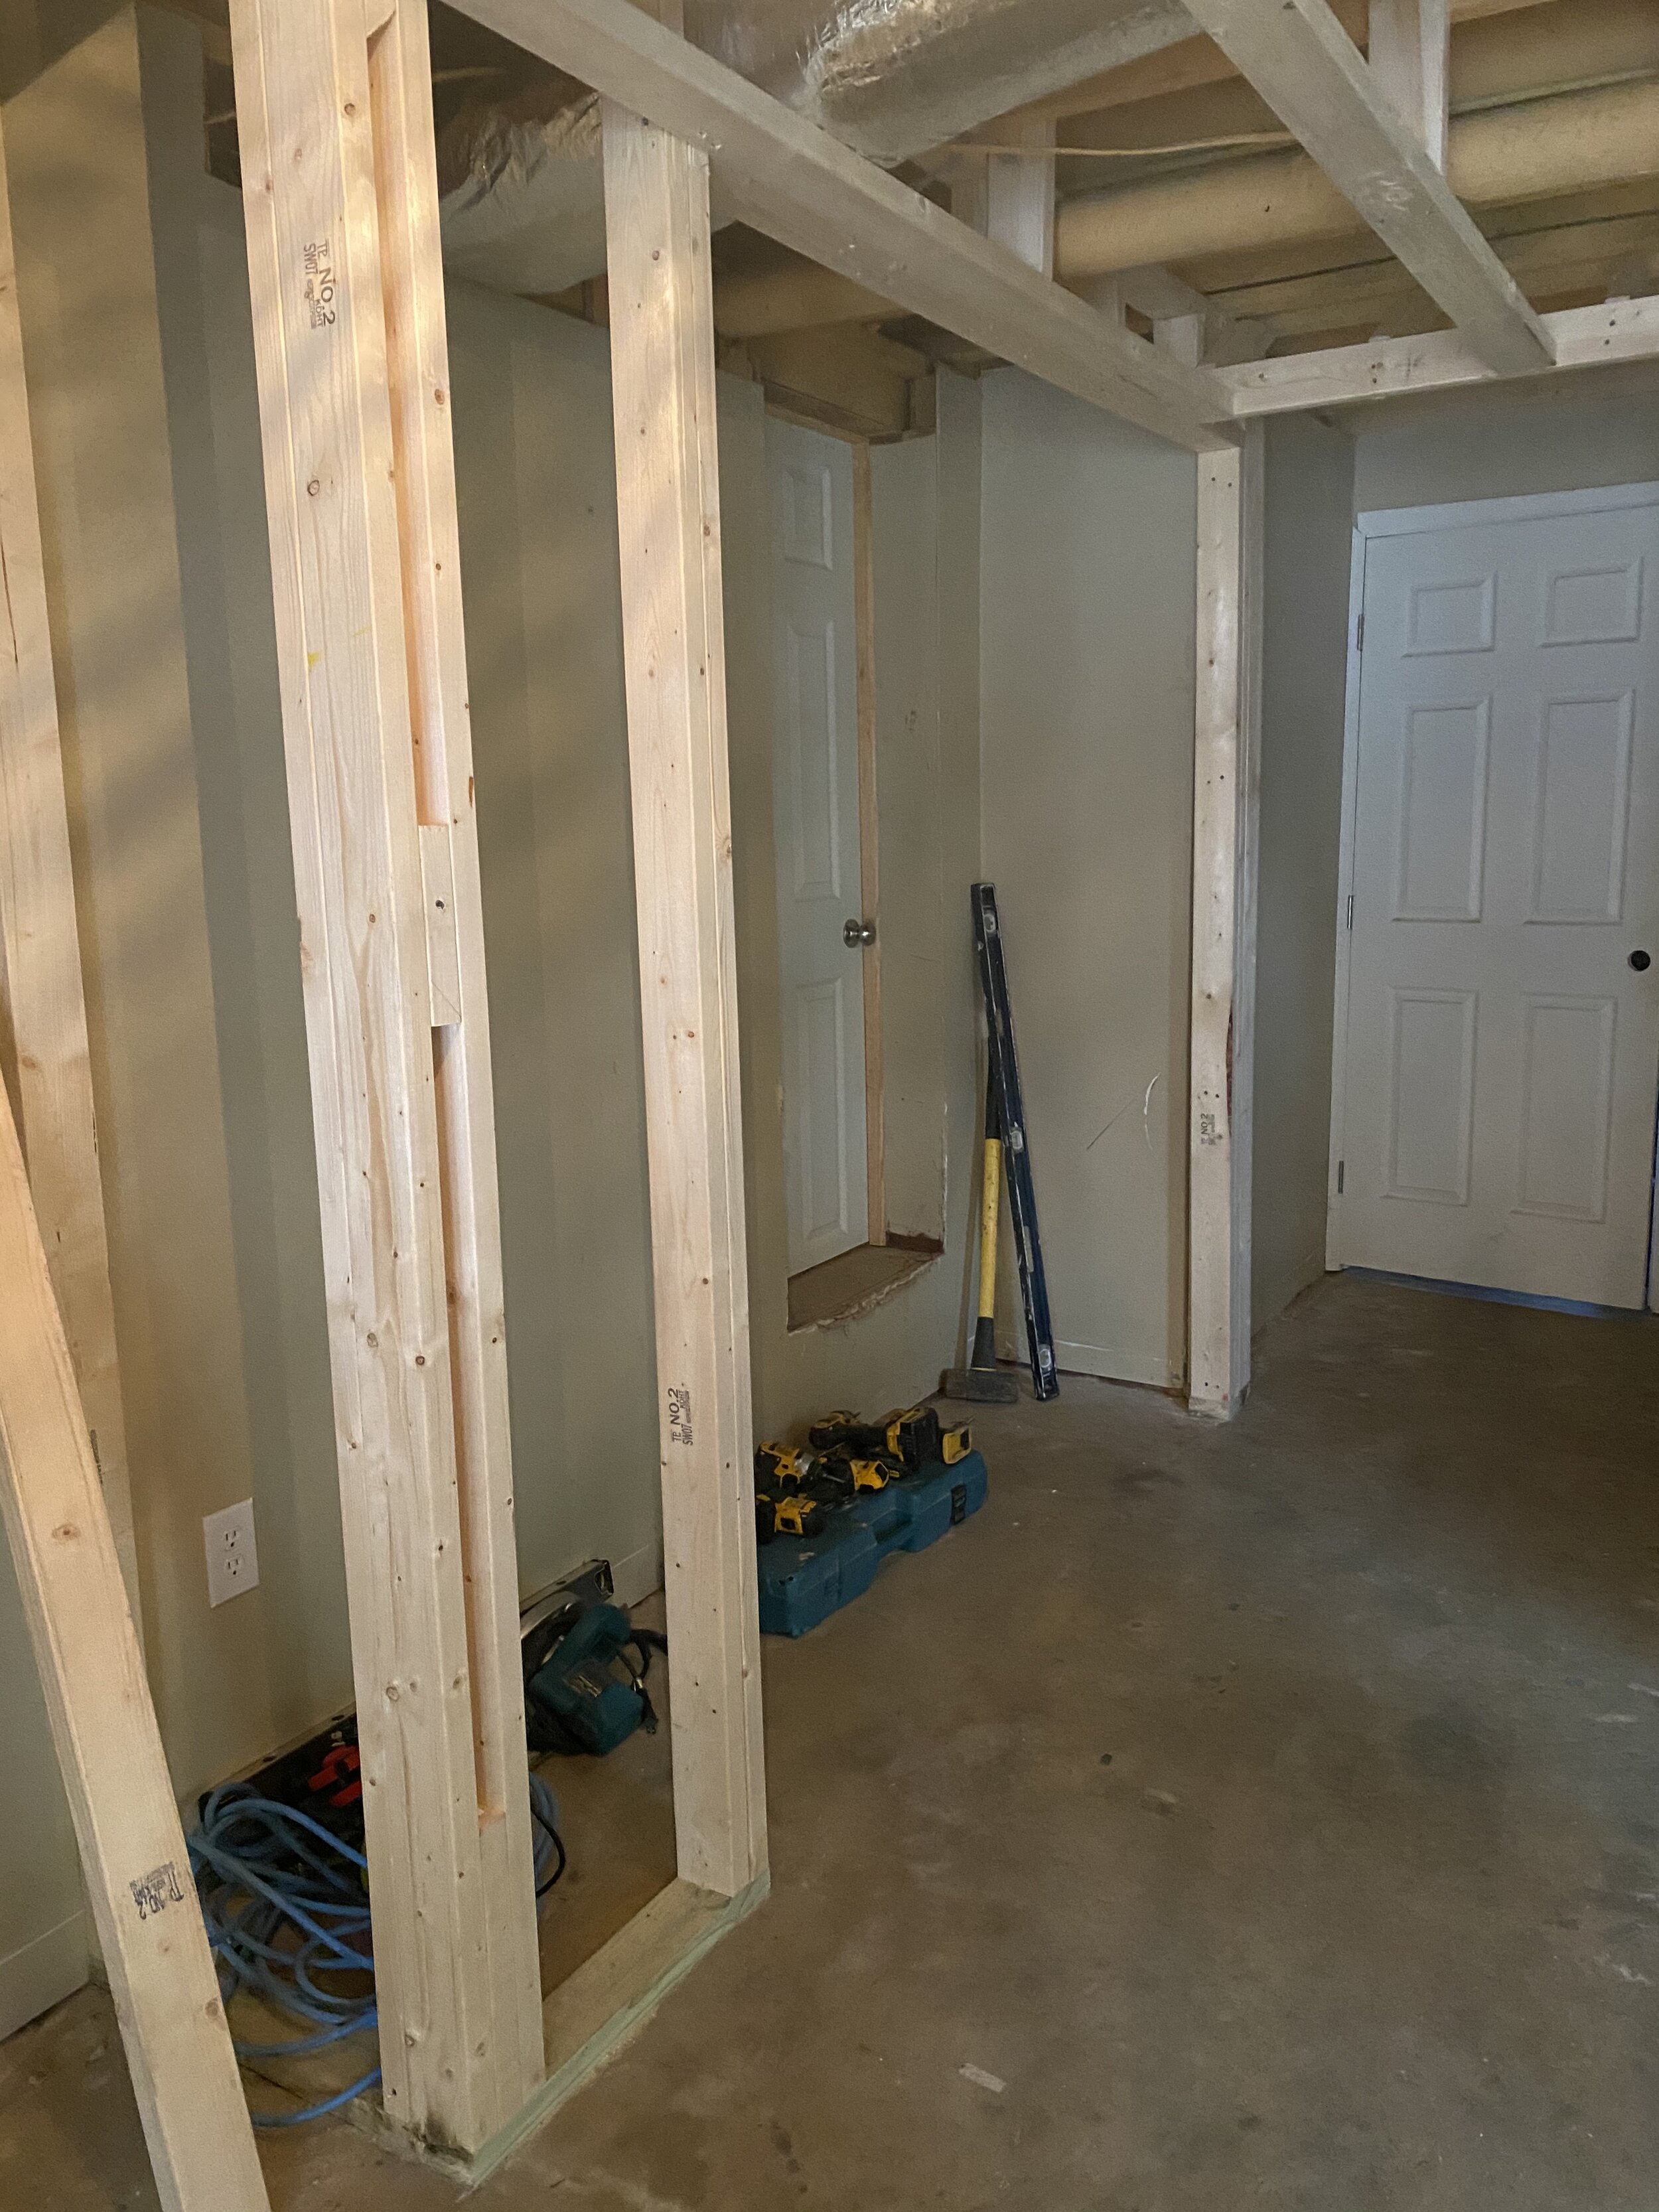
Last week my carpenter framed out the ceiling and the new closet under the stairs.
If you missed my IG stories from last week. I decided last minute not to frame in a small section under the stairs in order to accommodate a small beverage fridge and cabinet. The closet was taking on a really deep sloped area that would not have been very practical for storage. I am very happy I made that call. I think we will use the cabinet and fridge frequently.
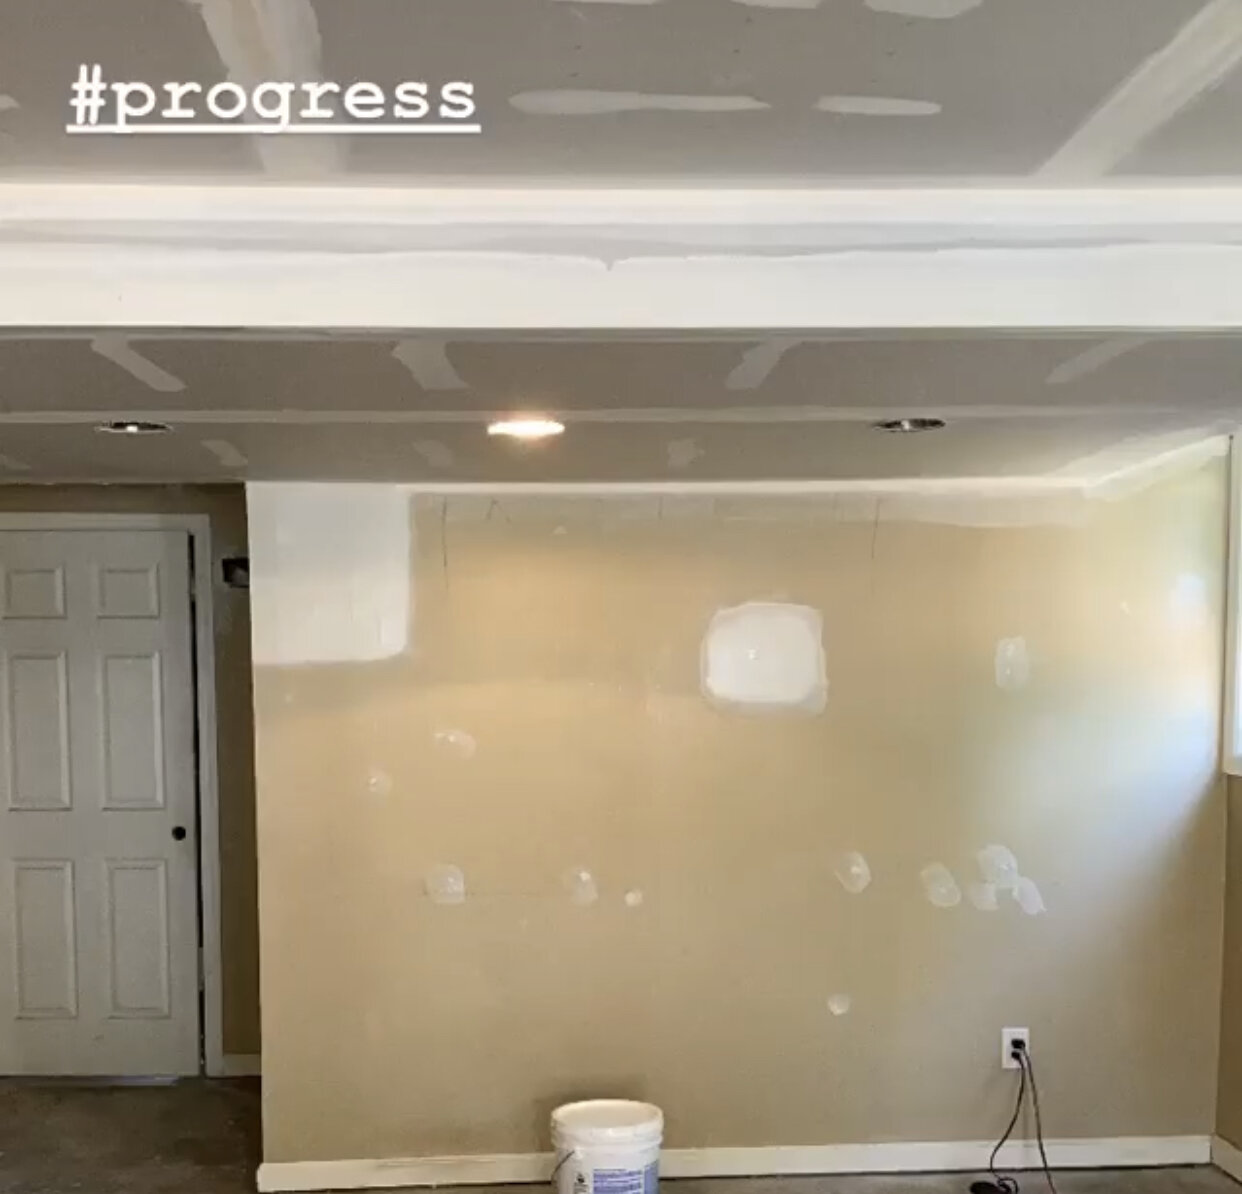
All the new electrical work was completed as well. I decided on doing all recessed lighting. My ceiling height is already low. If I added any sort of fixture, it would just accentuate the low height. After all the roughing out was completed, it was time for sheet rock, they did 3 layers of mud with sanding between.
The magic of this space is about to happen. Painting!
Painting is going to do wonders down here. I am going to begin this weekend, I hope I can get a good portion of it completed.
Bring on some much needed color!
Here is where we are today on the basement and what we have left to do.
Basement Gym Checklist
-
Demo Old floor and carpet on stairs ✔
-
Re-do plumbing line ✔
-
Frame out new closet under stairs and around duct work ✔
-
Add insulation in ceiling for added noise barrier and heat/cooling✔
-
Run New electrical for lights ✔
-
Sheet Rock and mud Ceiling ✔
-
Install new LVP floors
-
Paint ceiling, walls, trim and stairs
-
Order and install artwork
-
Order New workout rug/mat ✔
-
Order wall mural ✔
-
Install Wall Mural
Thank you for sticking with me during this process. I know a lot is going on in the world right now. If you’d like please subscribe to my blog to follow along and watch for my weekly progress posts in your inbox. Be sure to follow along on Instagram and my instagram stories for behind the scenes sneak peeks and shenanigans.
As always, thank you for taking the time to read my posts and leave me your comments. I appreciate it!
Cheers,
Jana
Fayetteville, North Carolina
Instagram | Facebook | Pinterest | Twitter


Debbe
| 12 June 2020Love this project Jana! It’s a large and ambitious one. Can’t wait to see it all done!
Jana Donohoe
| 12 June 2020Thank you Debbie! It was definitely ambitious. I’m hoping it pans out. 🙂
Leslie
| 12 June 2020If ever there was an ambitious undertaking for the #OneRoomChallenge, Jana, you have taken it on! Just wow, wow, wow to all of this DIY work you have put into it yourself. It must give you such a great feeling of accomplishment, despite the rain, the blood, the sweat..the tears!
It’s looking fantastic and I can’t wait to see all the final pieces come together!
Jana Donohoe
| 12 June 2020It’s definitely been a lot of hard, dirty work. Hopefully in two weeks time, I can sit back and enjoy a nice cold drink out there and enjoy the fruits of our labor.
Janet Prewitt
| 12 June 2020It’s definitely an ambitious project and Mother Nature has not been very helpful. I thought of you when it was raining cats and dogs. I have faith you will enjoy that cold drink in a beautiful space. Janet
Jana Donohoe
| 12 June 2020Haha. Yep I was out there when it started raining like crazy. It eroded some of the soil we just put down. We haven’t had a chance to add any grass back yet.
Janet Lorusso
| 12 June 2020Oh my goodness, I can’t believe all you have accomplished! And in SPITE of uncooperative weather half the time! It’s looking great and you’ll be enjoying it SO SOON!
Jana Donohoe
| 12 June 2020Thank you Janet! I sure hope so. I hope I can enjoy it a little bit before it gets to hot.
judith
| 13 June 2020Oh my gosh you’ve take on a big one. What a difference it will make though. Congratulations and hang in there!
Jennifer Stoner
| 13 June 2020Looking good Jana! I vote for framing the Xs with a square, but my vote doesn’t count. I’m sure whatever you decide will look great.
Ilse Benard
| 13 June 2020Wow Jana, what a lot of work! I can’t imagine doing all that work myself. I am looking forward to the end results. I you need plant help feel free to email me.
Takika Baldwin
| 14 June 2020Wow Jana great job! I need your inspiration in my home immediately!
Christina Rodriguez
| 14 June 2020Very interesting about the Trex system.
lisa peck
| 14 June 2020So exciting to see the progress. I look forward to seeing more.
Mary Ann Benoit
| 14 June 2020Wow, amazing all the work you have done can can’t wait to see the final result!
Julie Ann
| 15 June 2020Are you even going to need to exercise after all this hard work is finished? LOL That home gym is going to be one to be envious of!
Deborah Main
| 19 June 2020Wow, so much progress!! Can’t wait to see your Big Reveal!!