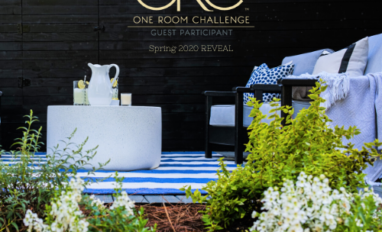
Wahoo! We made it to week eight of the One Room Challenge™. Which means it’s reveal day!!
I’m so excited to share the outcome with all of you. This might be one of my favorite makeovers yet.
Before every good reveal we have to briefly recap and review where we started. My kitchen and breakfast nook were a builder basic white box that desperately needed some personality. So boring, am I right?!
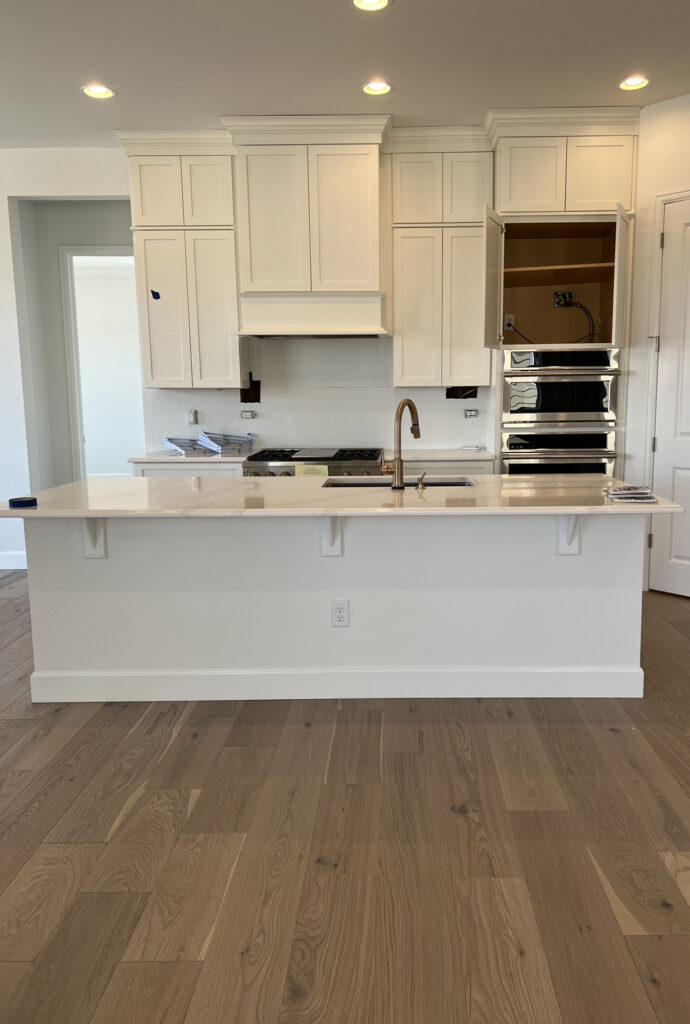
Don’t get me started on that darn textured sheet rocked island or textured walls in general. I mean why is this a thing here? Has anyone ever looked at that and said, wow, that’s one attractive island? Seriously builders STOP! Ok, sorry rant over!
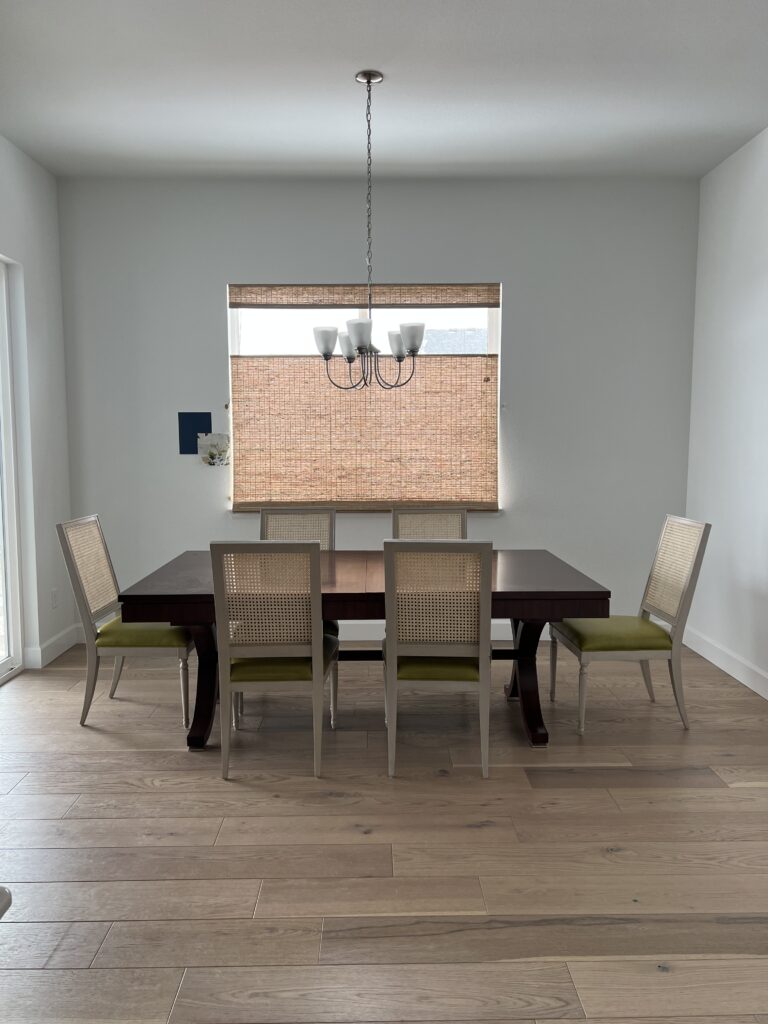
The breakfast nook was just plain, boring and white. Absolutely no personality at all.
It’s finally starting to feel like home!!
Ok, here we go. My kitchen feels like a completely new space. I didn’t do any major renovations in here. Meaning I didn’t tear out anything. Let’s recap what I did in my kitchen.
- Built out and trimmed out kitchen island
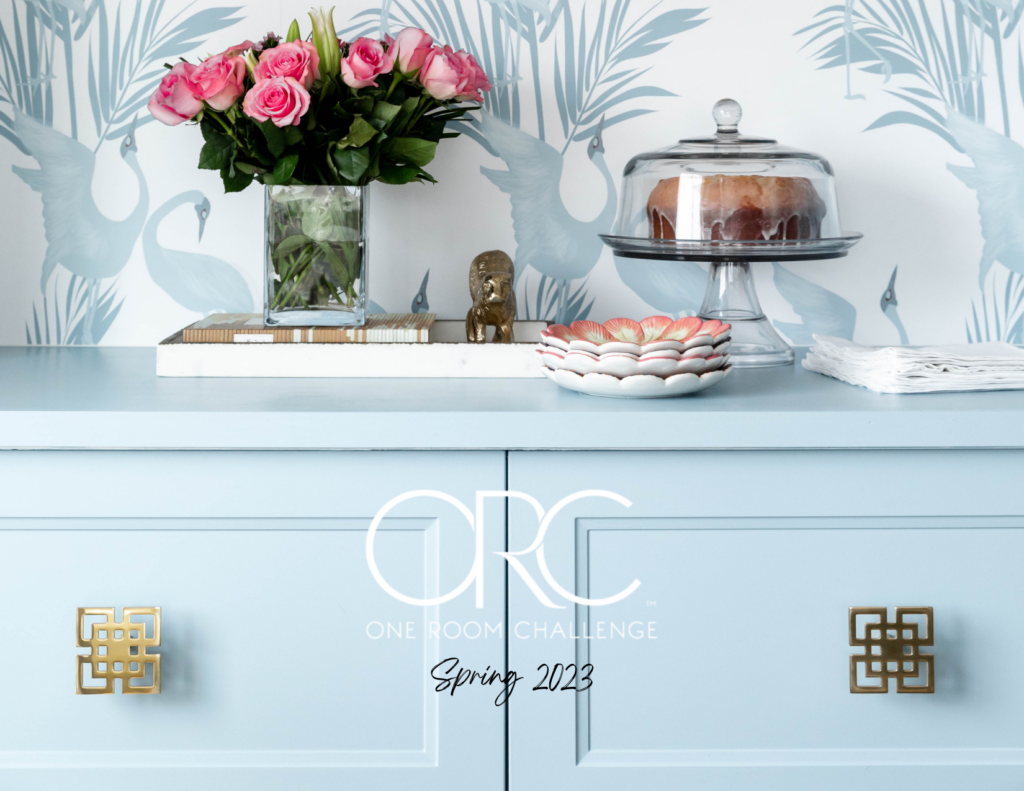
- Painted the kitchen island this stunning blue called Slate Blue by Benjamin Moore
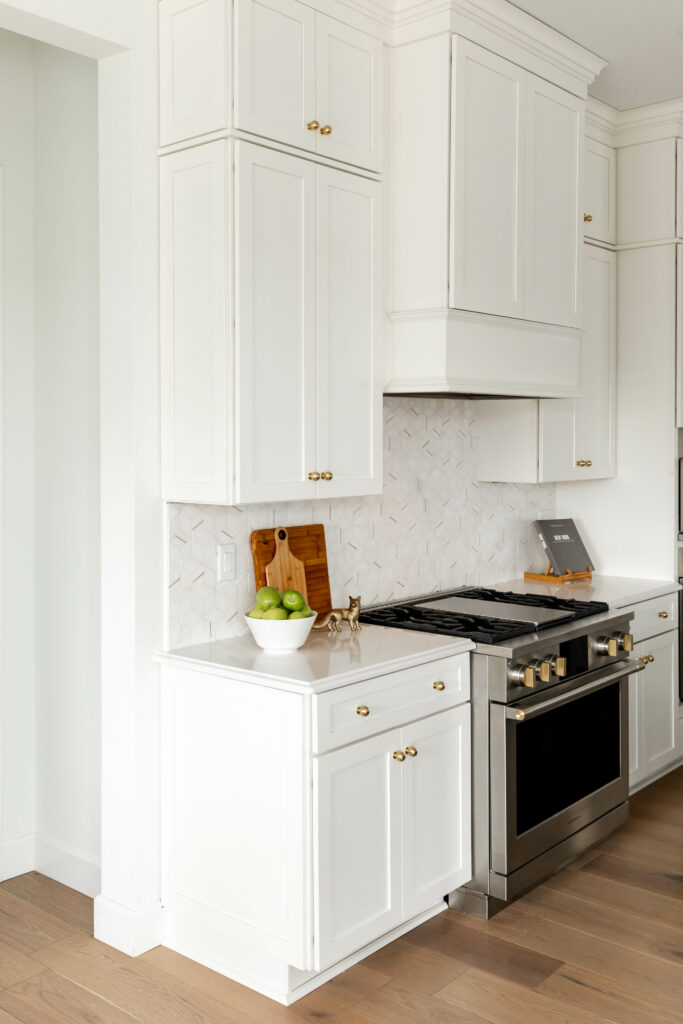
- Added a beautiful marble and brass tile backsplash
- Added a stunning and classic linear chandelier over the island (Pallas Chandelier by Kichler)
- Added brass knobs
- Added swivel counter stools. (I was lucky to find these on marketplace for a steal)
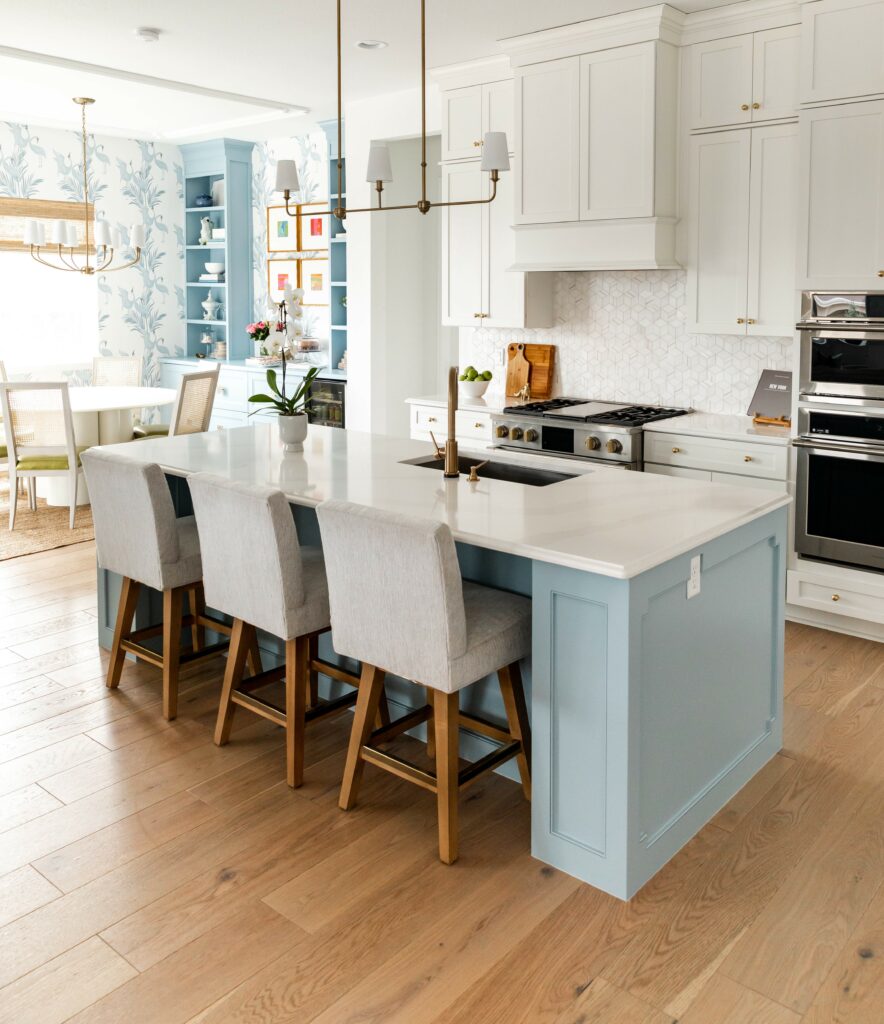
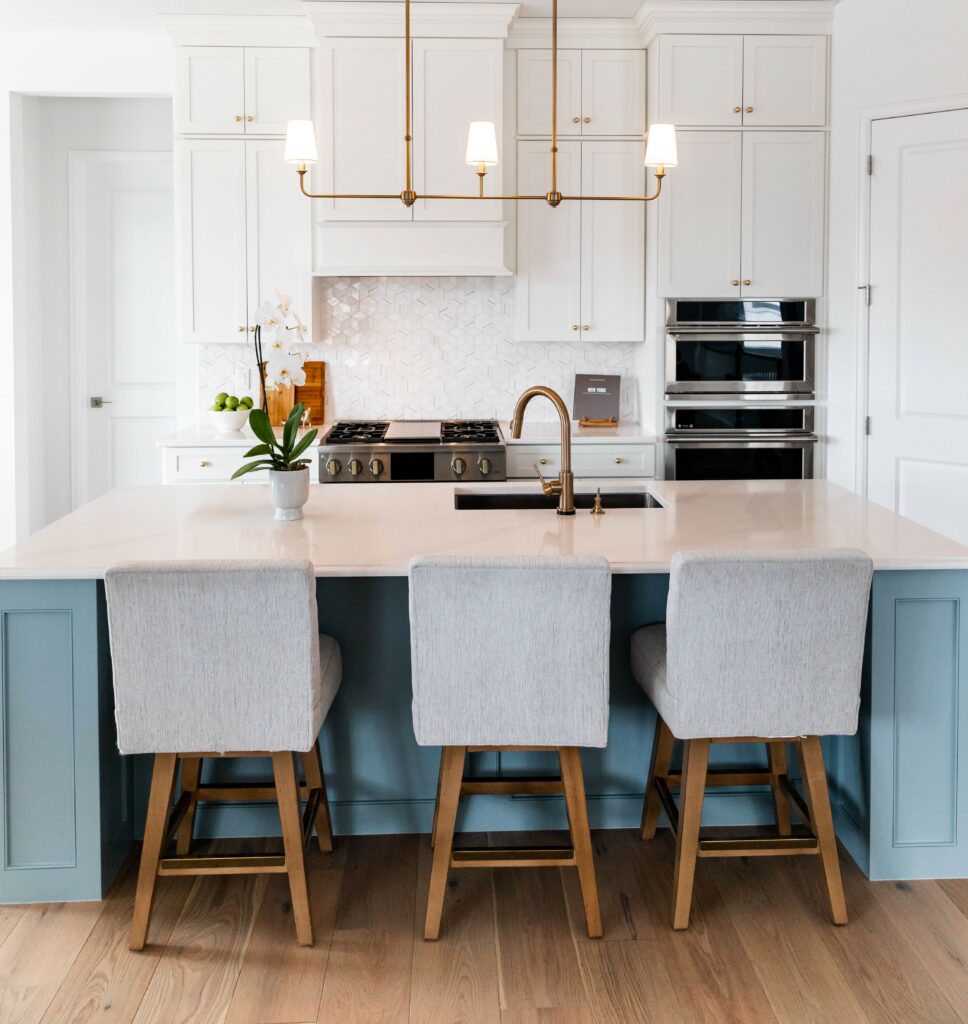
It just goes to show you that a few small changes in a space can have a huge impact.
Be still my heart!
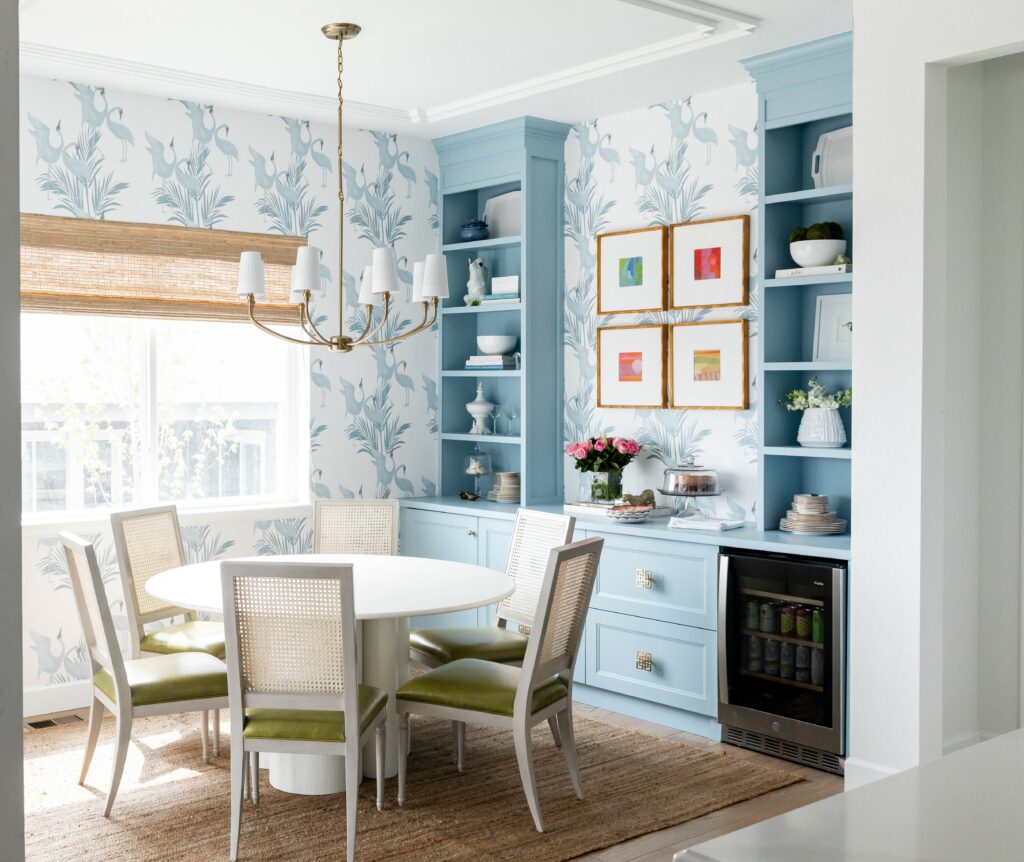
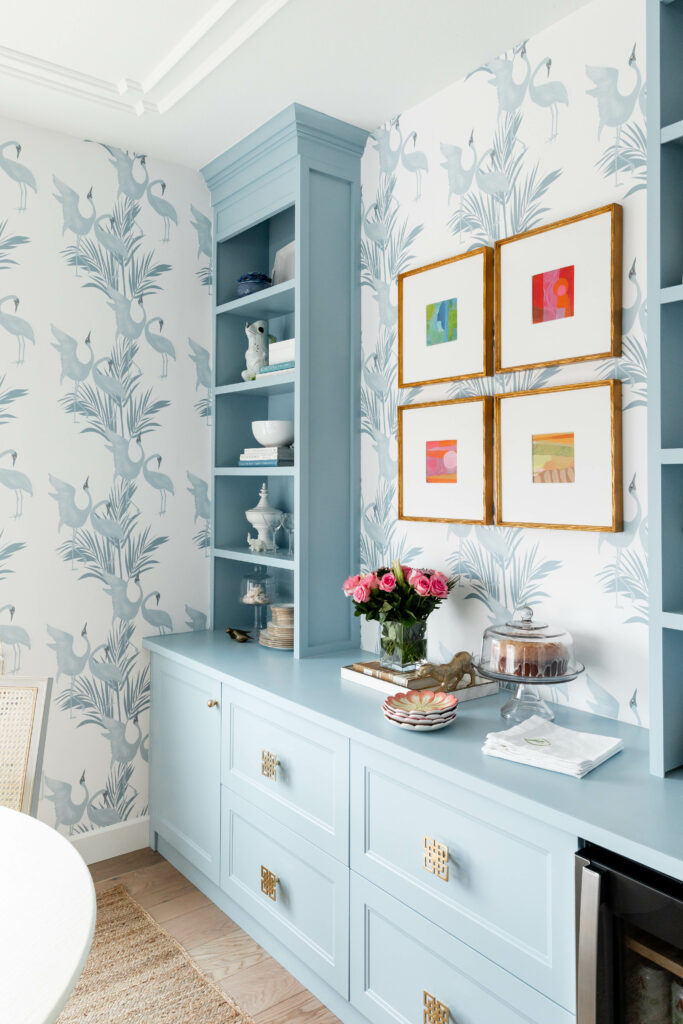
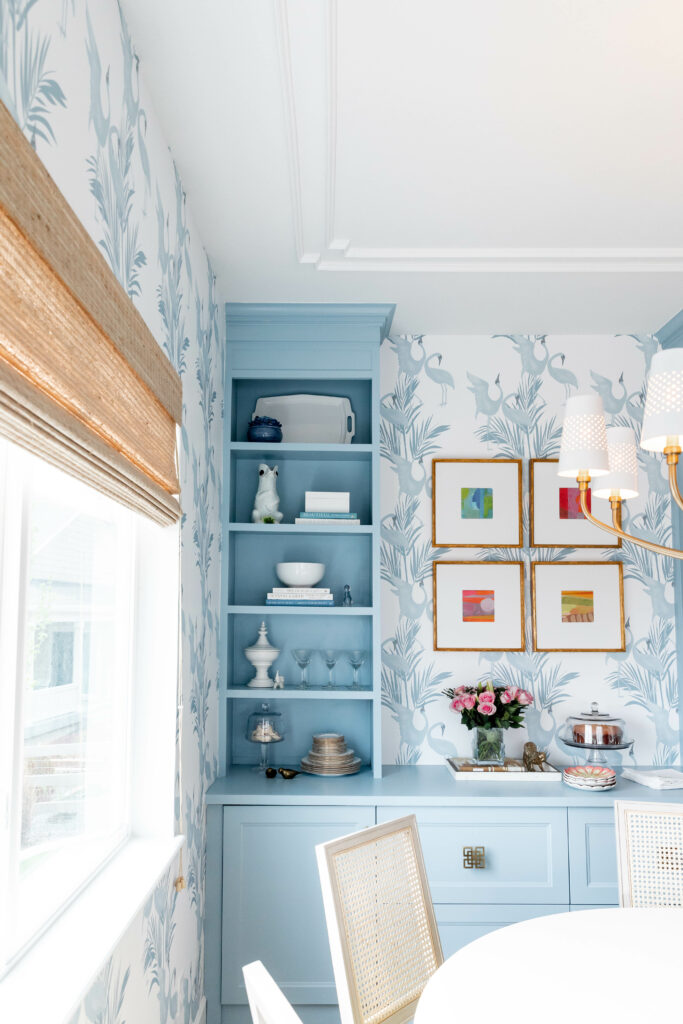
I am so in love with how my breakfast nook turned out. It’s so serene and cozy. I literally just want to sit in here all day. Let’s recap what I did in my breakfast nook.
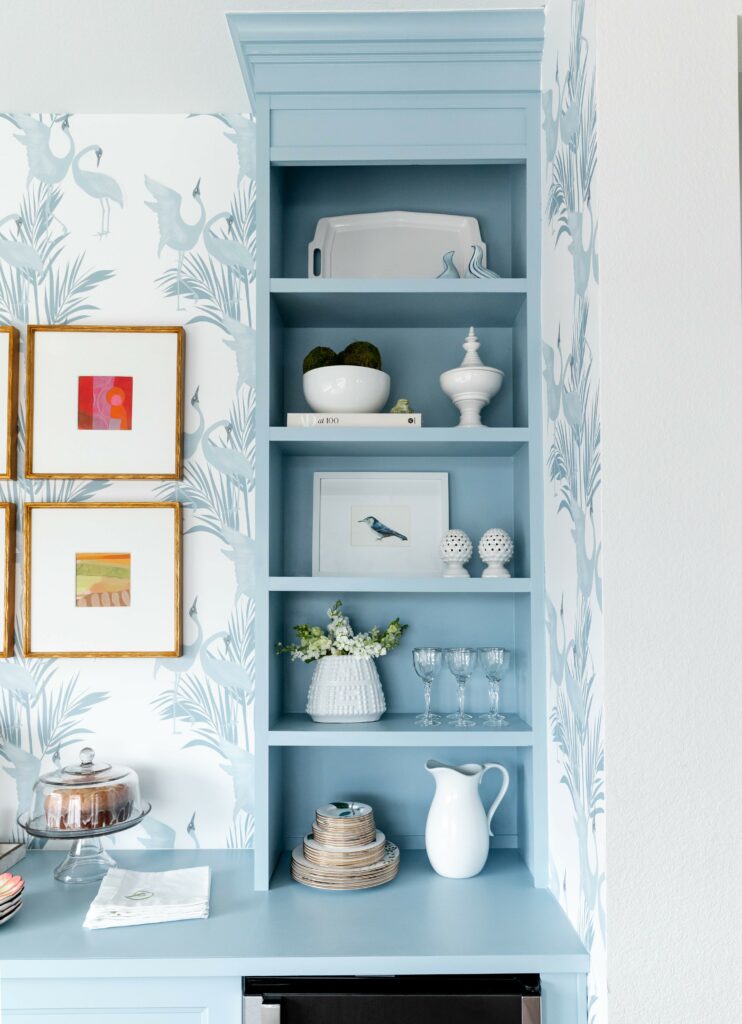
- Added built-ins – Yes this was an IKEA hack – Can you tell?
- Added this beautiful ceiling moulding detail (Ornamental moulding)
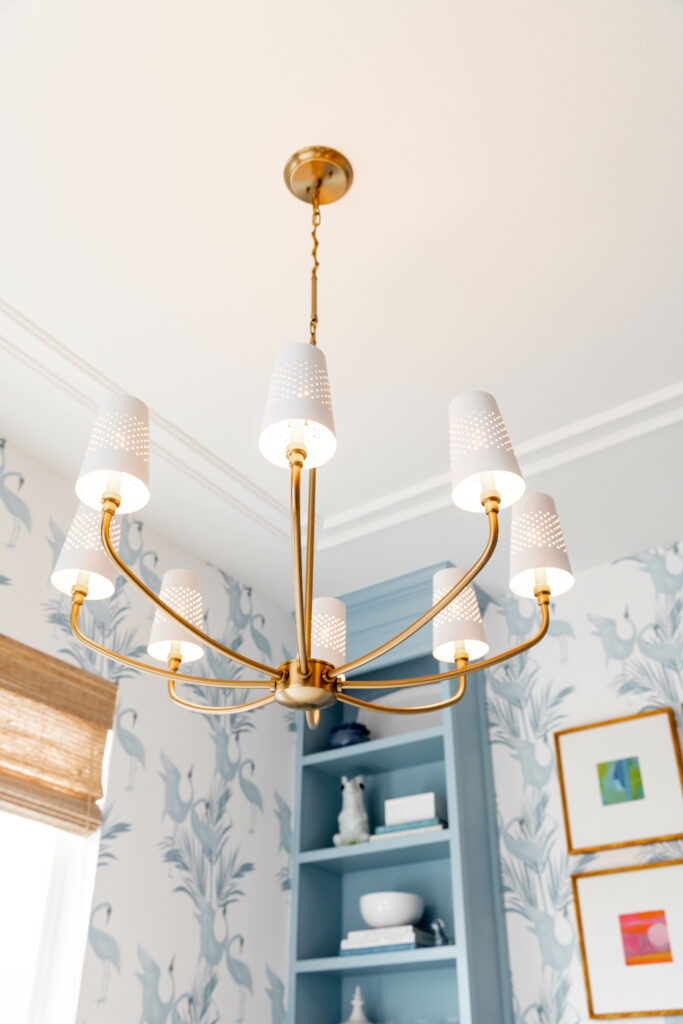
- Changed out the chandelier (Adeena chandelier by Kichler)
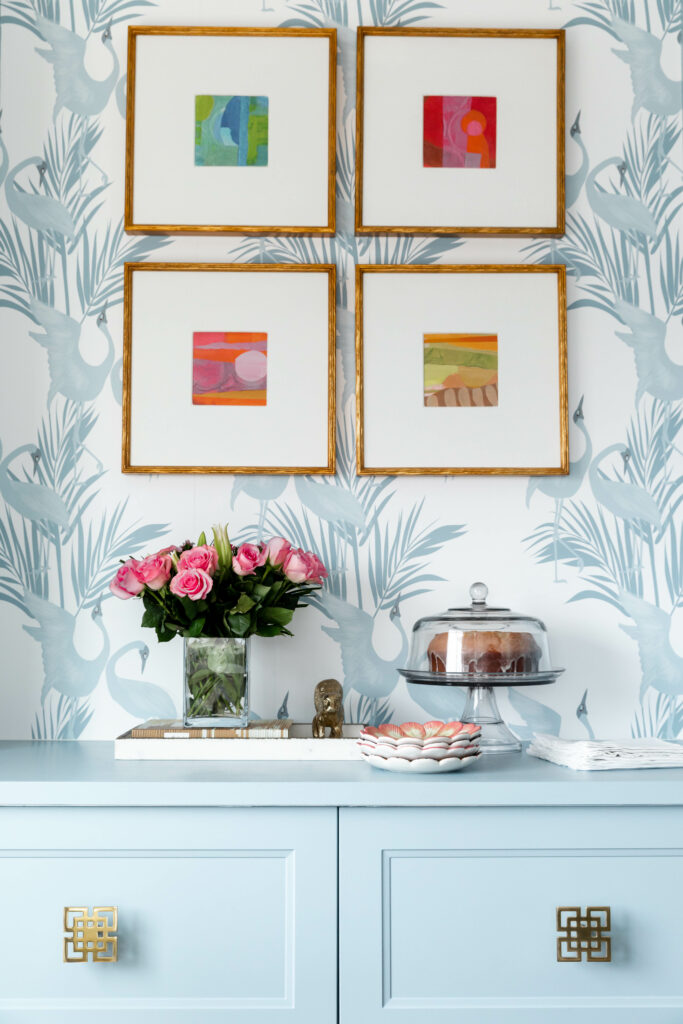
- Added this stunning wallpaper (Dancing Brolgas by Milton and King)
- Swapped my old dining table for a much better fitting round table
One of the biggest compliments I could ever get of this space came from my girls. “Our house is so cute now. I want to have all my friends over!” This my friends is what it’s all about. I know I have succeeded when my design brings joy, happiness and people together!!
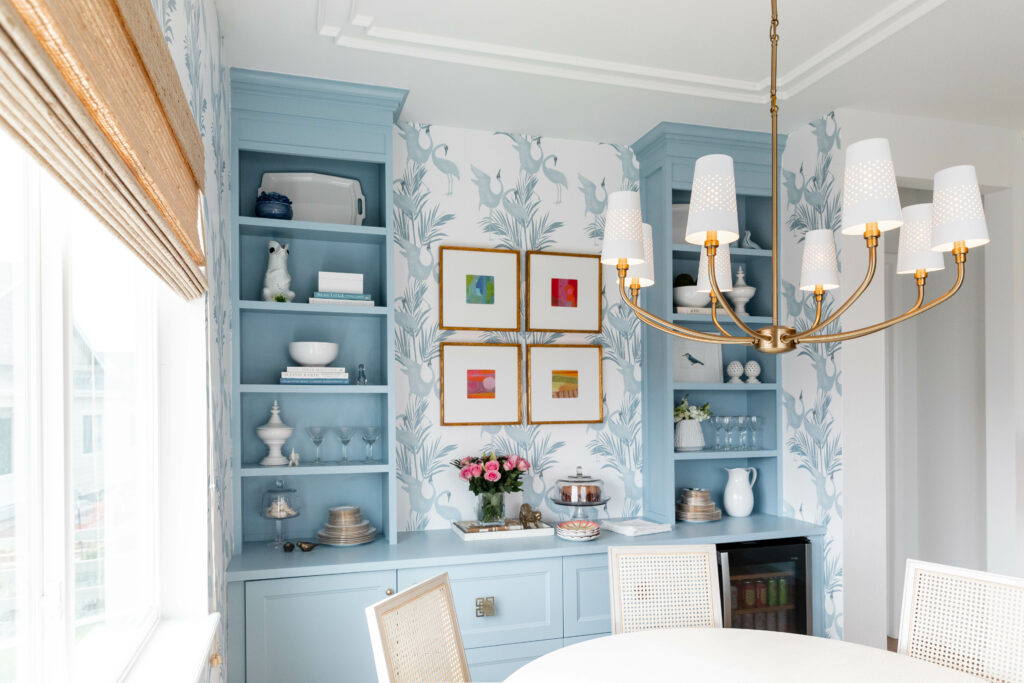
In true classic form, which you will often see in my design work is the use of rhythm and repetition through the recurring use of colors, lines and shapes. I repeated the same pattern in the ceiling molding, and the side of the island cabinetry. As well as with my artwork and the drawers below.
My living area, kitchen and breakfast nook are all one big space. When you get these big open spaces sometimes the ceilings can become overwhelming. It’s important to break up and define spaces. I really wanted to add some architectural interest which sometimes these new house really lack.
A very easy way to do that is with applied moulding. It’s an inexpensive way to really add some interest to a space. Here you can see I added the ceiling moulding twice to really give it some depth.
That’s a wrap on another One Room Challenge. I hope everyone enjoys your Memorial Day weekend. Let me know in the comments what your favorite part or design element is. I’d love your feedback.
As always you can check out my IG for behind-the-scenes, design thoughts, and product reviews. I’ll be talking more details and budget on this makeover.
Cheers,
Jana
A big THANK YOU to my sponsors!
Ceiling Moulding- Ornamental moulding
All paint supplies- Handy Paint products


Sarah
| 26 May 2023Such an amazing transformation!! Great job!
Jana Donohoe
| 26 May 2023Thank you so much Sarah!
Leslie Carothers
| 27 May 2023Jana:
This turned out so so beautifully. I loved following along in your IG Stories as you were doing it, and now that I see it completed, it’s such a WOW!
My favorite thing is the blue color. I am going to use that in my own home. I really love it. And I also love the scale of the repeat in the wallpaper and the hardware on your kitchen cabinets. Everything you did made such a difference!
I hope you and your family enjoy it all for years to come.
Jana Donohoe
| 24 July 2023Thank you so much Leslie. This space is transformed both in design and feeling. I just love waking up and walking into the space now. My favorite spot to enjoy my morning coffee.
Joann Kandrac
| 27 May 2023Wow! You knocked it out of the park! Great job!!
Jana Donohoe
| 24 July 2023Thank you so much Joann!!
Deborah Main
| 28 May 2023Jana, I’m with you on your breakfast nook!!! I’m absolutely in love with it and could sit there all day too. The built-ins, the wallpaper, that powder blue…it is absolutely stunning!!! Congratulations on quite the challenge doing 3 rooms!! Your kitchen and breakfast nook are completely transformed with incredibly gorgeous results!! Now you get to sit in there all day if you want. Brava!!! 🎉🎉🎉
Jana Donohoe
| 24 July 2023Thank you so much Deborah!! My favorite space in the house now. I always find my way to the dining table to work too.
Janelle
| 15 June 2023This is BEAUTIFUL!!!! I am loving the paint colour, the wall paper and the mouldings on the ceiling….I think I am going to do that in my dining area which is kind of open.
Jana Donohoe
| 24 July 2023Yes do it!! The moulding added some much needed detail and break of the ceiling. I love doing treatments on the ceiling. Send me an update if you do it. I’d love to see it.
Lauren
| 5 July 2023When I saw your ORC on Apartment Therapy I literally let out a gasp! I’ve never done that! This is so beautiful, but also something that is attainable and livable. No wonder your kids love it!
Jana Donohoe
| 24 July 2023Thank you so much for such a wonderful comment. We truly love the space. It completely changed the way this house feels.