- September 8, 2023
- Jana Donohoe
Need storage solutions on a budget?
Are you longing for a unique and personalized touch in your home without spending a fortune on custom built-ins? If so, welcome to the world of IKEA hacked built-ins – a creative and cost-effective solution that empowers you to transform ordinary IKEA components into bespoke storage solutions that seamlessly blend with your home’s aesthetic. Whether you’re a seasoned DIY enthusiast or just starting out, join me as we delve into the exciting world of IKEA hacking and unlock the possibilities of custom looking built-ins that will leave guests and yourself in awe of your home’s transformation without breaking the bank.

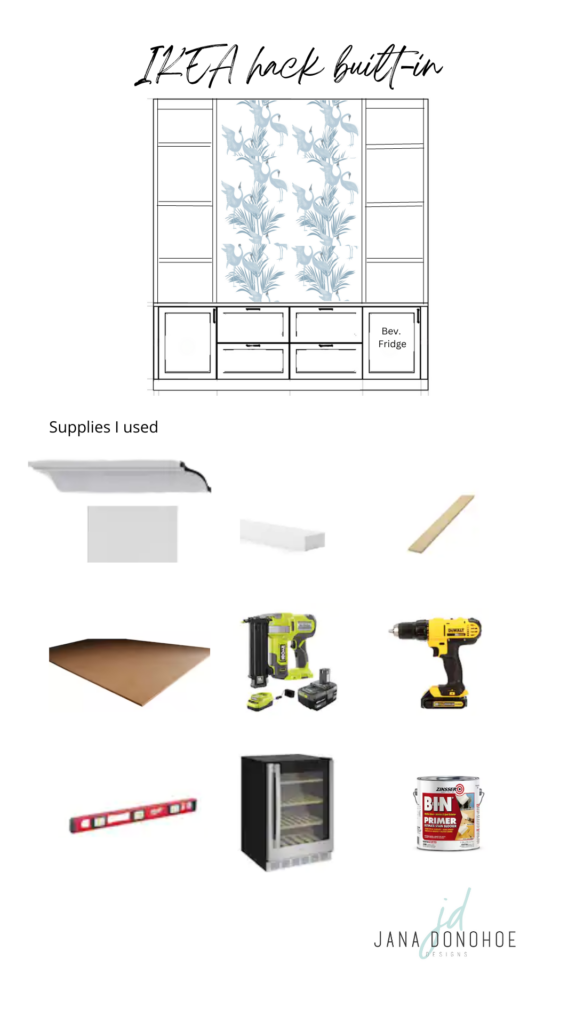
Every project should start with a concept board, a visual canvas that serves as your roadmap for the project ahead. This board not only captures your design vision but also helps you stay organized throughout the process. Here I added all the components that were going to go into my space. I did a quick mock-up of what I wanted my built-ins to look like based on my given space.
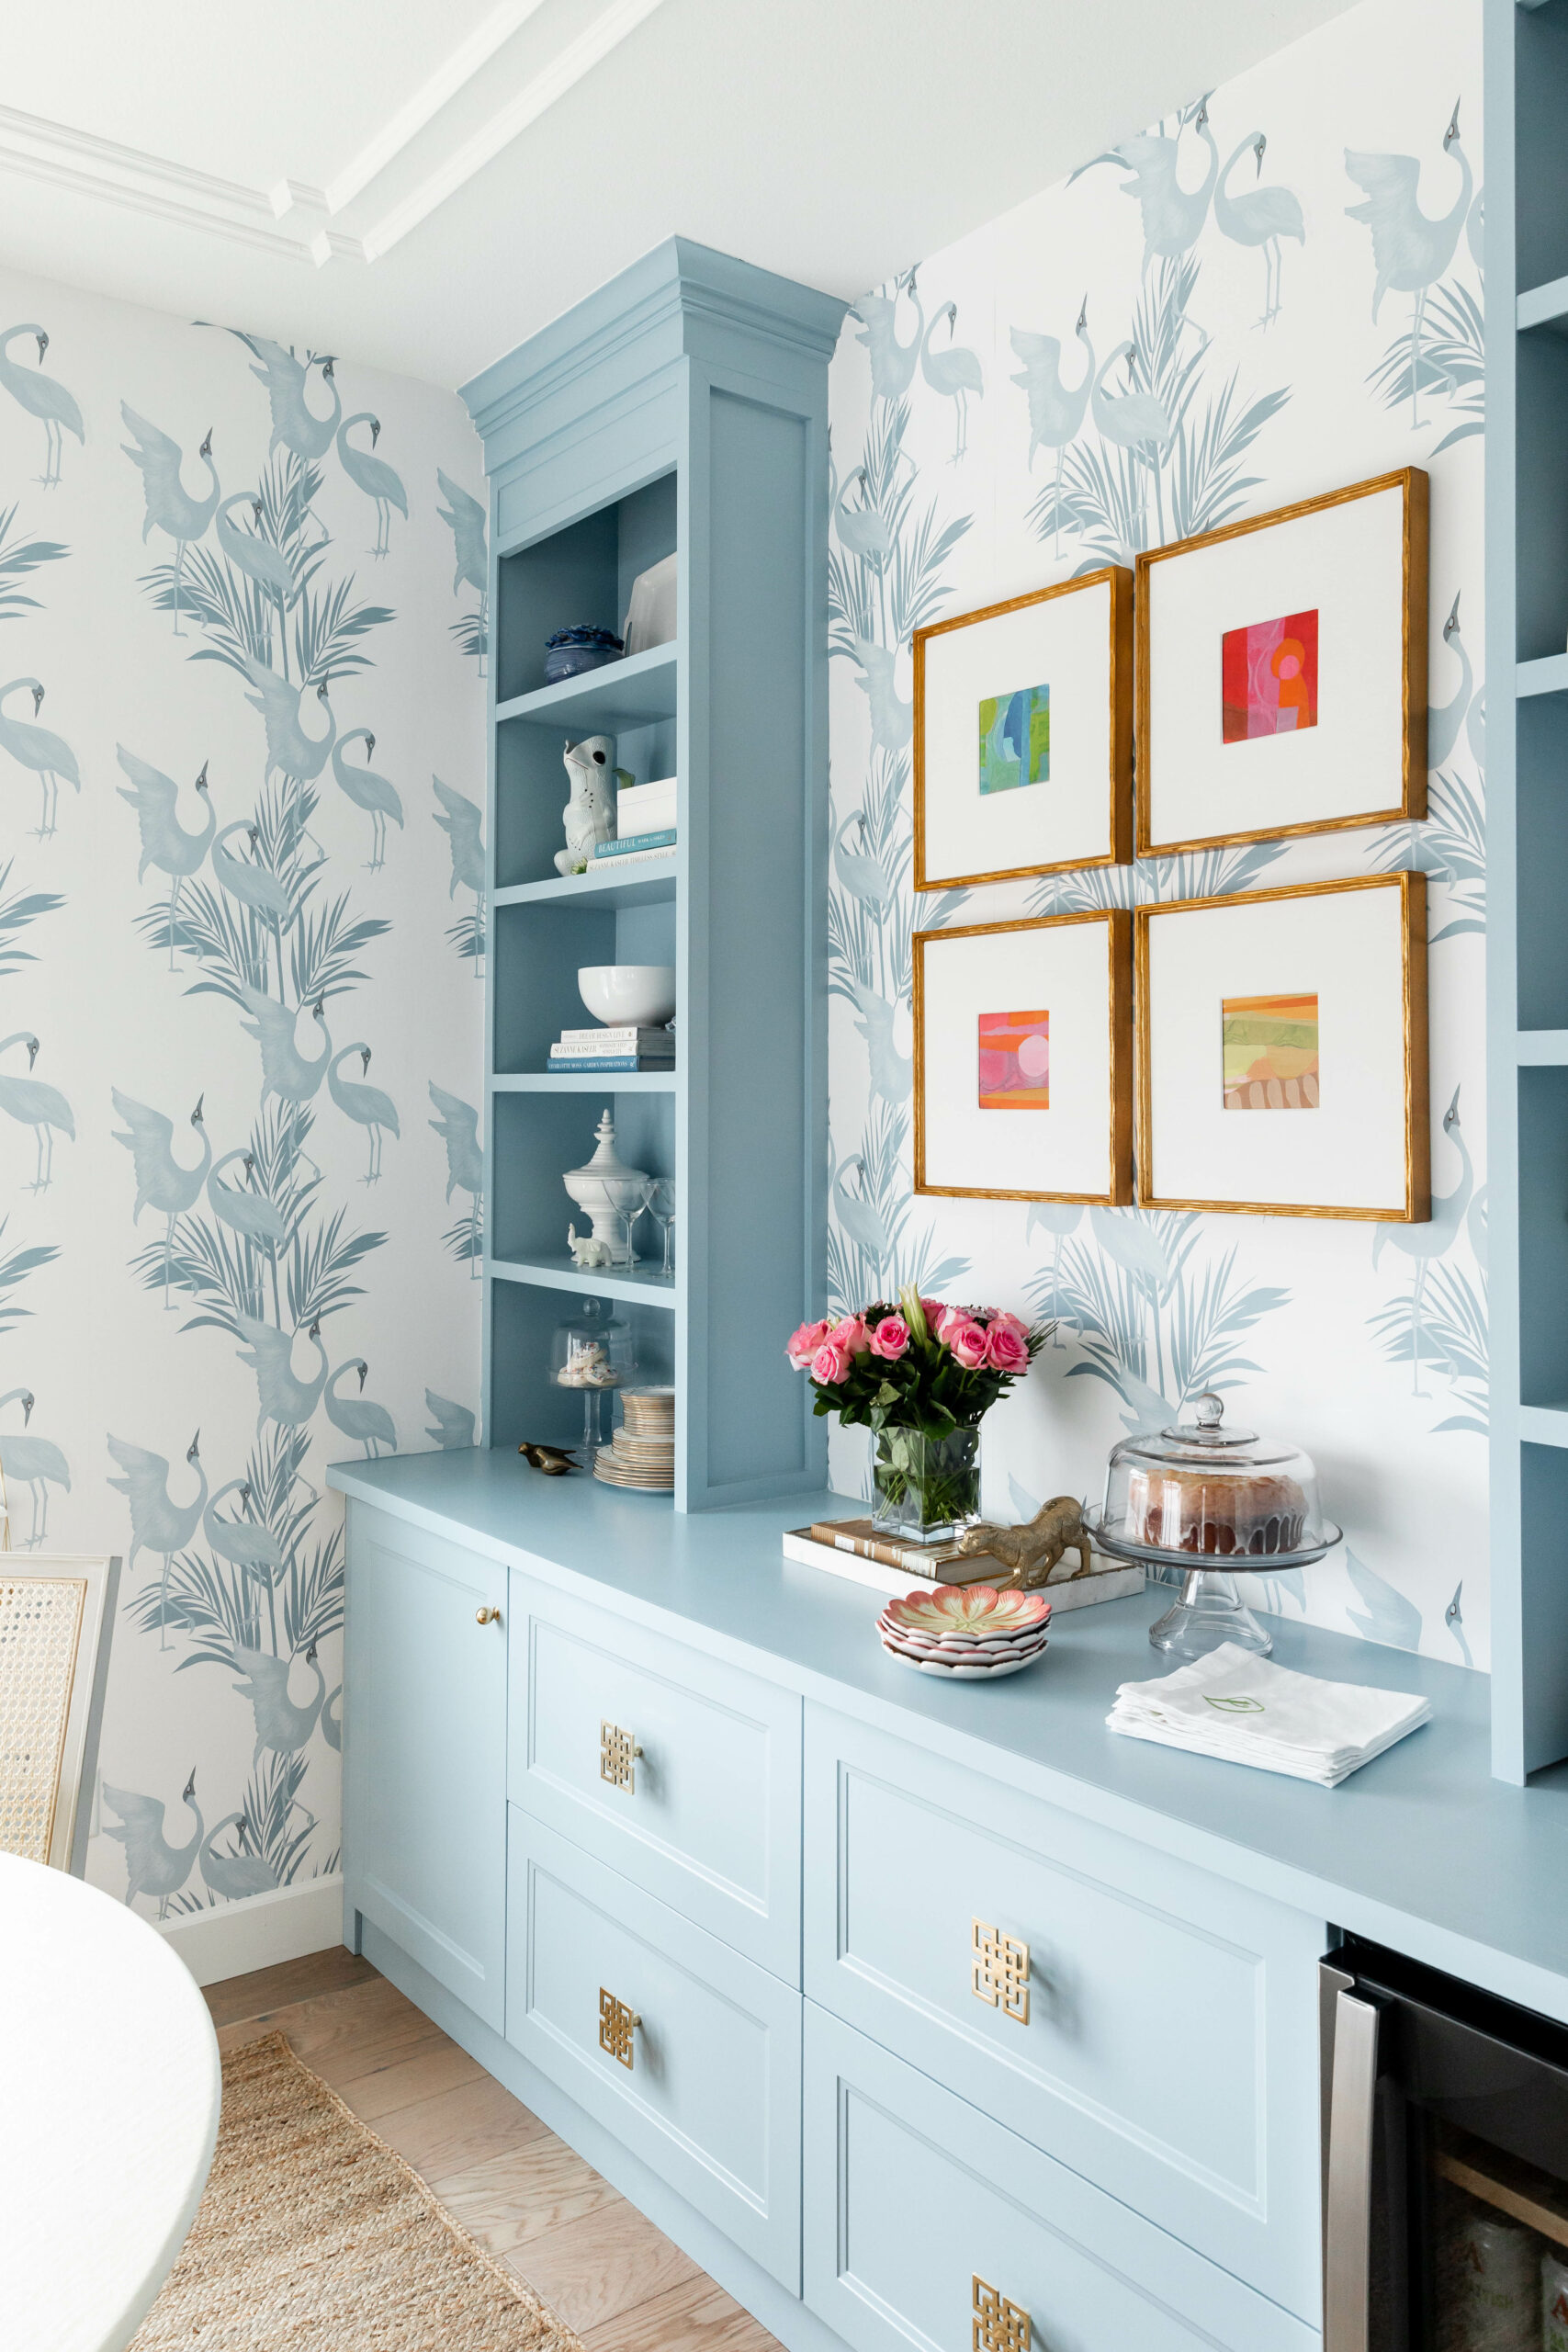
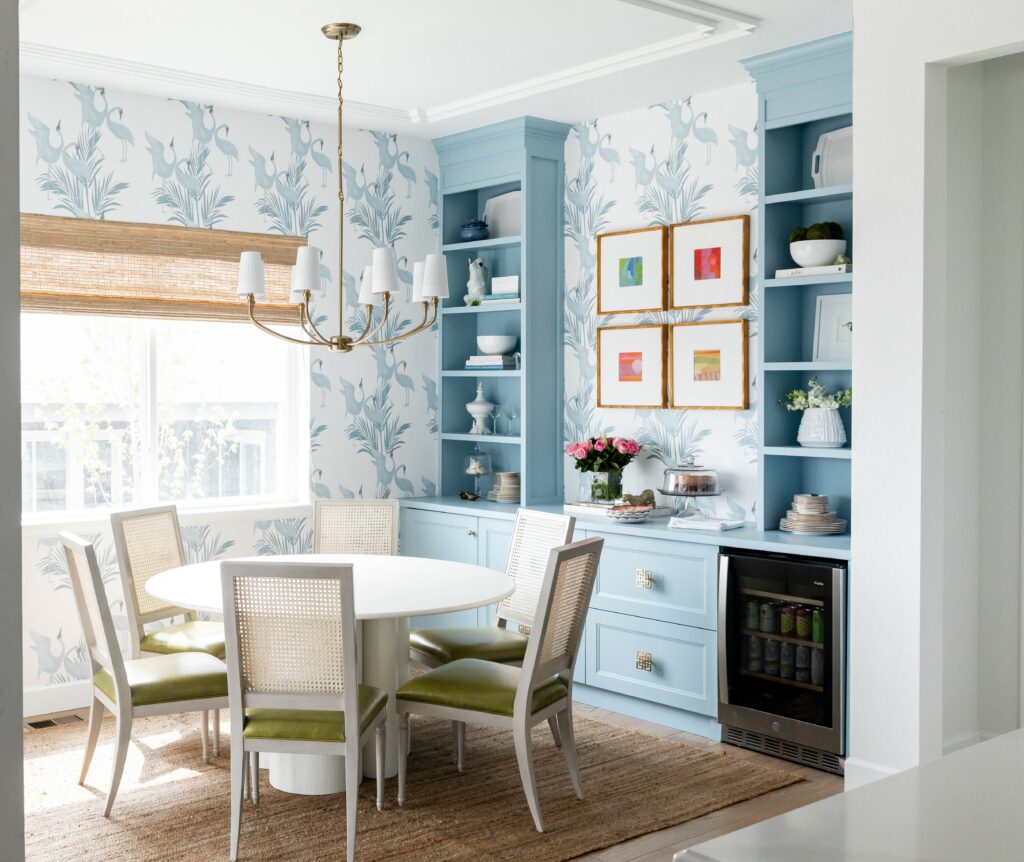
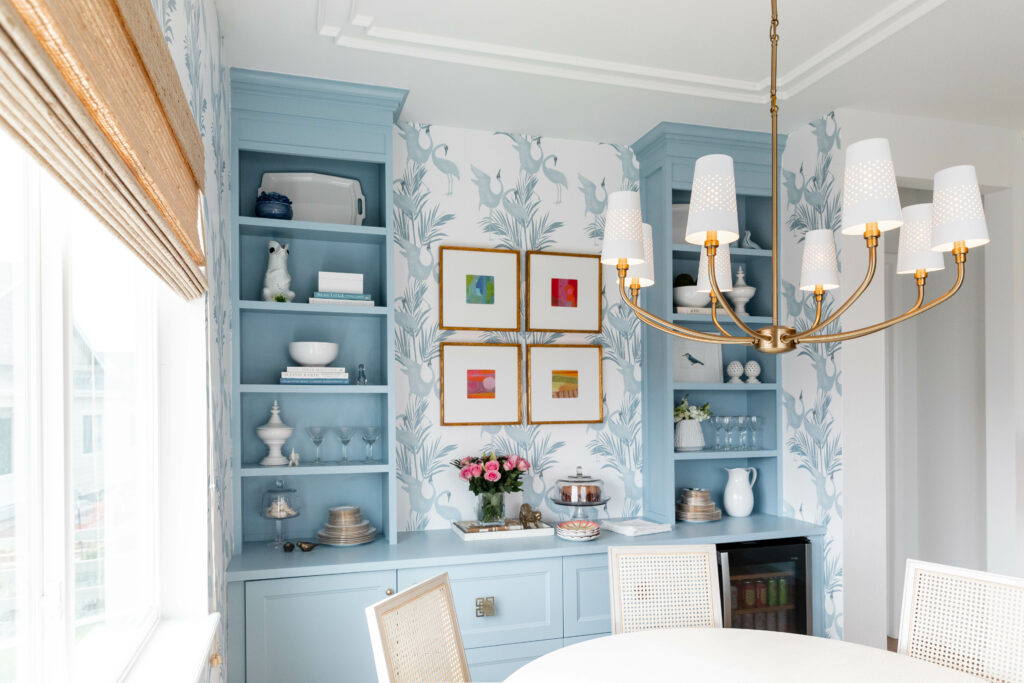
I like symmetry. You may not be as particular! I knew this built in area in my breakfast nook needed a beverage fridge approx. size is 24″ so I balanced out the other end of the built-in with a 24″ cabinet. Notice how I keep all the lines of cabinets lined up? The upper shelves are also 24″ wide. This makes for a very visually appealing and symmetry driven design. I also knew I wanted some drawers for my china in the middle of the built in, this gives it a furniture look. I ended up with (2) 30″ drawer cabinets in the middle. I was left with a 2 1/2″ gap to fill in on each outer side. The perfect size for a filler piece of MDF.
After I figured out what I wanted it was time to start a supply list of what I needed to complete the project.
Complete Supplies list I used:
IKEA:
Sektion Suspension rail galvanized 84″
Sektion Base cabinet frame, white 24x24x30″
Axstad Door, matt white 24×30″
Utrusta Shelf, white 2 pack 24×24″
Sektion Base cabinet frame, white 30x24x30″
Maximera Drawer, high, white 30×24″
Axstad Drawer front, matt white 30×15″
Hardware Store:
3/4 in. x 4 ft. x 8 ft. MDF Panel (Cut down to the size you need)
Trim Board Primed Finger-Joint (Common: 1 in. x 2 in. x 8 ft.)
WM 266 1/4 in. x 1-1/2 in. x 96 in. Solid Pine Lattice Moulding
5.5 in. x 96 in. MDF Primed Mullion Baseboard Moulding
I had the crown moulding left from the kitchen
Crown Moulding Similar – 5-1/8 in. x 5-1/2 in. x 94-1/2 in. Polyurethane Dylan Crown Moulding
Ryobi ONE+ 18V 18-Gauge Cordless AirStrike Nailer
Dewalt 20V max cordless 1/2in drill/driver
GE Profile 23.5 in. Beverage Cooler
Zinsser 1 gal B-I-N shellac based interior primer and sealer
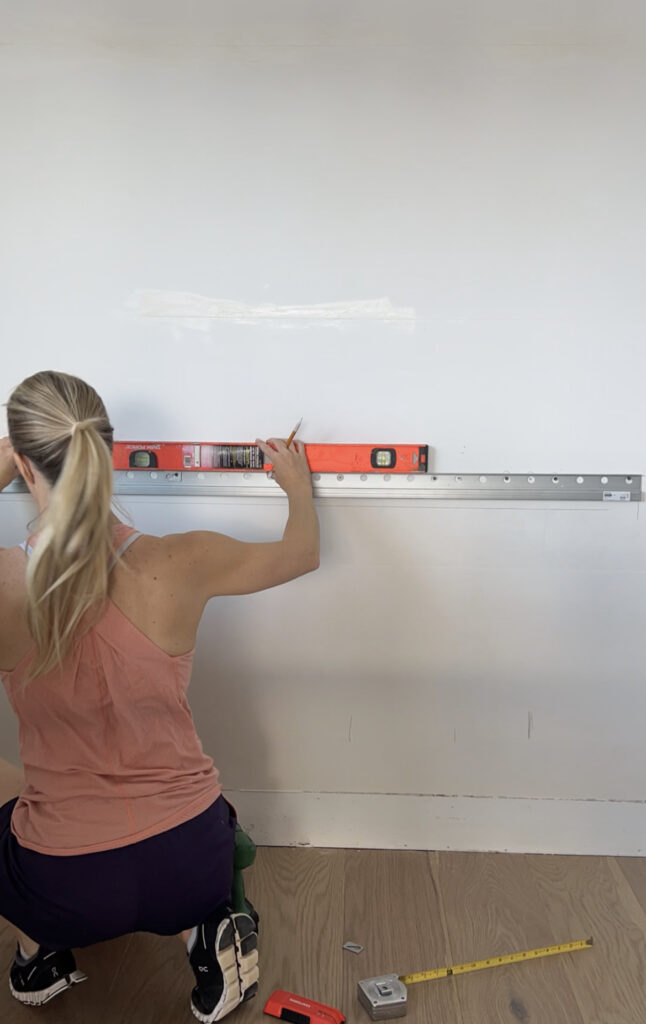
With the Sektion base kitchen cabinets you have the option to add this support bar to your wall that the base cabinets attach to. I opted for this version because it felt sturdier and more solid for the base cabinets. The back part of the cabinet hangs on the bar and the front part of the cabinet has legs you can attach.
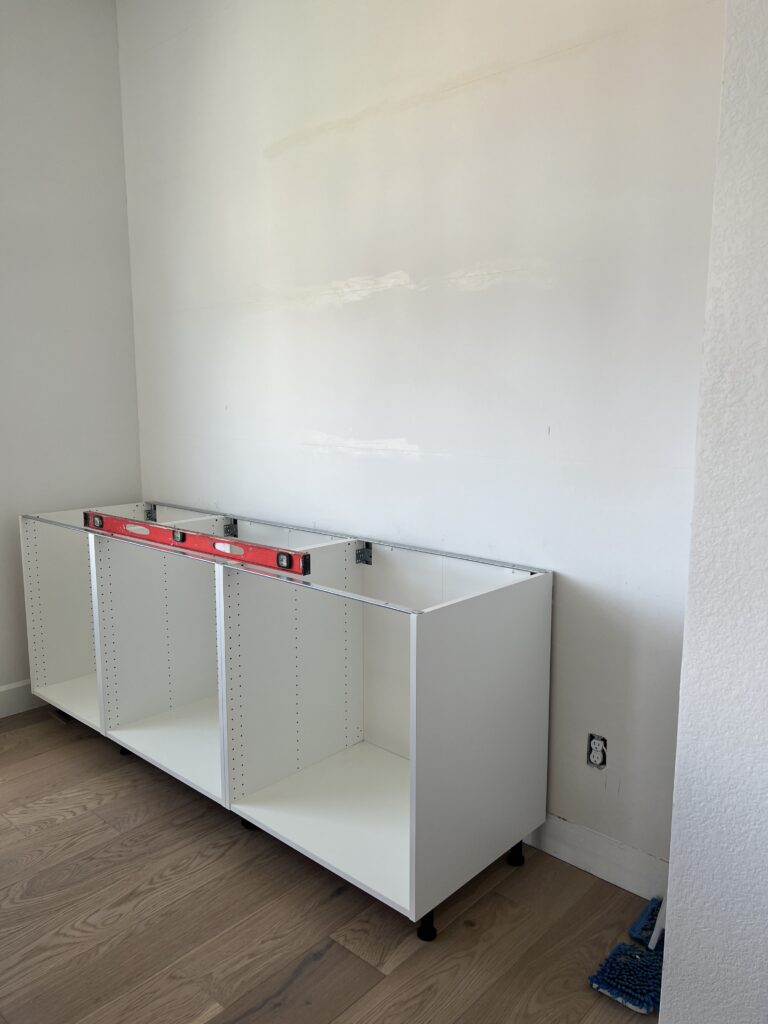
Assembled kitchen cabinets per IKEAs directions. Attached to wall and added front feet.
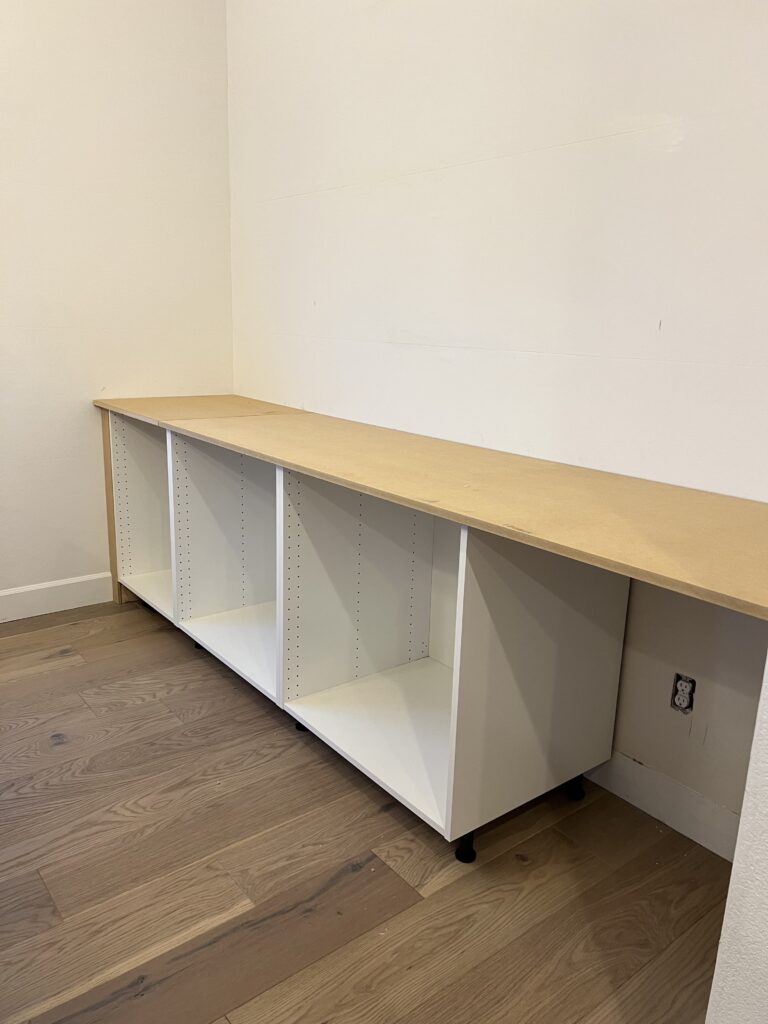
Since my space was longer then 8′ which is the standard length that MDF sheets come in. I had to add a seam that lined up with the edge of the cabinet. See above. This is 3/4″ MDF board.
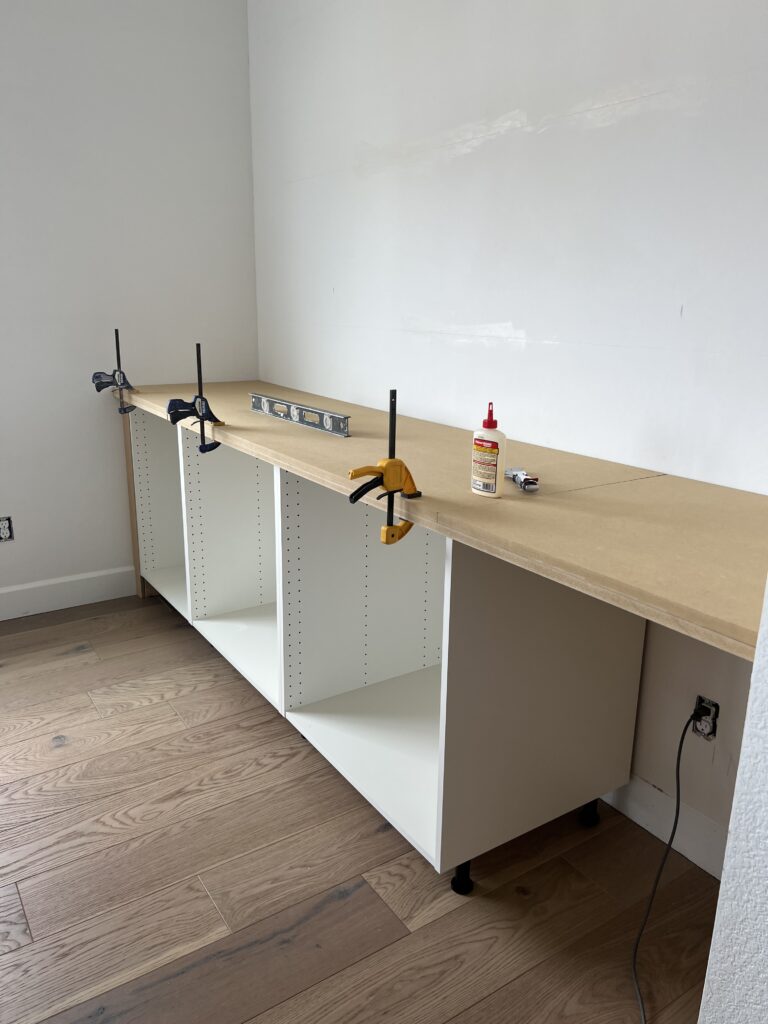
3/4″ is the thickest you can get MDF. The typical countertop thickness is 1 1/2″. I did 2 layers of the MDF, glued them together and alternated the seam so I wouldn’t have a weak spot on my countertop. See above. Let that dry for 24 hrs. Attached countertop with screws in the support bars that come with the Sektion cabinets.
I missed a few progress photos of the assembly of the drawers and the prepping for paint. Sorry!
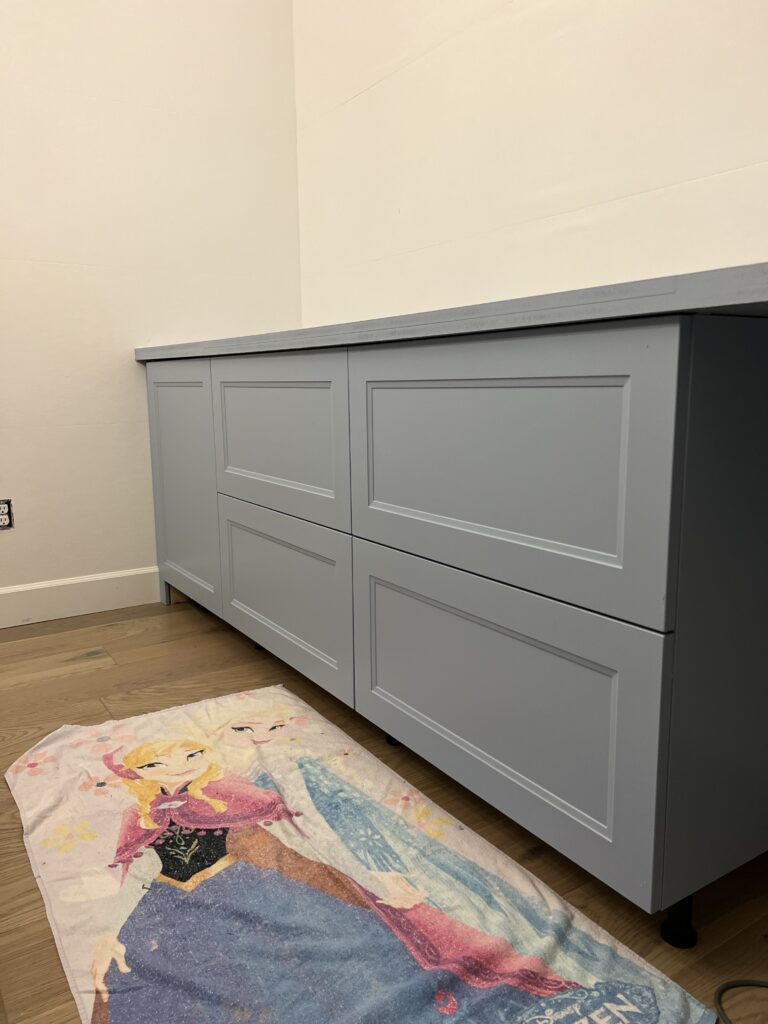
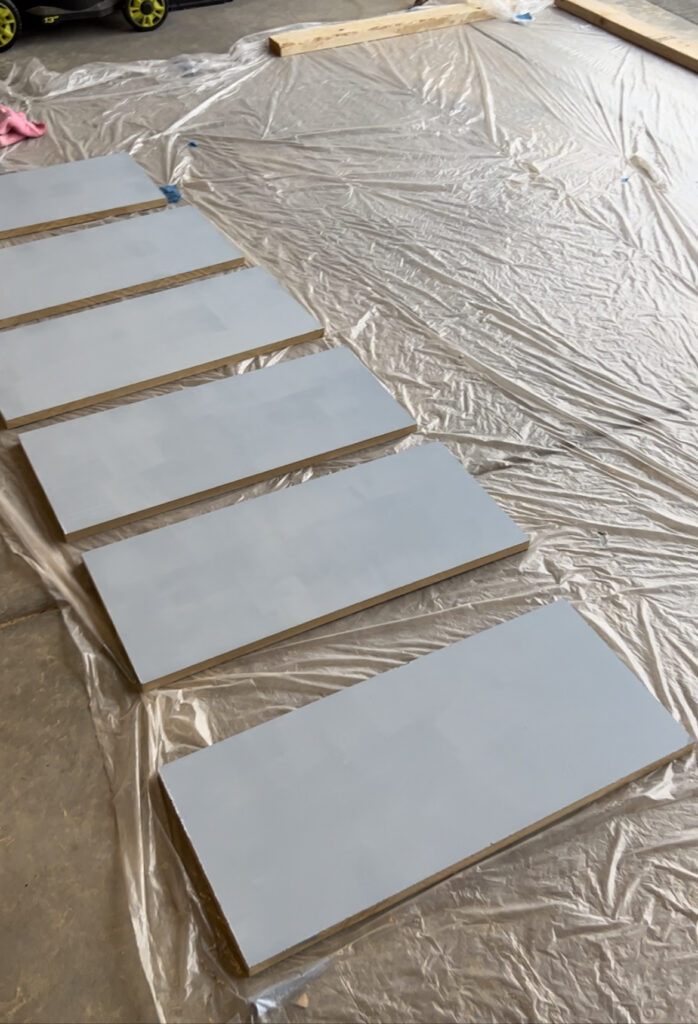
With IKEA cabinets it is imperative that you prime the cabinet fronts properly or the paint with not stick to the laminate coating. The best product to prime the doors is B-I-N primer and sealer. I rolled on two coats of the primer before applying the top coat. Next, I rolled on two coats of BM Steele blue paint. It probably would have been easier to spray them but I don’t own a paint sprayer. :/
Note: I used just a normal Kilz primer on top of the MDF countertop. Sand between coats to get a nice smooth finish.
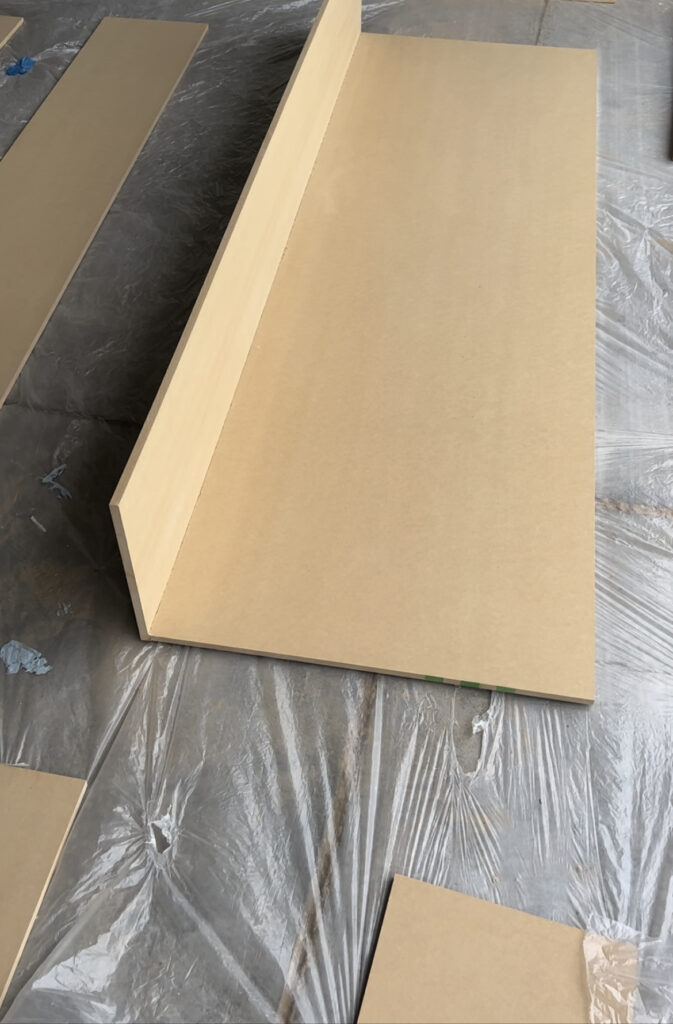
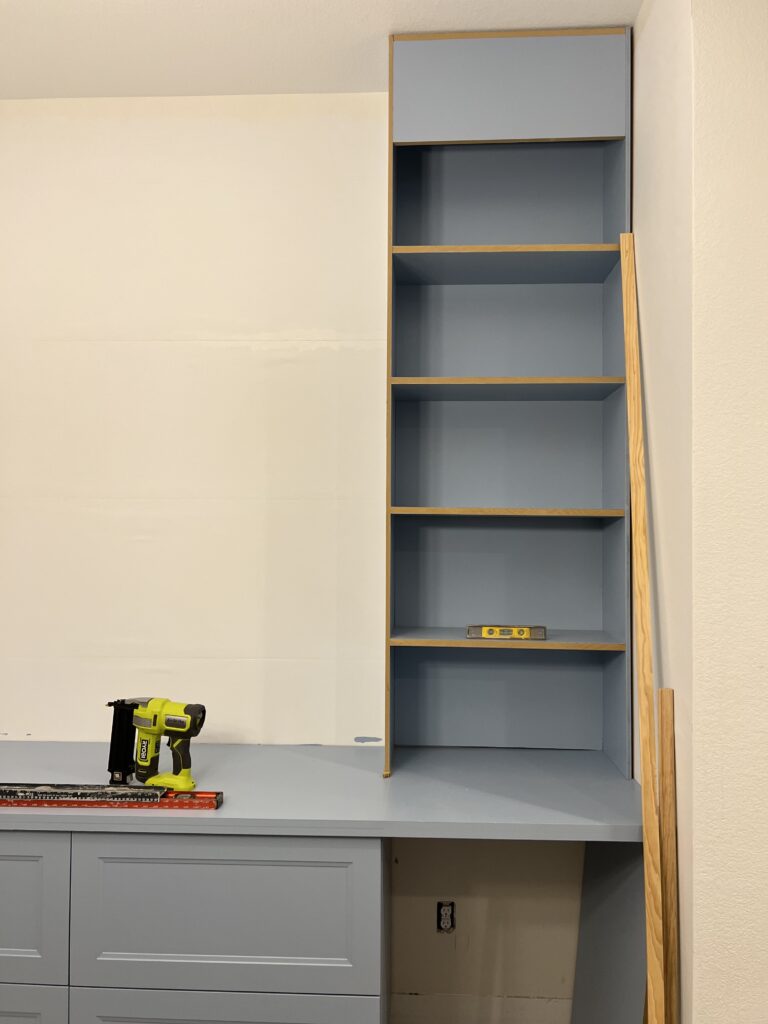
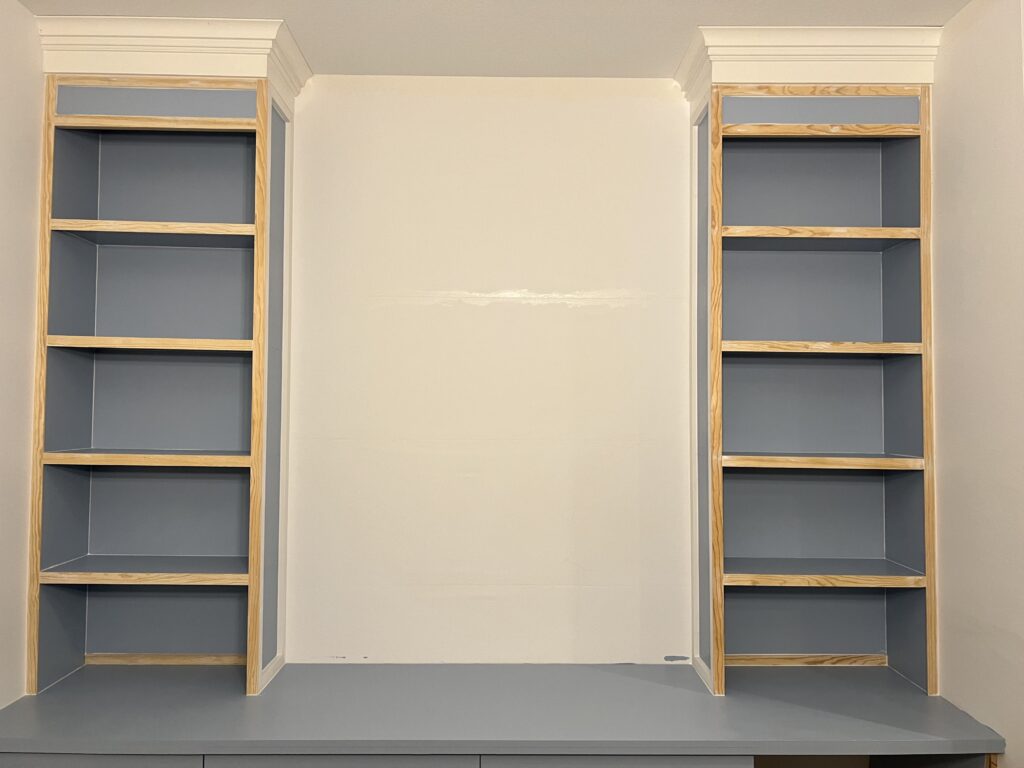
Next up was the upper shelves. I do not have a saw big enough that can cut 8′ sheets of MDF so I had Home Depot cut them down to the sizes I needed. Each frame is approx. 12″x24″x 82″. You will have to figure out the math on the sizes you need for your space.
I assembled all the frame pieces together with my brad nailer and wood glue on all edges. I also painted them prior to getting them up in place with two coats. I’ll do a finish coat once they are in place.
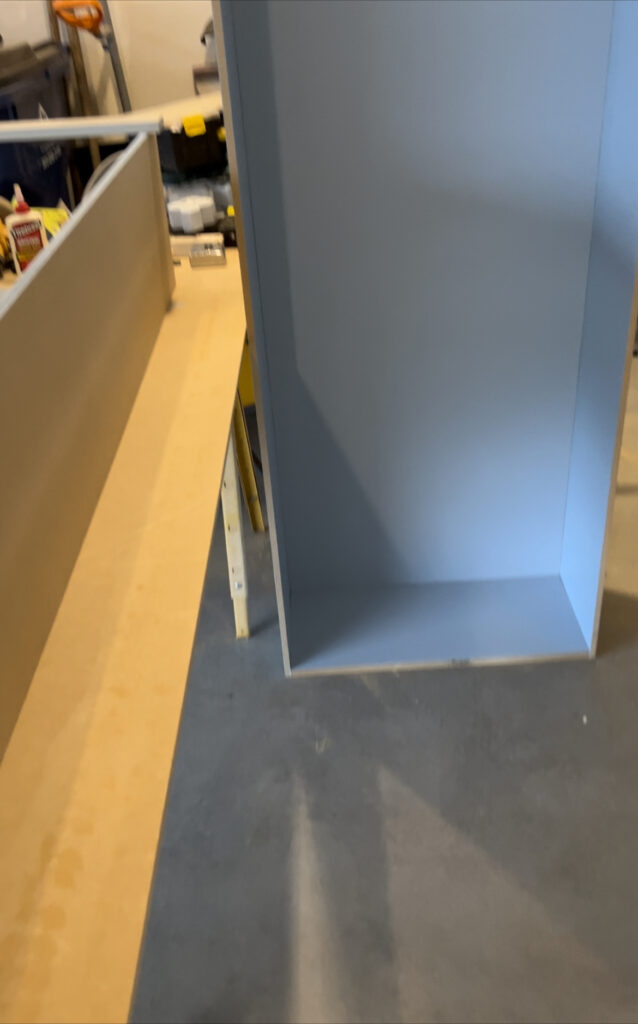
Figure out how many shelves you want and/or need. Shelves also got painted prior to nailing them in place.
One the upper frame and shelves were installed. I secured them to the wall in studs on the sides, back and ceiling with my screws. The frames themselves are a little flimsy so you do not want to skip this step. Secure to wall always!
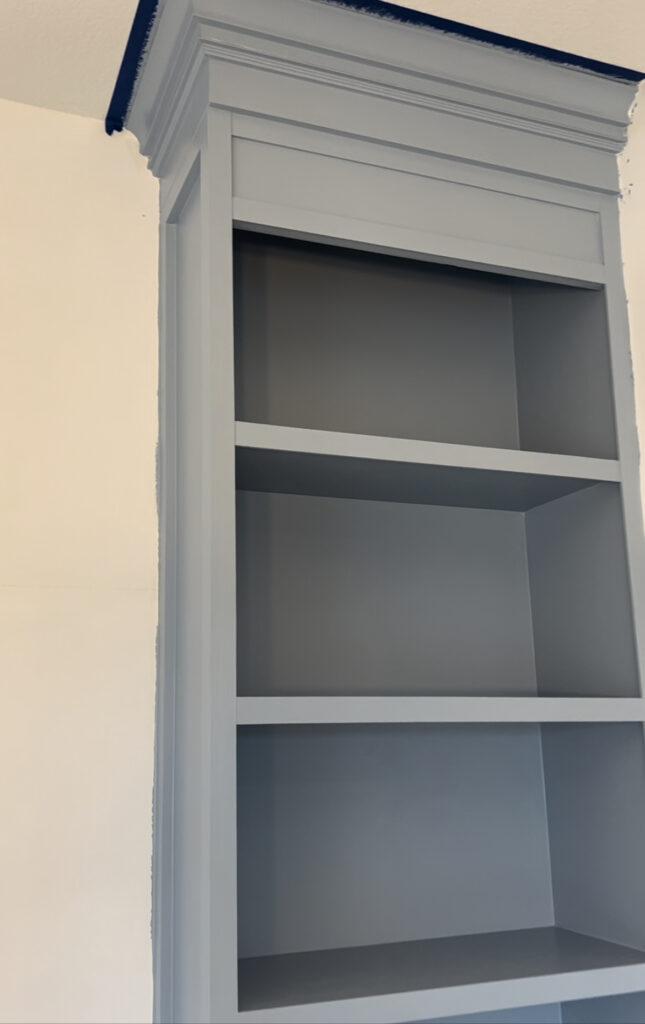
The one thing that takes these shelves from OK to custom looking is the trim millwork. My kitchen is right next to my breakfast nook so I really wanted to make sure that the same trim treatment was used on these shelves as my kitchen cabinets. I was lucky enough to have found some left over trim in my basement that was used in the kitchen. It was just enough thank goodness!
This is just a flat 5″ baseboard that sits under the crown molding. This gives a nice custom layered look.
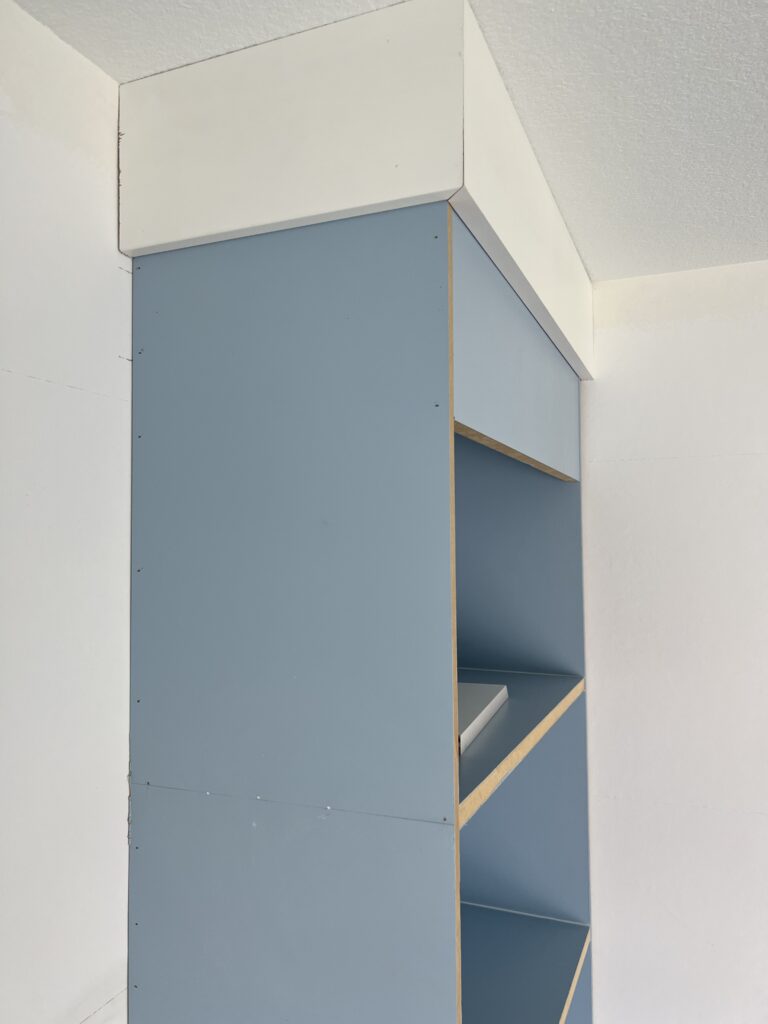
Next, I boxed framed the sides of the exposed sides of the shelves using 1″x2″ trim.
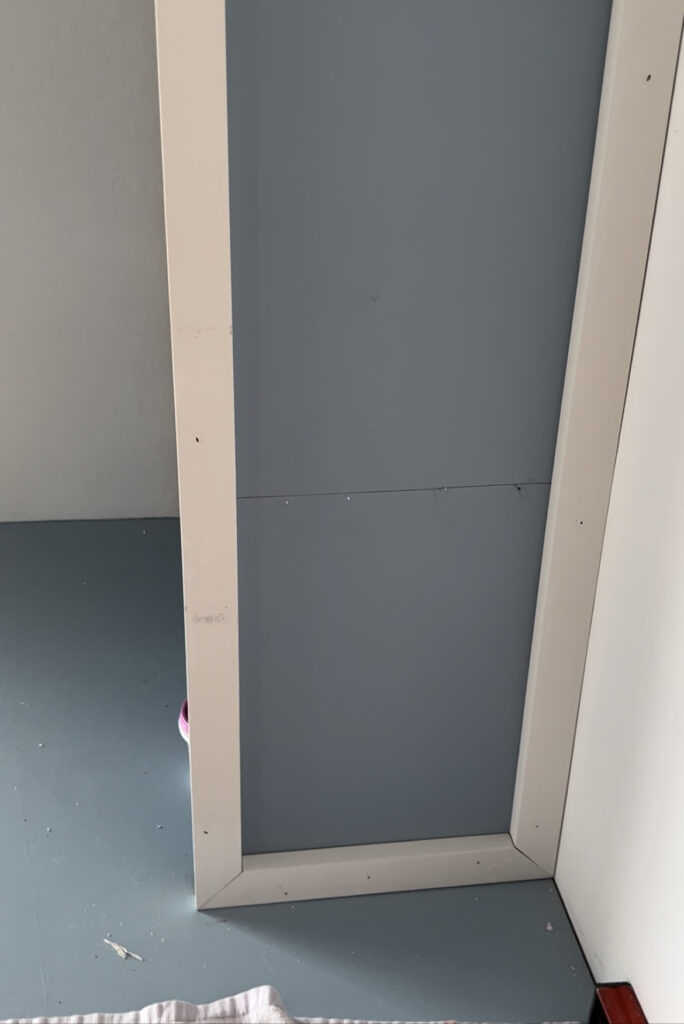
After I boxed framed the sides with the 1″x2″ trim. It was time to face frame the front of the shelves with the 1/4″ x 1 1/2″ flat pine trim. This filled in the gaps on the sides where the wall is and finished the MDF edge off with something much nicer and smoother to paint. Also, added the crown moulding on top of the baseboard up top.
Prepped and painted the raw wood and gave the shelves a finishing coat. Make sure to caulk all the edges where the moulding was added as well.
Finishing touches and details matter
Finishing your built-ins with attention to detail is what sets this project apart from other IKEA hacks. Take your time, follow these steps, and enjoy the satisfaction of transforming your IKEA cabinets into beautiful, personalized built-ins that perfectly complement your home’s design.
- Sanding and Smoothing:
- Begin by sanding the surfaces of your cabinets and MDF to create a smooth and even finish. This step is essential for achieving a professional look.
- Priming:
- Apply a primer to prepare the surfaces for painting. The primer helps the paint adhere better and ensures even color distribution.
- Painting:
- Apply multiple coats, allowing sufficient drying time between each coat. Sand lightly between coats for a flawless finish. I used this gorgeous powder blue color from BM. Steele Blue.
- Hardware Installation:
- Install any hardware, such as handles, knobs, or pulls, that you’ve chosen for your built-ins. Make sure they are securely attached and level. I chose a highly stylized knob to give my built-ins a extra custom look! They are Fretwork knobs from Modern Matters.
- Trim and Molding:
- If your design includes trim or molding, install it carefully to cover seams, gaps, and rough edges. This step adds a polished look to your built-ins.
- Caulking and Filling:
- Fill any gaps or seams with caulk or wood filler to create a seamless appearance. Once dry, sand the filled areas for a smooth surface.
- Finish Coats:
- Apply a clear topcoat or sealant to protect the paint from wear and tear. This step adds durability and a professional finish.
- Integration and Assembly:
- If your built-ins consist of multiple IKEA pieces, make sure they are securely attached and integrated as planned. Check for stability and alignment.
- Final Inspection:
- Carefully inspect your built-ins for any imperfections, touch up as needed, and ensure that everything is functioning correctly.
- Accessories and Styling:
- Once the built-ins are finished, it’s time to add accessories, such as decorative items, books, or storage bins, to complete the look. Style the shelves to your liking.
- Enjoy Your Finished Built-Ins:
- Step back and admire your handiwork. Your customized IKEA hacked built-ins are now ready to enhance the functionality and aesthetics of your space.
Remember that IKEA hacks are about personalization and creativity, so don’t be afraid to think outside the box. With careful planning and attention to detail, your DIY built-ins will not only enhance your home’s functionality but also showcase your design prowess. Good luck with your project, and have fun bringing your vision to life!
Cheers,
Jana